I found an amazing plant shelf on Craigslist and it’s the perfect addition to our small back patio. However, take a lesson from me. If it’s going outdoors in the blazing sun and the elements, do not paint it with interior paint – no matter how many coats of polyurethane you add – It will not last. And then you will have a messy, peeling, unprotected shelf on your hands. Check out the before and after on this plant shelf makeover.
When I saw this wood shelf, I knew it would be fabulous in a fun springy color on the back patio filled with plants. So I painted it with some leftover paint and couldn’t wait to start adding plants. Big mistake. I thought polyurethane would protect it enough. Not so much. Wait till you see what a mess it turned into!
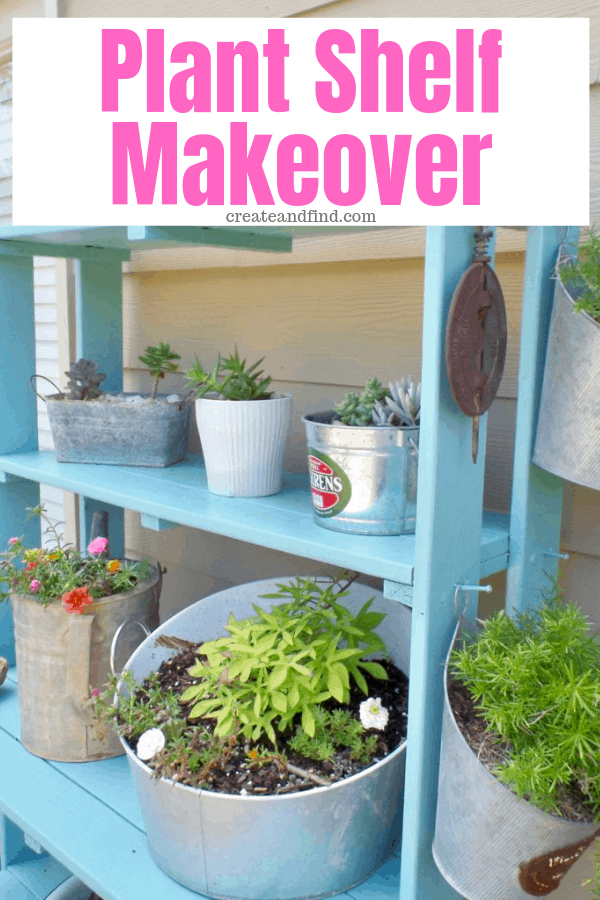
Plant Shelf Makeover
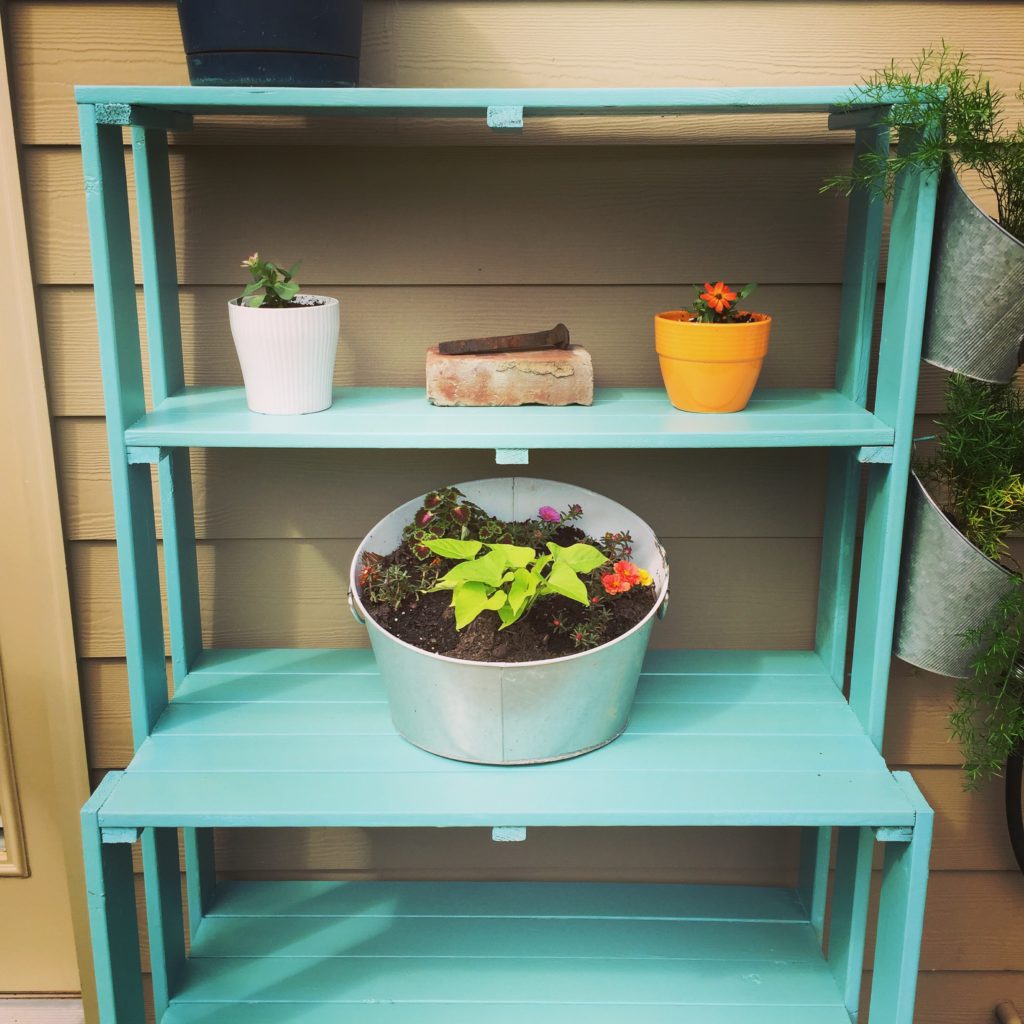
Here’s a pic of my fab find last year after a few coats of paint and pretty much a quart of polyurethane.
Isn’t it pretty??
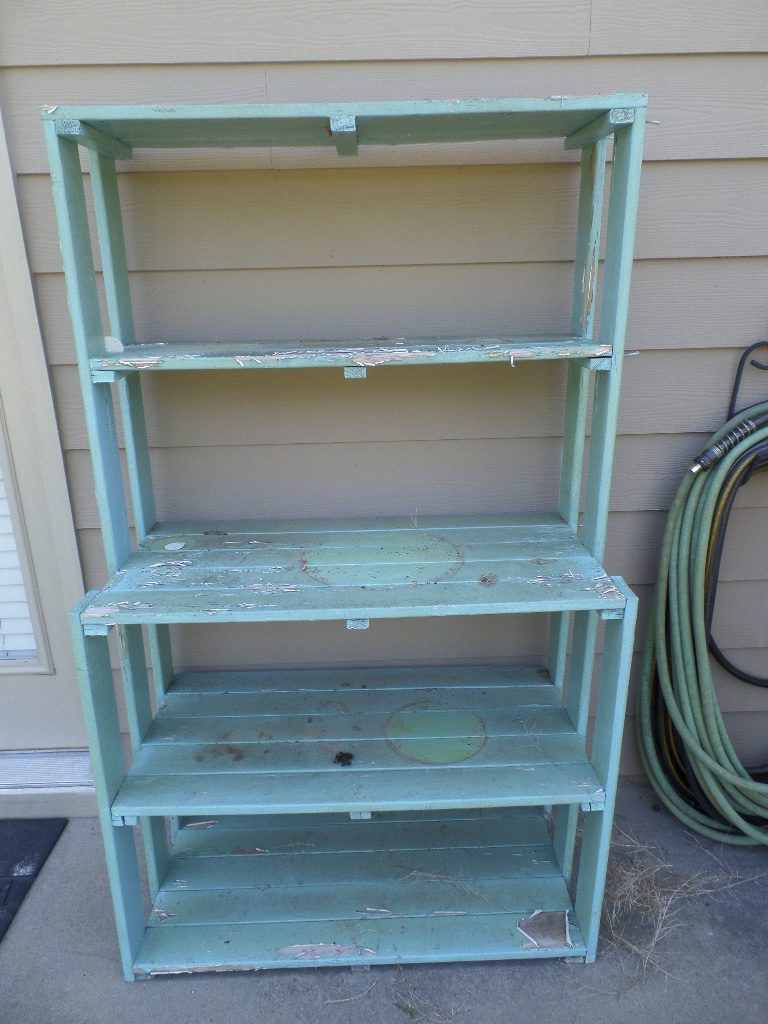
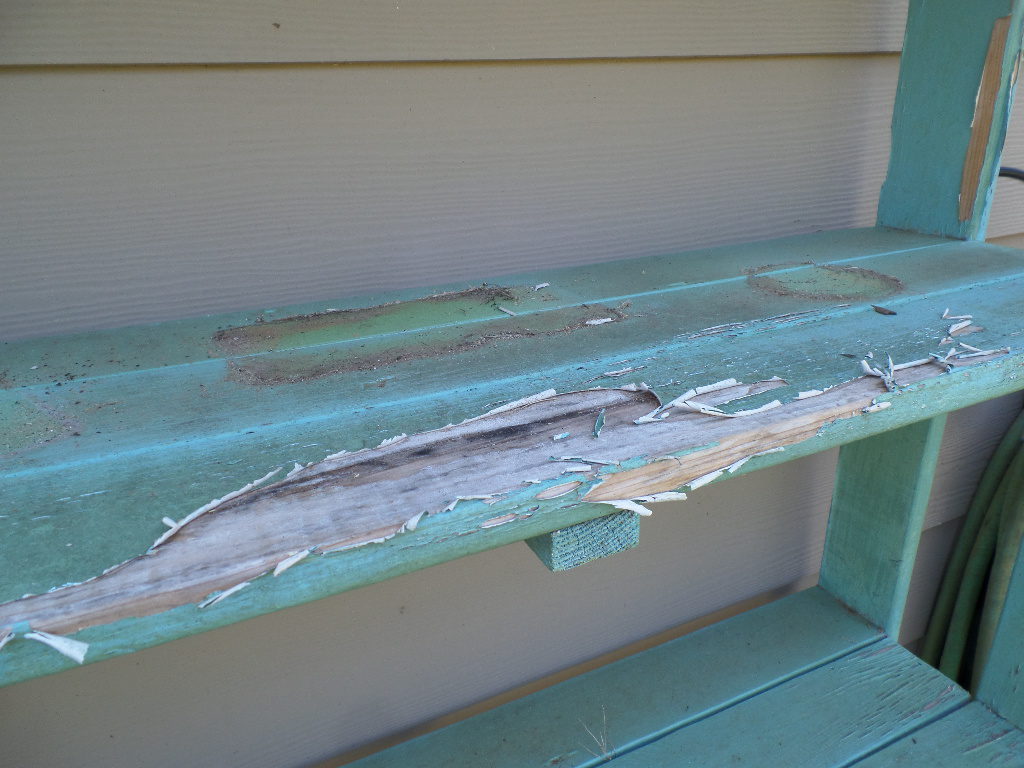
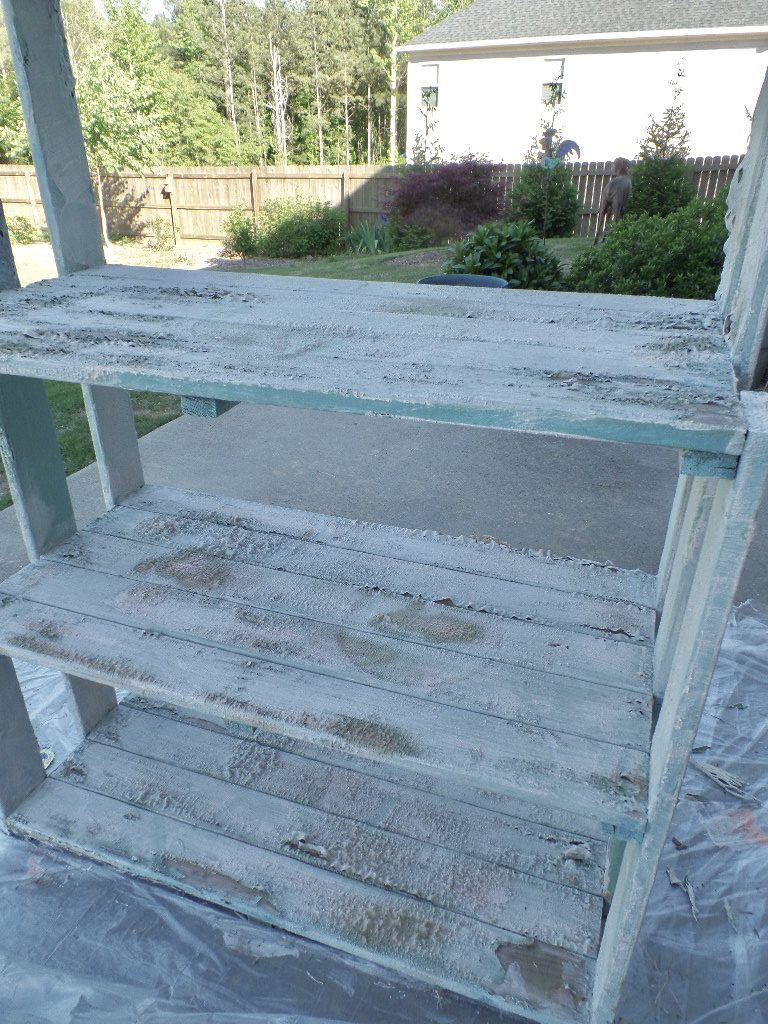
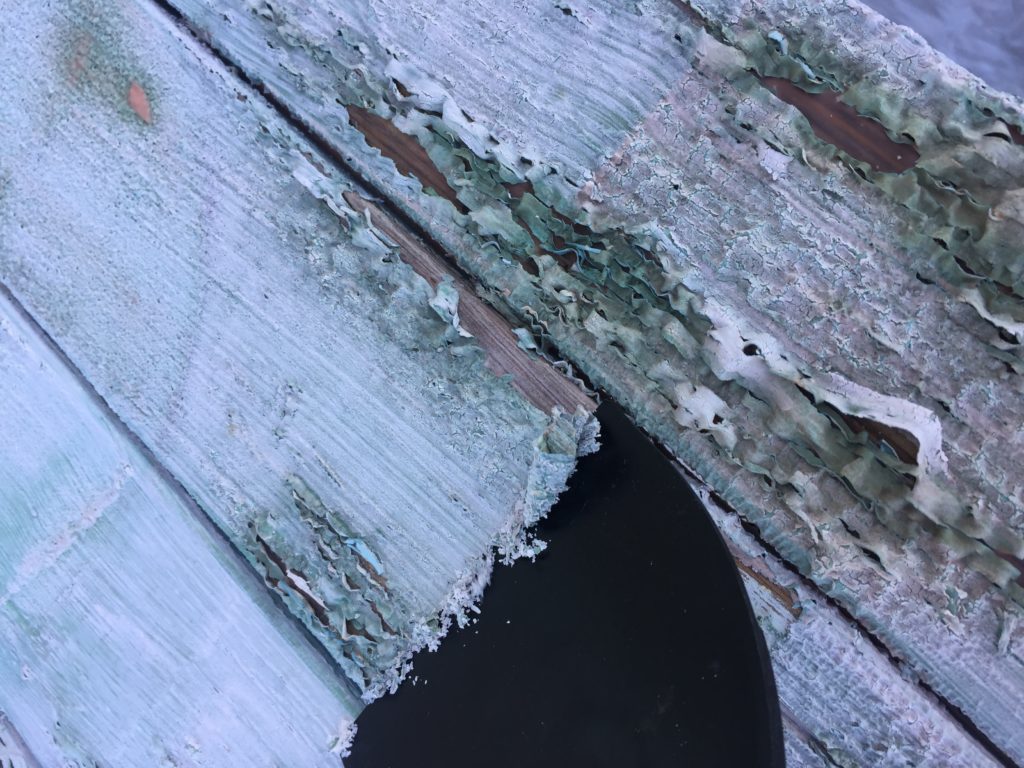
And here ladies and gents is what you end up with after it gets painted with interior paint:
Gorgeous huh?
Disaster!
I mean, who wouldn’t want that train wreck sitting on their patio, right??? Gross. Clearly, this guy needed a complete overhaul. Painting over it wasn’t going to do the trick without getting all the peeling paint off first.
What I used for this plant shelf makeover to fix my mess:
Citristripto the rescue. If you’ve never used this stuff before, I highly recommend it. I’ve used it several times and it works like a champ. It’s safe for indoor use although I wouldn’t advise that because of the mess that happens when you start chipping away all the peeling paint. Another plus is it doesn’t have an awful chemical smell like other harsh strippers (smells like oranges).
Get to Stripping!
Put plastic underneath your project because it’s about to get messy. Get a paint pail of some kind and liners – This one is my favorite. Make sure to get the liners too so you can just discard that part and your paint pail will be good for years of use. I use a cheapo brush because I don’t want paint stripper residue on my good ones.
Also worth noting – if you’re doing a stripping project, you can’t use foam brushes. The stripper will eat away your foam. Not that I tried that once or anything. Or maybe I did. Oops. Anyway – Citristrip is a thin gel consistency and goes on like paint. Paint a good coat all over your furniture piece and wait. And wait. And wait some more. I gave this plant shelf at least three hours before I started chipping away, but it could’ve used longer.
Here’s what it looks like in action:
Start Scraping!
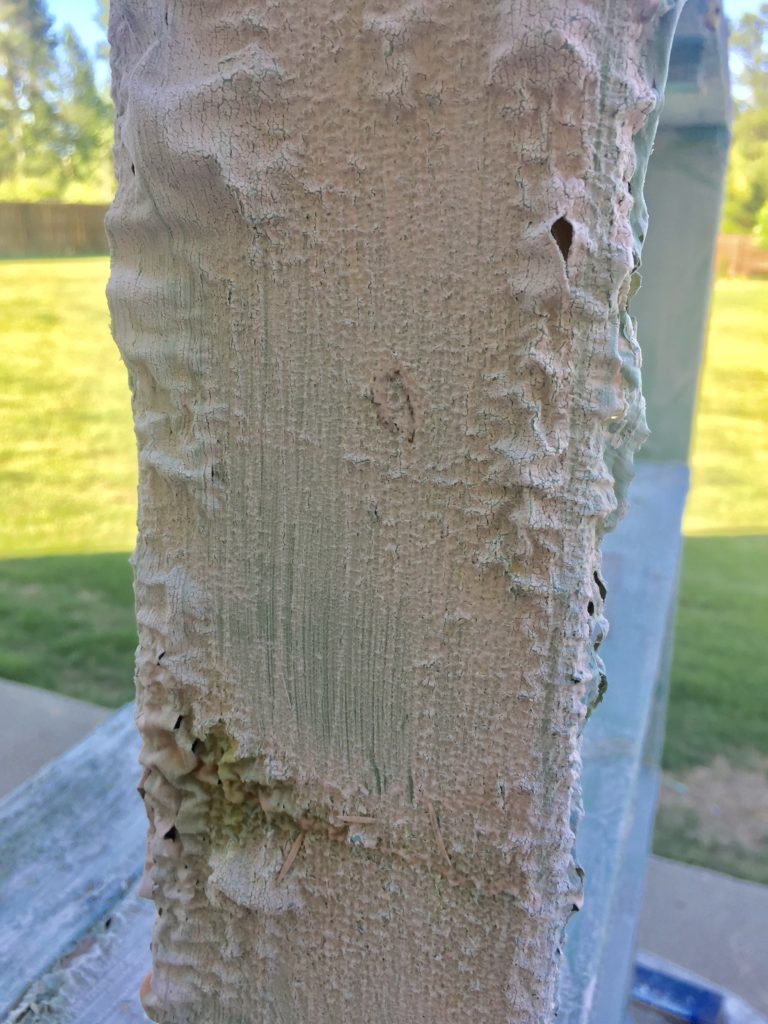
You’re going to need some plastic putty knives like these. I wouldn’t use metal because you don’t want to gouge your wood. You can test a small area to see if the paint is ready to come off.
One word of advice – if you want every single drop of paint to come off, leave the stripper on longer. Or you can apply a second coat of stripper. For this plant shelf, I wasn’t concerned with every bit of it being stripped. This is an outdoor piece that is bound to get some dings and dirt on it. I just needed a semi-smooth surface to repaint. I scraped away at it for a while.
When I had most of the peeling paint off, I let it sit for a day to make sure everything was dry. Then I used the electric sander and went over all the areas I could. If you don’t have an electric sander, do yourself a favor and get one ASAP. It’s a total game changer when it comes to refinishing furniture. Here’s a similar oneto the one I use.
I chipped away a little more after sanding and that was it. I found it helpful to work on this in stages – if not, your shoulders and forearms will hate you for all the scraping and sanding! It definitely wasn’t perfect after the stripping and sanding, but for an outdoor piece, it was just fine.
Start Painting!
For this project, I used off the shelf Olympic Exterior paint in satin finish from Lowes. One of my favorite blues is Lyndhurst Duchess Blue – sounds fancy, huh? It’s the same color I used in the plant shelf interior paint mishap of 2016. Teal/turquoise-ish. Not a word, I know, but it works. I don’t know why, but I’ve painted a ton of things over the years, and blue is by far my favorite. Doesn’t matter what it’s going on or what brand, but blue paint goes on like butter. If anyone knows the why of this, please share it with me!
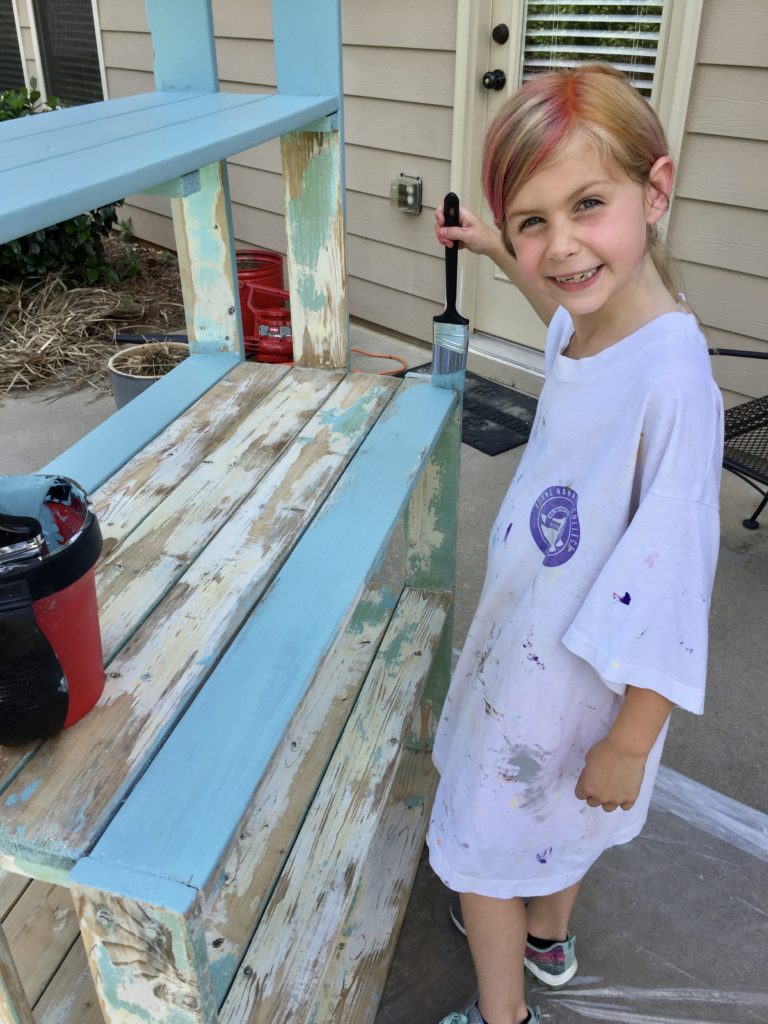
I did two coats on this plant shelf including underneath each shelf. I waited four hours between coats for adequate drying time. And I even had a little helper for this one! Don’t mind the colorful hair – it was wacky hair day at school this day.
You can see it wasn’t completely free of paint, but good enough.
Wait for it to dry completely – we actually brought it inside at night because the sprinklers were running that night and the recommendation on the paint can is to not paint in the evenings when it may be dewy. Dried overnight and then back outside.
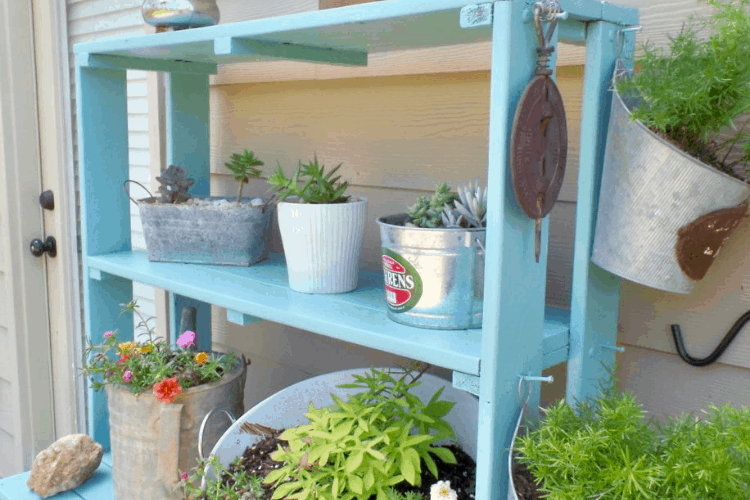
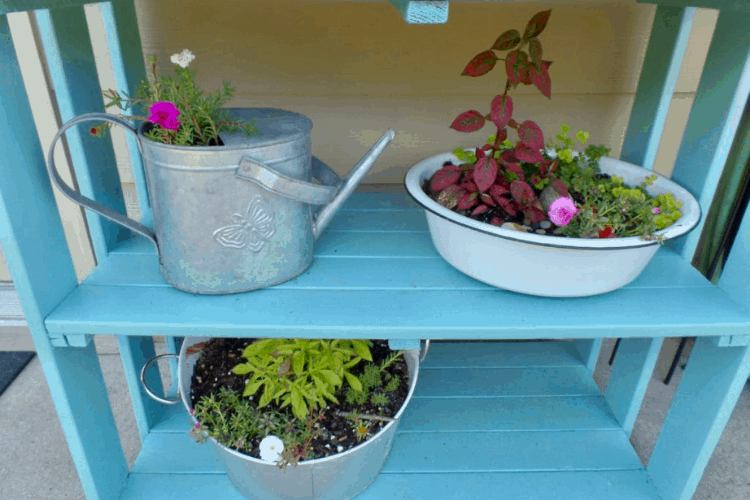
Add the fun stuff!
Now, you can add some pretties and done! I added some DIY planters – you can see my farmhouse style planter I made here. Most everything on the shelf is thrifted or repurposed. There’s a brick from my husband’s grandpa’s chimney that sits front and center and an old railroad spike. A rusty watering can even become a planter and I plan to add a few things here and there to add to the rustic charm. The hanging planters on the side are clearance finds from last year at Michaels and my ferns are coming back?? I didn’t know they would do this!
Let’s just hope I can keep the plants alive!
I’d say that’s a huge improvement from the peeling gross mess I started with! This is also a great addition to a backyard if you’re renting or don’t have a lot of space to work with for gardening. (See more renter-friendly backyard ideas.)
Total Cost Breakdown
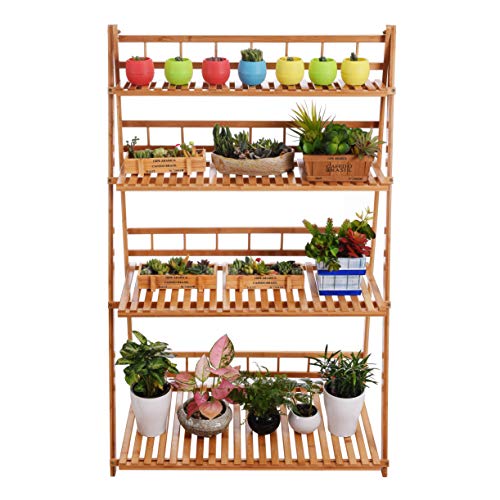
Plant shelf – Already had, but I paid $50 on Craigslist last year. If you’re handy, you can build a basic shelf like this for around $75 bucks.
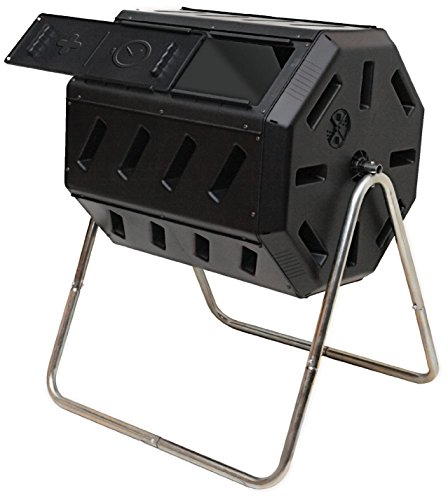
Garden carts can be a lifesaver when carrying plants, mulch, potting soil and more around your yard. This one has removable sides and can hold up to 800 pounds!
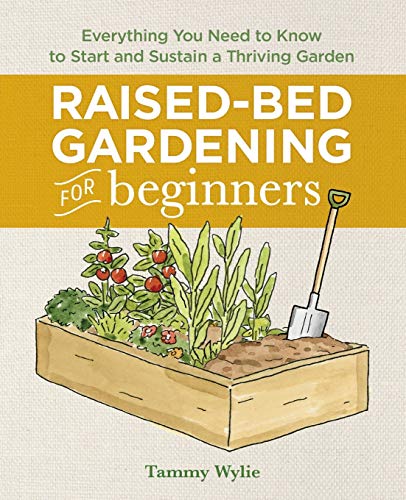
If you want to try your hand at growing a garden, these raised bed planters are a perfect and affordable way to start. Excellent reviews for ease of assembly and durability.
It looks super good now Melissa! (and what a cute helper you have!) I really need to do something like that! I have 2 shelves similar to that... ;)
create and find
Wednesday 1st of May 2019
Thanks Natalie! You should certainly do it - I'm assuming you guys aren't buried in snow year round??
Stephanie
Sunday 23rd of July 2017
Great find, it turned out really nice too! Pinning. Thanks for sharing at To Grandmas House We Go Link Party.
Melissa
Sunday 23rd of July 2017
Thank you Stephanie - it's amazing what paint can do! And thanks so much for sharing my project!
Nicole (@momfindsout)
Tuesday 20th of June 2017
I had no idea that using interior paint on something outdoors would get so ruined! Yikes. Thanks for sharing that lesson with us at the #HomeMattersParty along with your plant shelf makeover. It turned out great and I love that paint color.
Melissa
Wednesday 21st of June 2017
Thank you Nicole! I honestly didn't think it would get that gross in less than a year but lesson learned!
Emily @DomesticDeadline.com
Friday 16th of June 2017
Love the color! I just stripped doors. I had planned on trying citristrip but hubs was too quick for me and bought something else before I got to the store. Good to know it works so well. #HomeMattersParty
Melissa
Sunday 18th of June 2017
Thanks Emily! I've used it many times and I've been pleased with the results.
Home Matters Linky Party #140 - Mom Always Finds Out


Natalie
Wednesday 1st of May 2019
It looks super good now Melissa! (and what a cute helper you have!) I really need to do something like that! I have 2 shelves similar to that... ;)
create and find
Wednesday 1st of May 2019
Thanks Natalie! You should certainly do it - I'm assuming you guys aren't buried in snow year round??
Stephanie
Sunday 23rd of July 2017
Great find, it turned out really nice too! Pinning. Thanks for sharing at To Grandmas House We Go Link Party.
Melissa
Sunday 23rd of July 2017
Thank you Stephanie - it's amazing what paint can do! And thanks so much for sharing my project!
Nicole (@momfindsout)
Tuesday 20th of June 2017
I had no idea that using interior paint on something outdoors would get so ruined! Yikes. Thanks for sharing that lesson with us at the #HomeMattersParty along with your plant shelf makeover. It turned out great and I love that paint color.
Melissa
Wednesday 21st of June 2017
Thank you Nicole! I honestly didn't think it would get that gross in less than a year but lesson learned!
Emily @DomesticDeadline.com
Friday 16th of June 2017
Love the color! I just stripped doors. I had planned on trying citristrip but hubs was too quick for me and bought something else before I got to the store. Good to know it works so well. #HomeMattersParty
Melissa
Sunday 18th of June 2017
Thanks Emily! I've used it many times and I've been pleased with the results.
Home Matters Linky Party #140 - Mom Always Finds Out
Friday 16th of June 2017
[…] Plant Shelf Makeover from Melissa […]