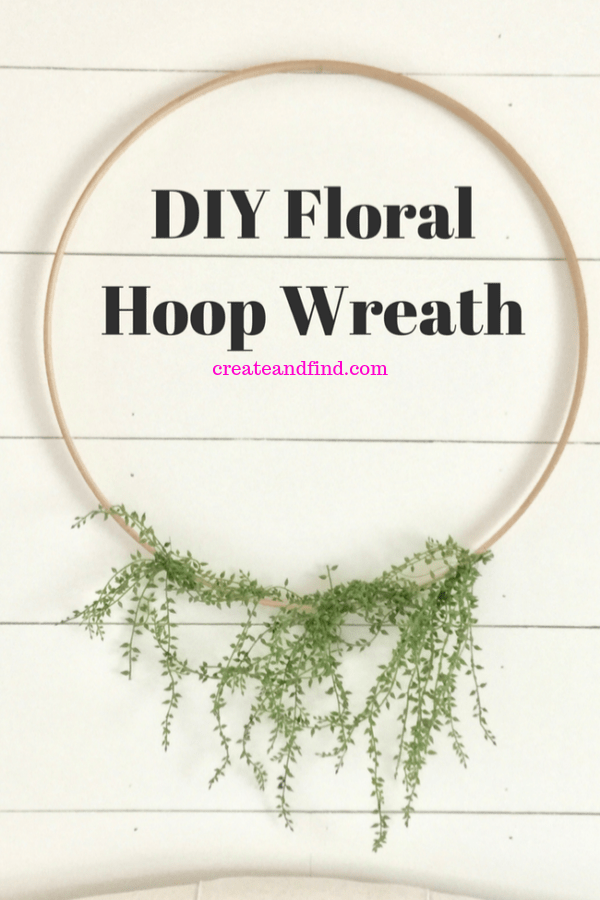
I’m in the process of saving for our master bedroom update so the decor budget is pretty much on hold at the moment. I know I want something simple over our bed and initially thought some sort of art. However, I keep seeing these incredible, simple wreaths on Pinterest and Instagram so I made my own. It’s a simple quick project that won’t break the bank. See how to make your own DIY Floral Hoop Wreath!
DIY Floral Hoop Wreath
Supplies
- Embroidery Hoops – I found mine at Hobby Lobby and used a 40% off coupon so it was less than $5. I bought a large one that’s 23″ and a smaller one that’s 12″
- Greenery – I chose a few stems from the floral section at Hobby Lobby because they were having a 50% off sale on stems. There was a great garland of greenery but it wasn’t included in the sale so it was a no go. The garland was $16 but the stems were only $2 each after the sale. The whole point is DIY and saving money so I can actually afford my bedroom update.
- Floral wire – I had green wire on hand already but you could use whatever you like. Or if you don’t have wire or don’t like it, you can use twine.
- Wire cutters – You’ll need these to cut your stems to place around the hoops
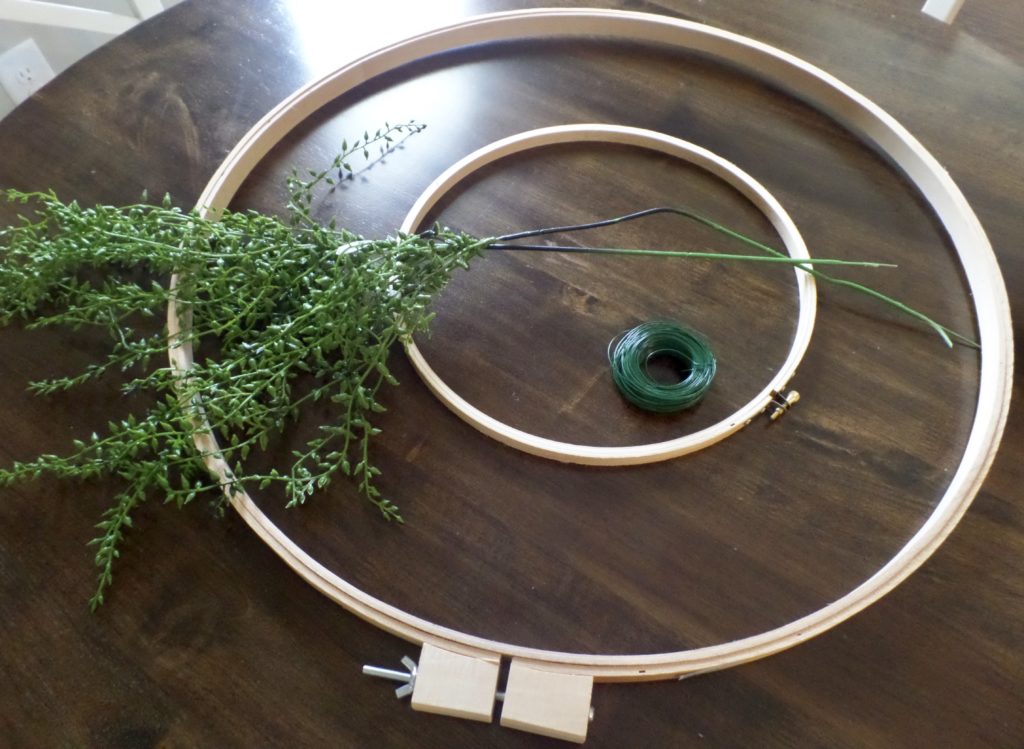
Make Your Floral Hoop Wreath
Decide if you want yours centered or asymmetrical. I like both options I’ve seen. I decided to go with centered because my hubs is super picky about things being level and centered.
I took out the inner ring of each hoop and used those. I figure I can find another use for the outer ring.
Start by cutting apart the stems so they aren’t in one big clump. In hindsight, it would be easier to use the garland since it will wrap around the hoop evenly. But, you get what you get and you don’t pitch a fit, right. So it took some wiggling, but I finally had enough separate small clumps to start wiring to the hoop.
I kept adding until I used most of the two stems. I wired at the tops of the stems and random places in the middle so they wouldn’t all hang down. For the small hoop, I snipped off part of a boxwood stem (also from Hobby Lobby) and wired it to the hoop. And that’s it! Play with it a bit until you have the loose pieces you like and hang it on a nail.
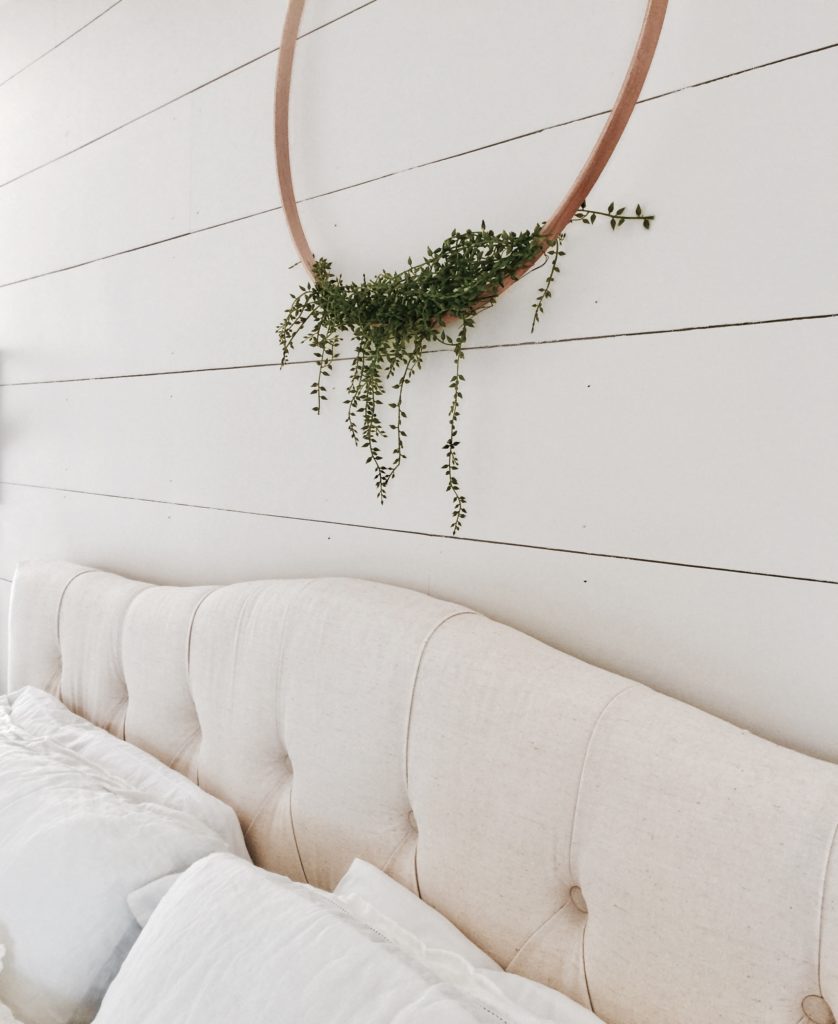
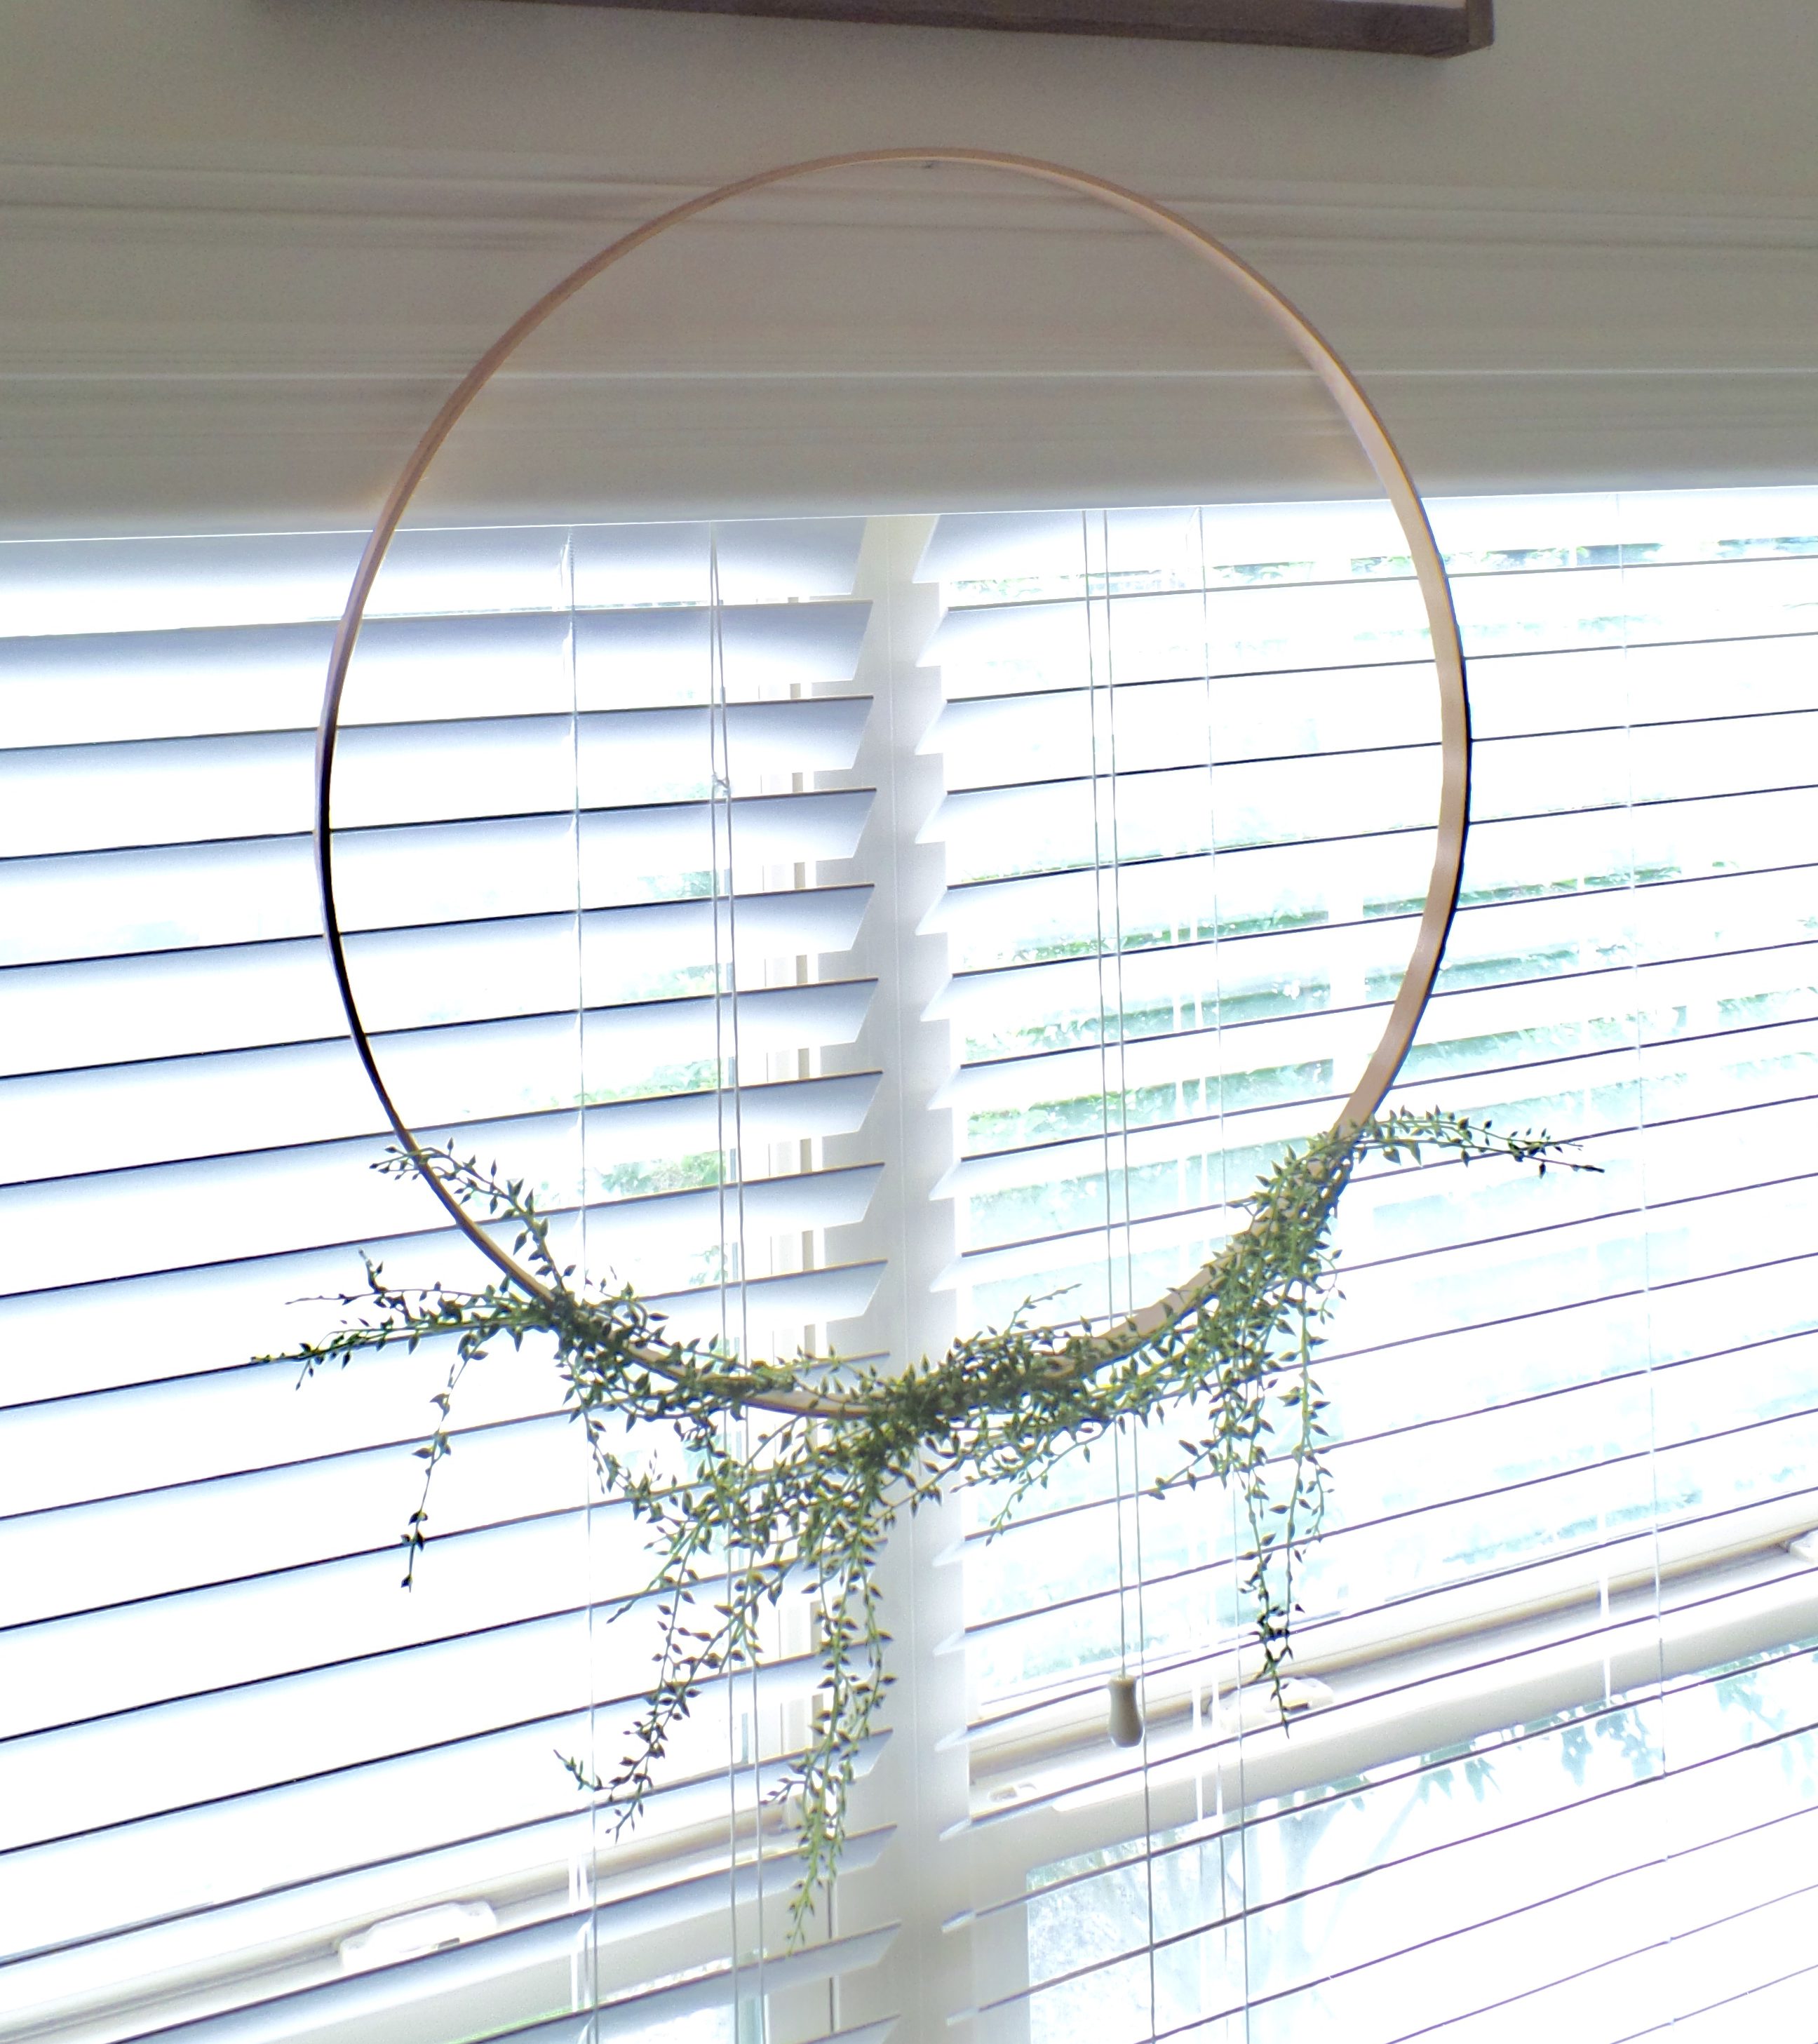
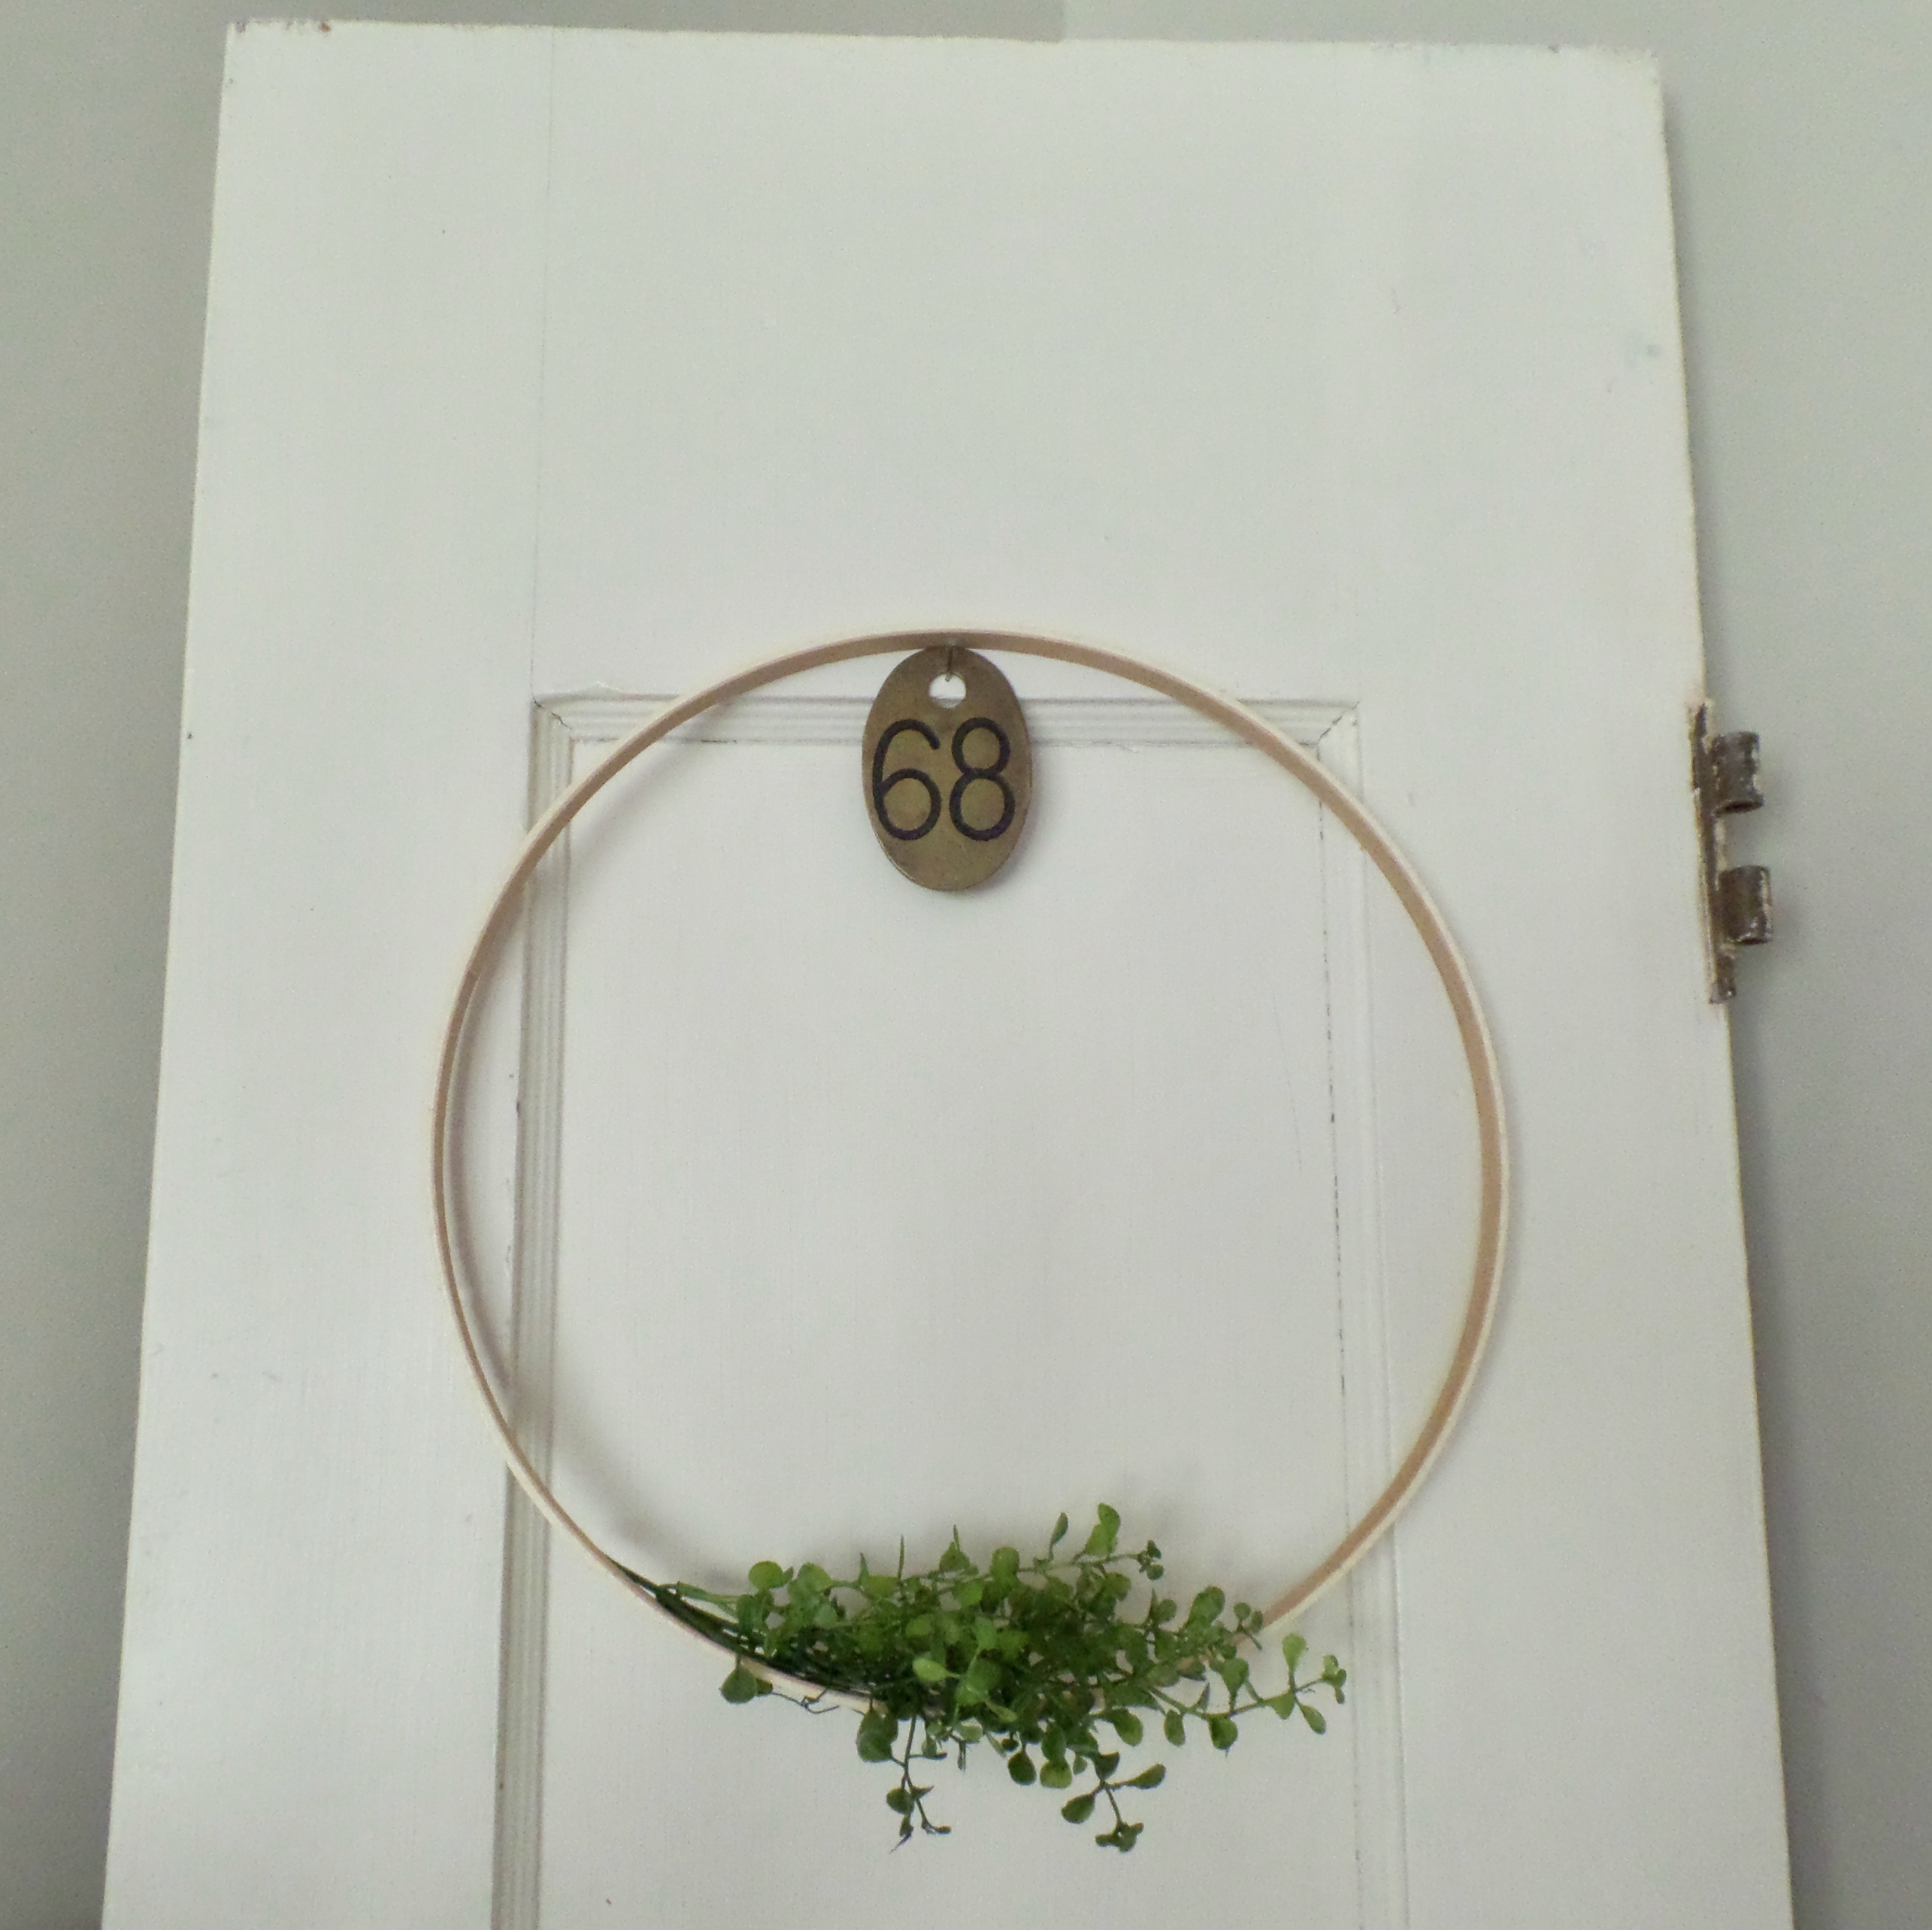
A simple DIY that won’t break the bank. This DIY Floral Hoop Wreath is an inexpensive craft project that anyone can make.
Now if I can just find time to go get the wood for shiplap, I can move along on the master bedroom update – you can see our plans here!
Update: You can see where I put this wreath! Click here (Hint: it involves shiplap!)
Pin for Later!


12 Ideas for Decorating with a Wreath | TIDBITS&TWINE
Tuesday 9th of January 2018
[…] Knowing what to hang above the bed can be tricky, but if sized appropriately, a wreath can make a beautiful addition! I love the simplicity of this example from The Brown Dog Vintage. […]
Lorelai
Wednesday 14th of June 2017
Floral wreaths are always so pretty! Thanks for sharing at the #HomeMattersParty ~Lorleai Life With Lorelai
Melissa
Wednesday 21st of June 2017
Thank you so much Lorelai!
FindFixBuild - DIY (@FindFixBuild)
Monday 12th of June 2017
These are beautiful! So creative:) Thanks for sharing the tutorial! #HomeMattersParty
Melissa
Monday 12th of June 2017
Thank you! I love quick and easy DIYs!
Emily @DomesticDeadline.com
Sunday 11th of June 2017
I love the simplicity of this. It's beautiful. #HomeMattersParty
Melissa
Sunday 11th of June 2017
Thank you Emily!
Nicole (@momfindsout)
Sunday 11th of June 2017
I love this wreath - simple and a great way to add a bit of greenery to any room. #HomeMattersParty
Melissa
Sunday 11th of June 2017
Thank you Nicole! This is one of my favorite DIYs!