First things first – I can be slightly impulsive. Okay, maybe a lot impulsive. A while ago, I decided to tackle our master bathroom. The cabinets were dark, the tile is brown, and it just didn’t have any personality. Or llamas (I’ll explain later). I got started one morning after the kids went to school. I already had the paint, it was just waiting for me to use it.
Our master bath has the same cabinets and granite as the kitchen. And the same brown tile. We had brown towels and brownish bathmats. I was drowning in a sea of brown. Doesn’t exactly scream spa to me. We already had paint on hand for the cabinets (I used it in the downstairs bathroom also). So one day I just decided to go for it. Naturally, I didn’t think to take many before pics, but this gives you a good idea of the “brown sea”.

Spacious, but zero personality.
It was just one of those neglected areas in the house that never seemed to be high on the to-do list. And boy, did we make a to-do list for this room:
Part One – Painting Cabinets, Framing Mirrors, Beadboard, and Shiplap
First the cabinets.
What you can’t see in the above pic is the vanity on the right forms an upside-down L and there is a lower vanity for makeup/more counter space. So there were quite a few areas to paint. I removed all the doors and drawer fronts and labeled everything as I took it off.
I learned this the hard way before – if you don’t label it, something will not be “right” when you put it back together. Use a piece of painter’s tape and stick it on the backs of everything – either in the holes where the hinges go where the screws for the knobs go.
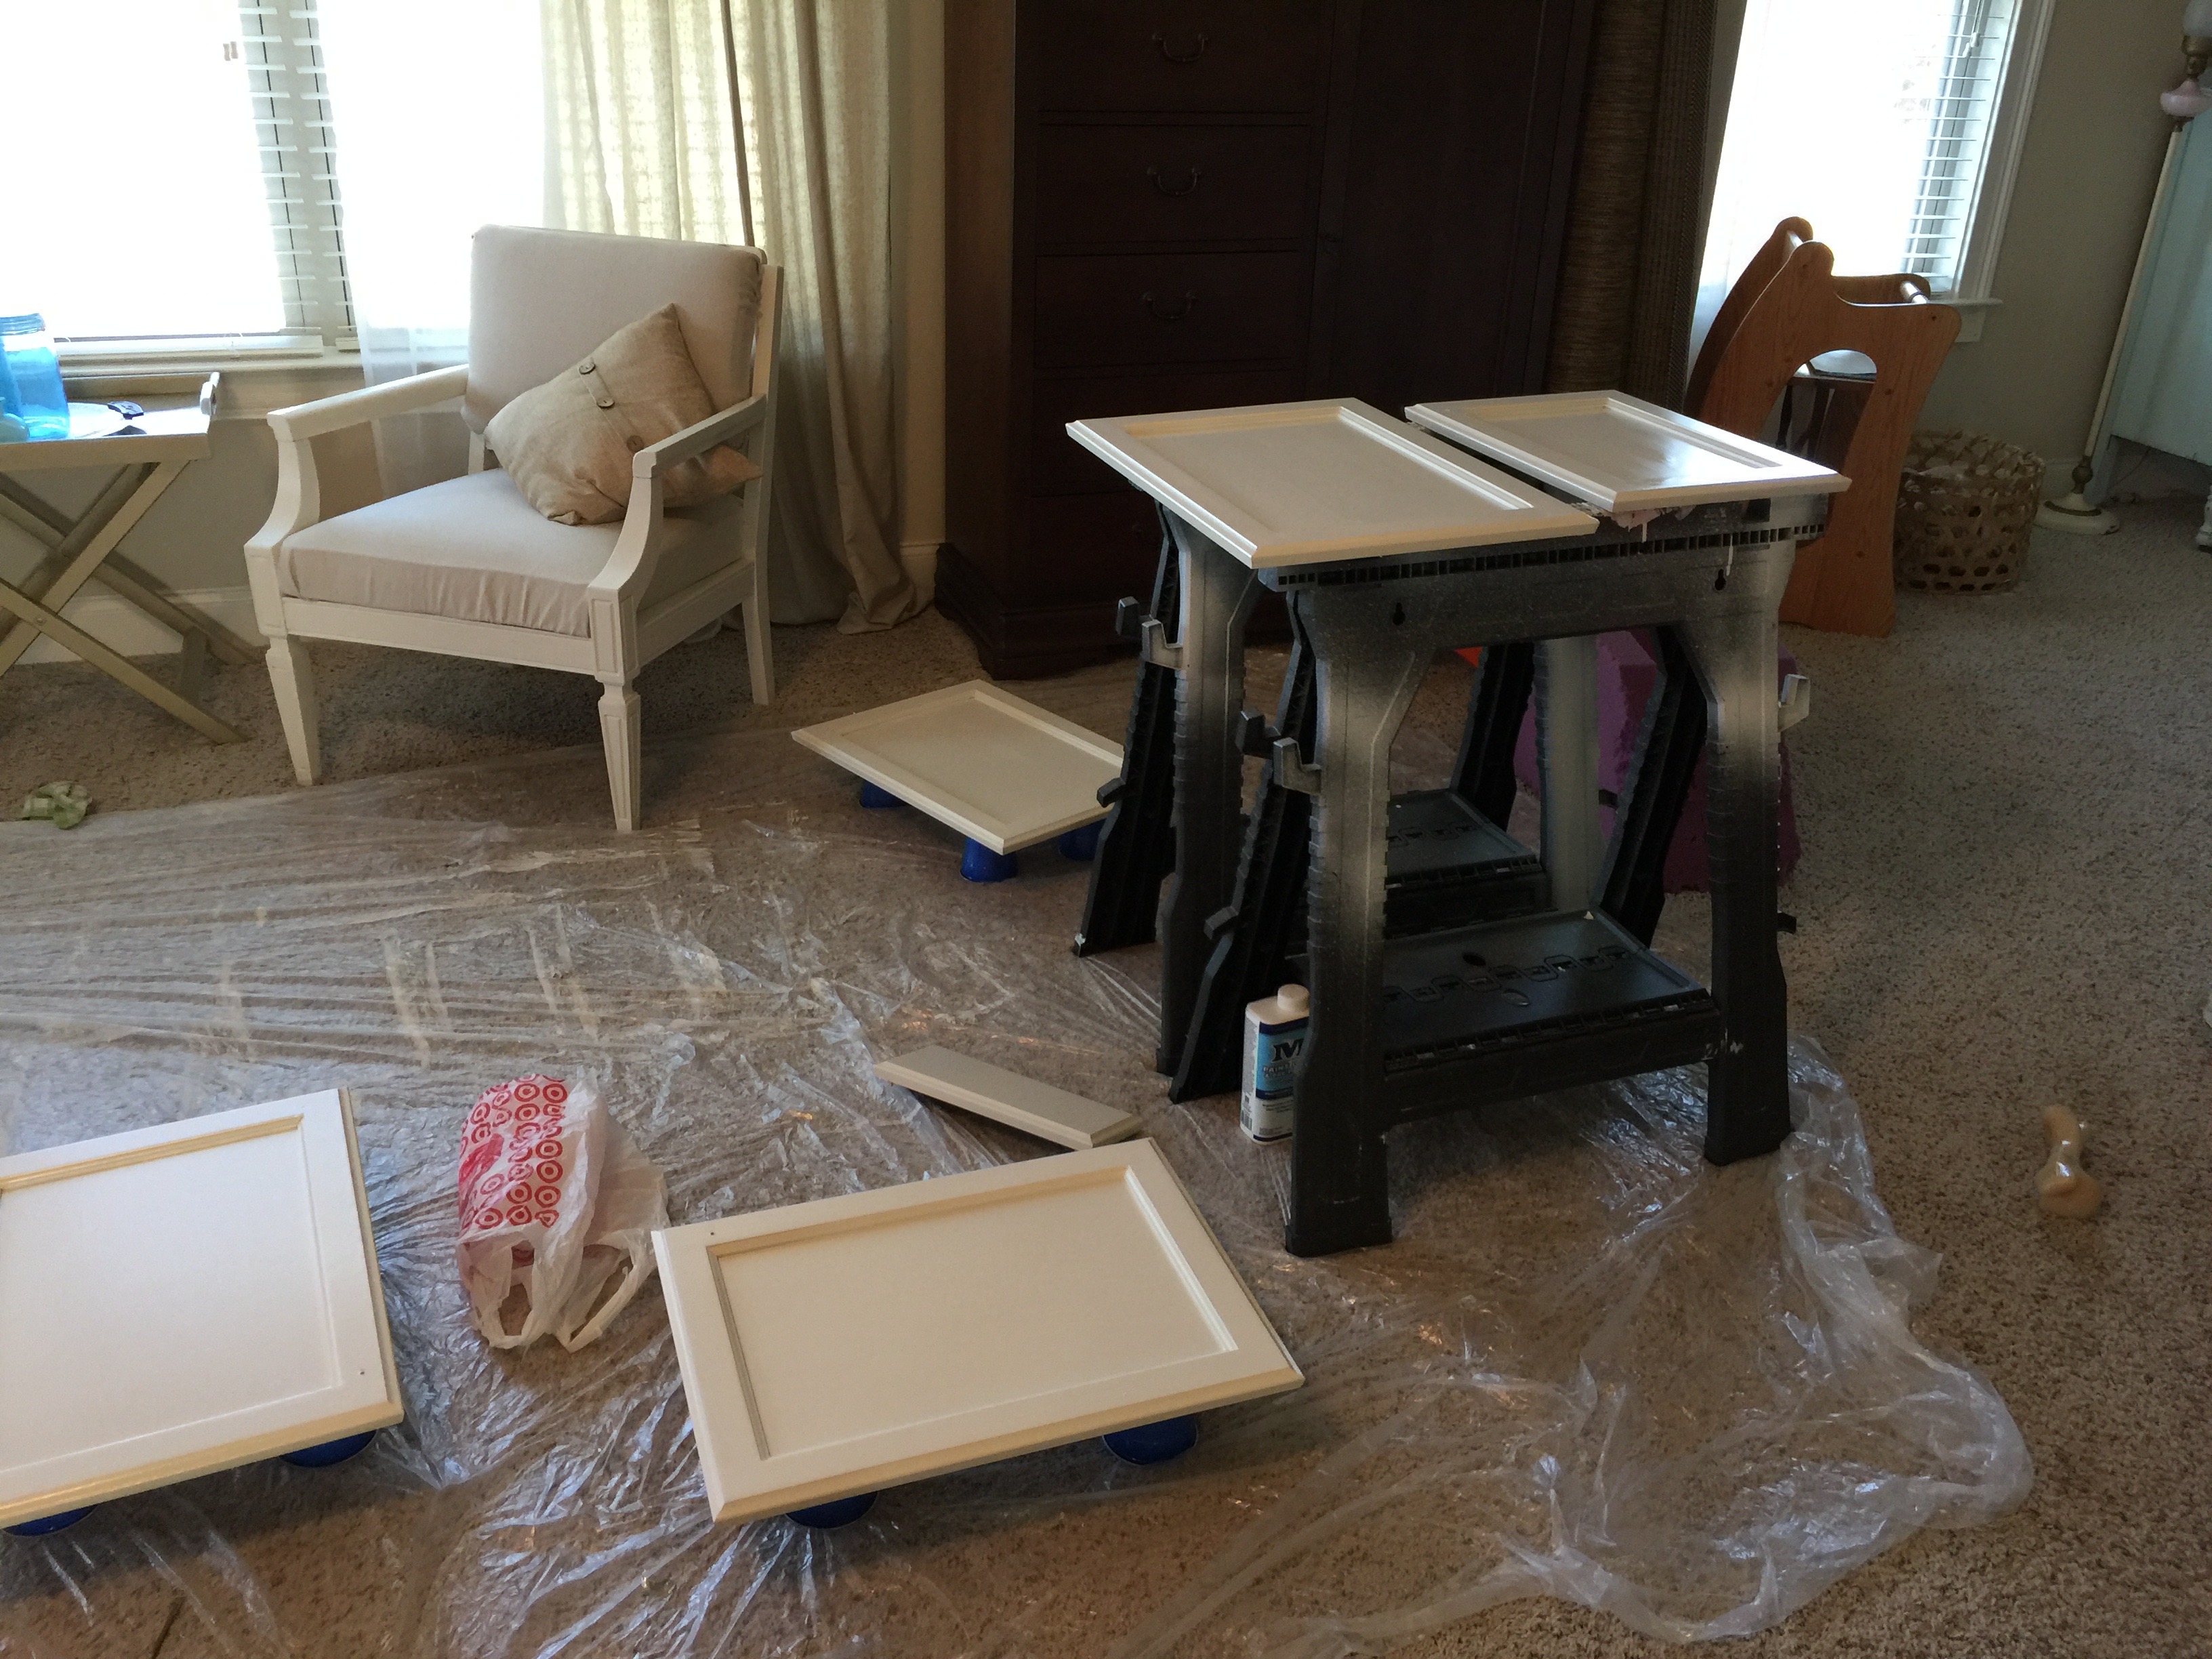
Lay everything out in a large area, and if you choose to be super fancy like me, you can use Solo cups to elevate your doors. This keeps them off the plastic drop cloth and makes them easier to paint.
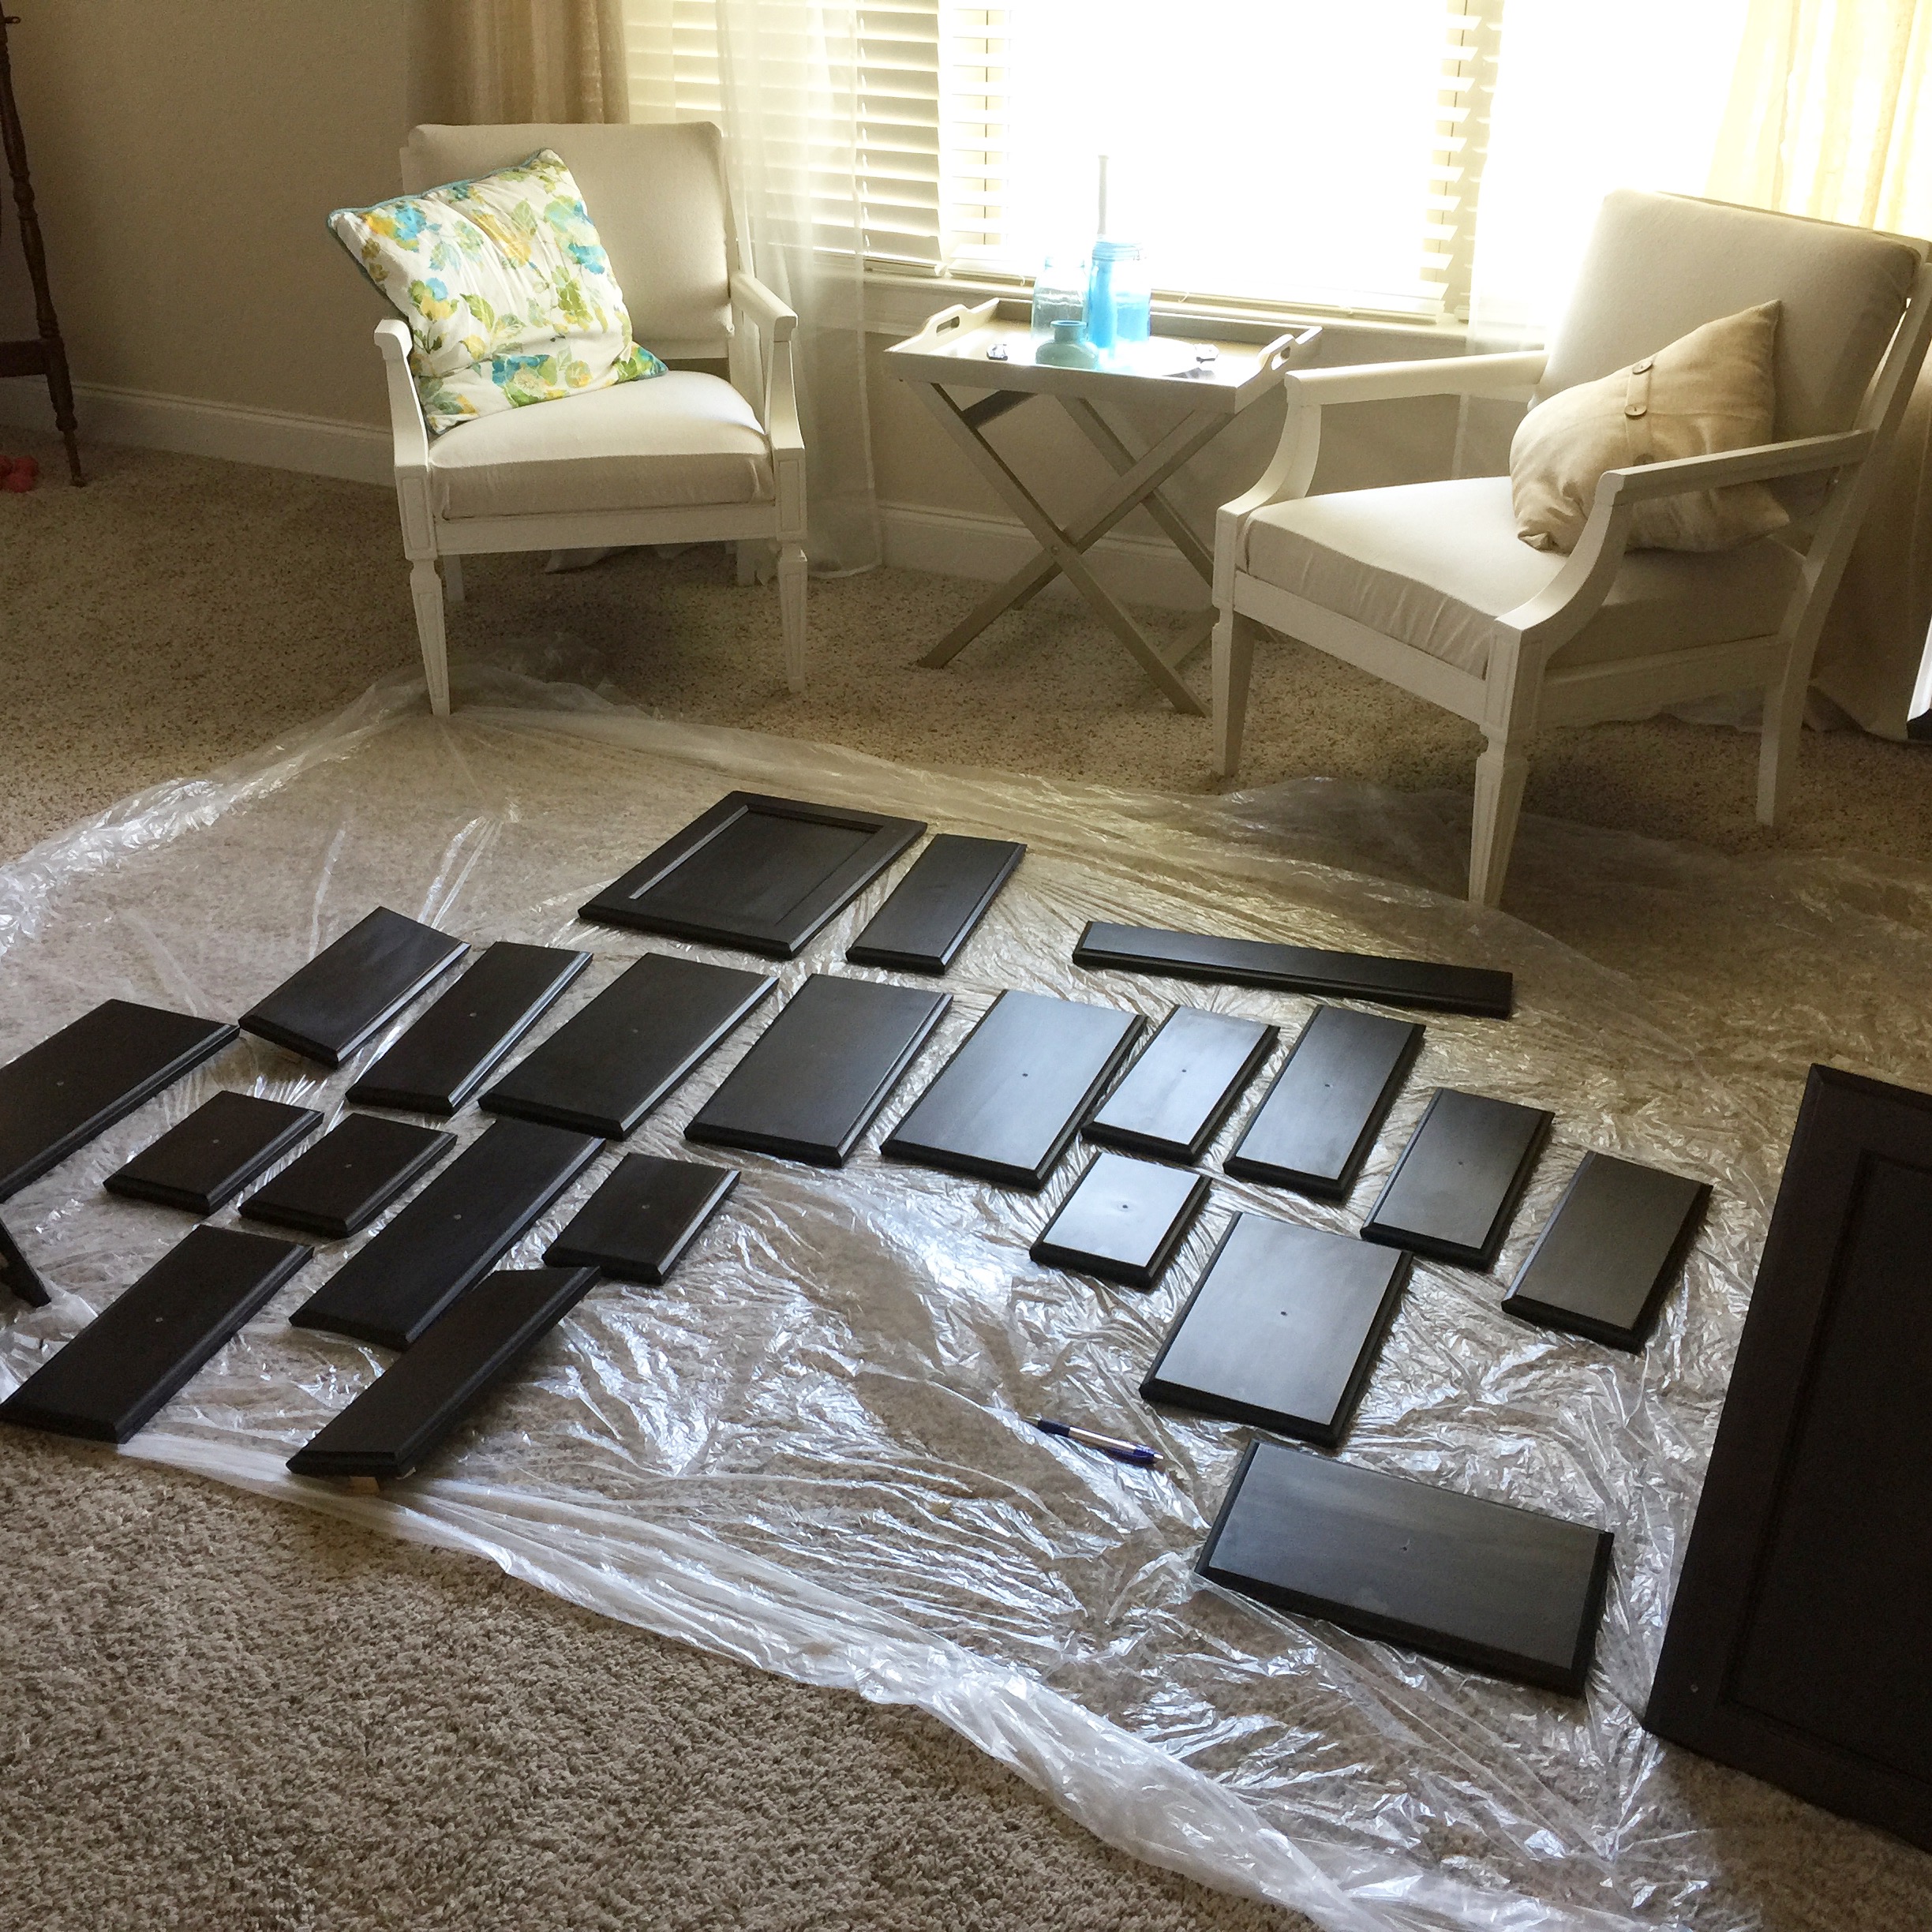
The first half of the doors/drawers!
Everything got wiped down with liquid deglosser (I chose one off the shelf from Lowes) and then a coat of Kilz oil-based primer. I always start doors/drawers by painting the backs first. Then two coats of Sherwin Williams Pro Classic Interior Acrylic Latex – it’s labeled for trim and doors and ours was semi-gloss. We use Panda White because that’s what our builder used for all the trim and doors in the house.
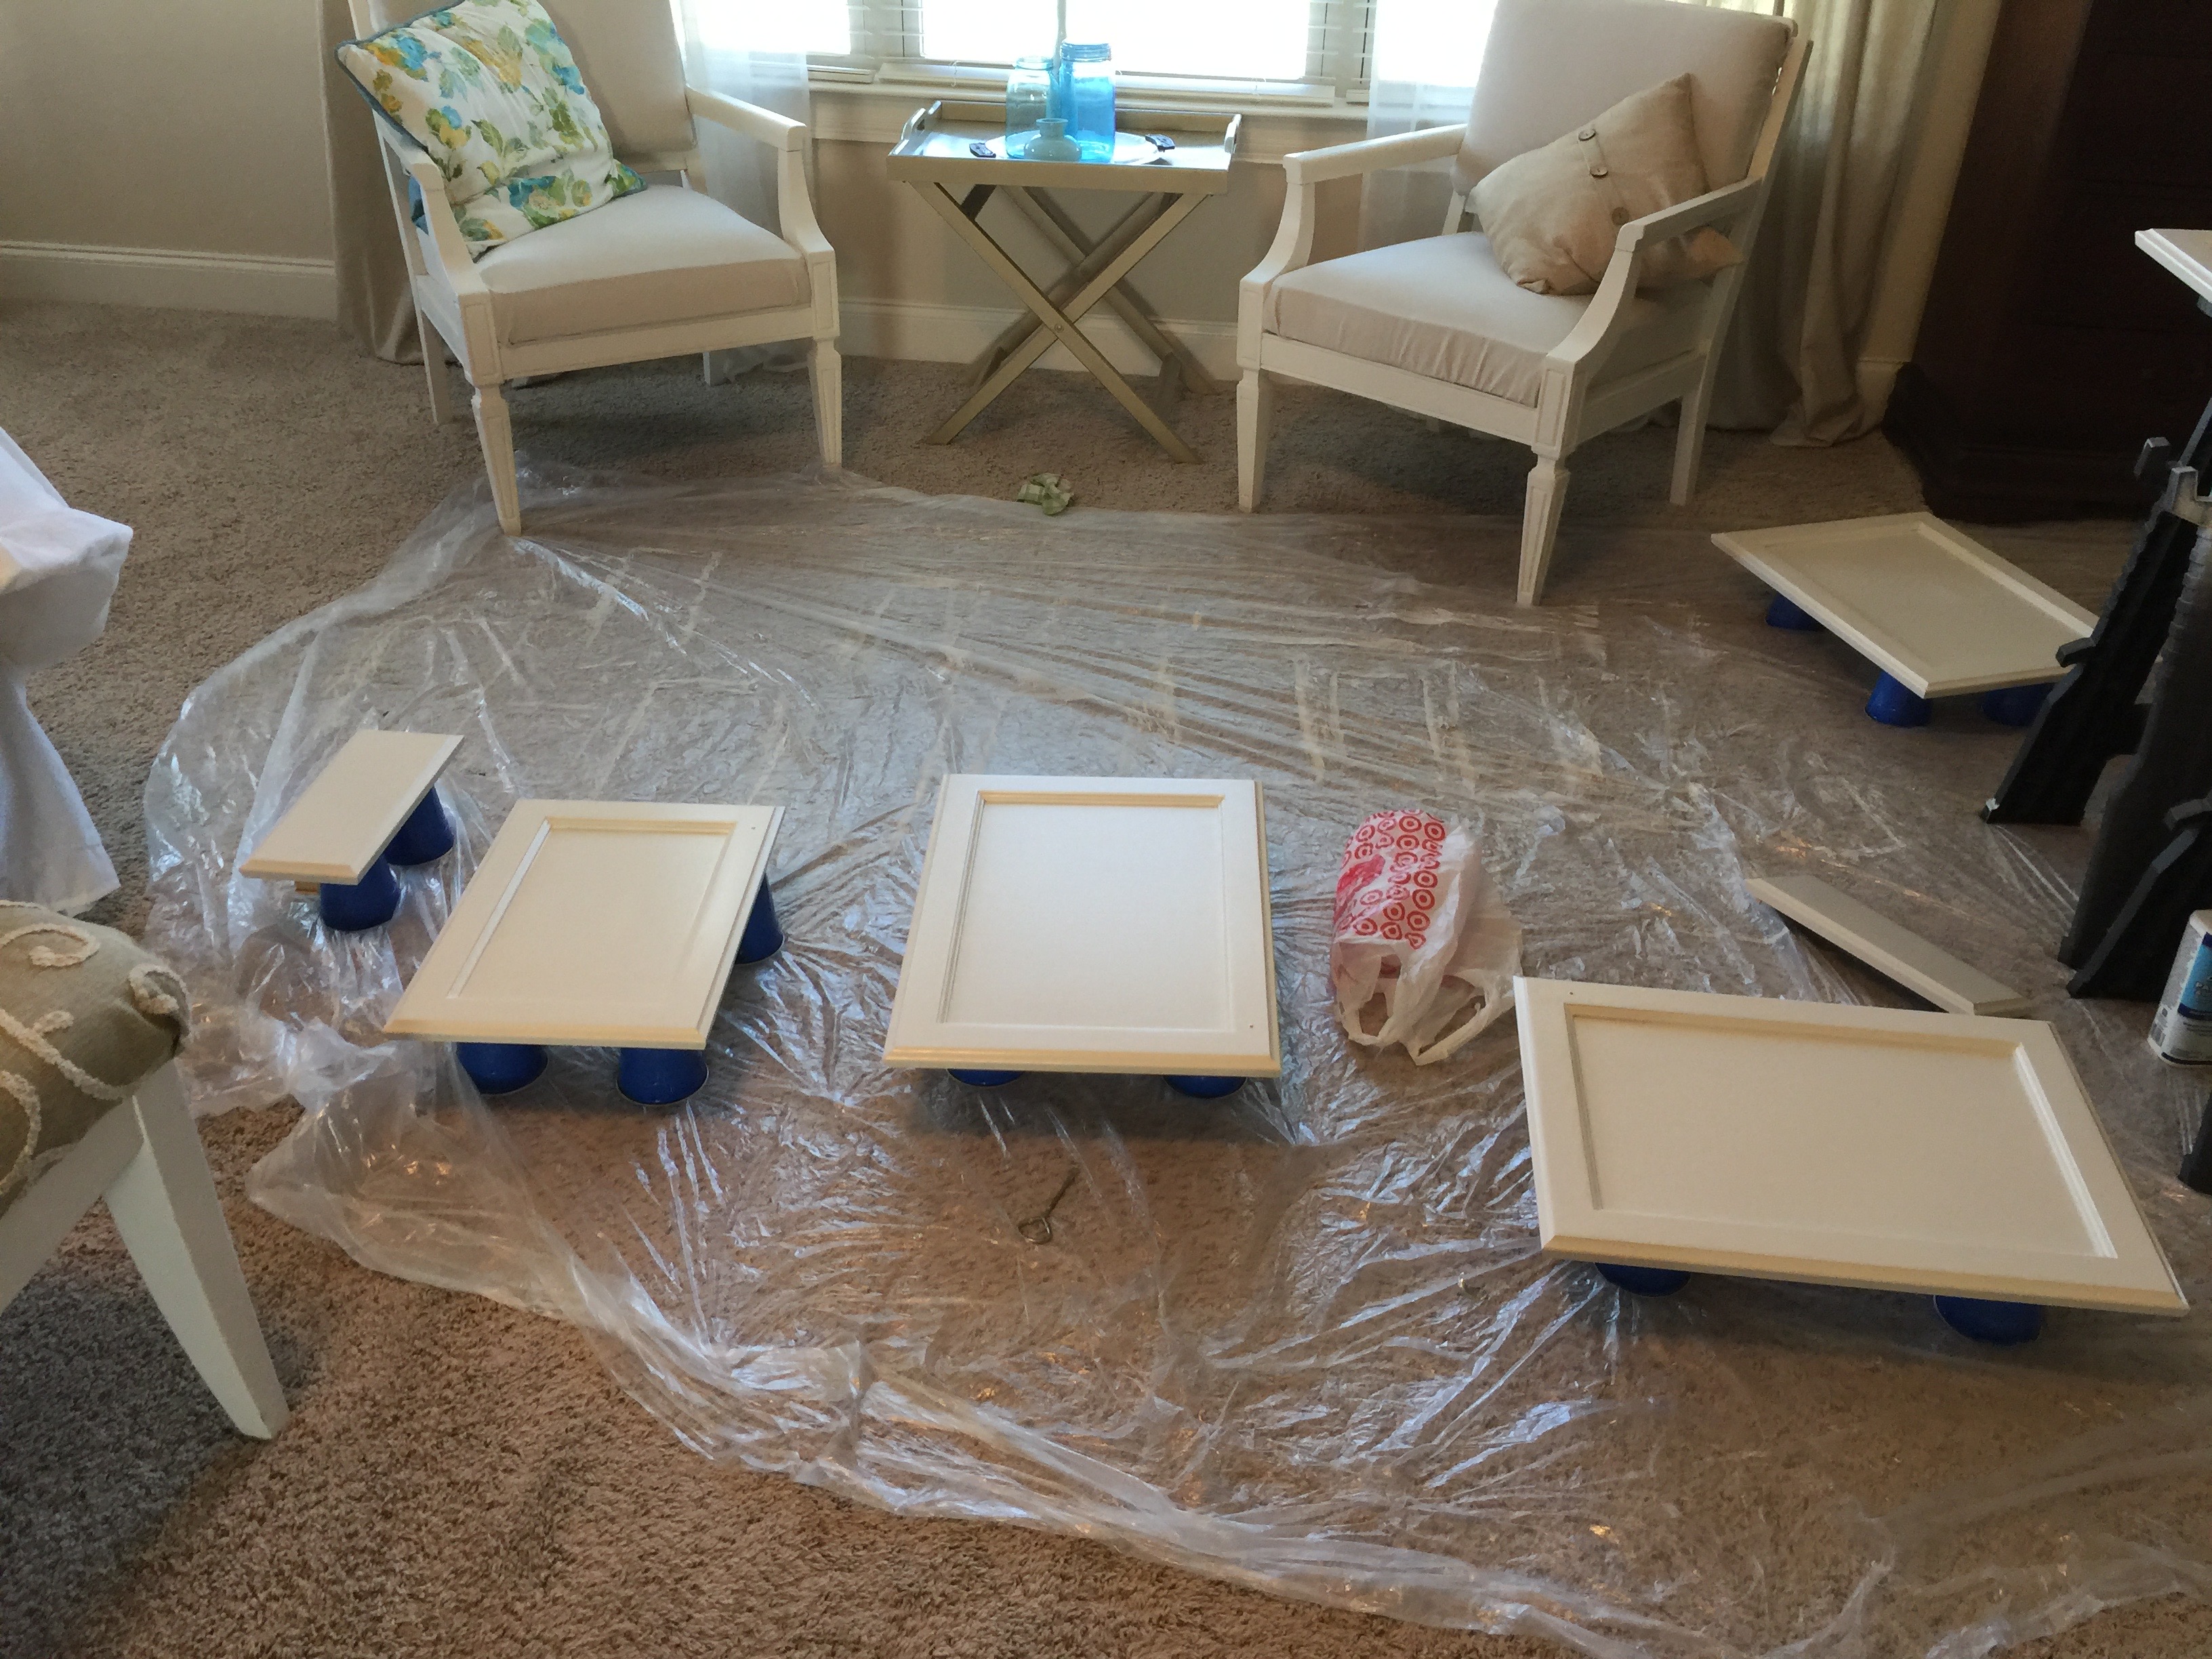
No paint pyramids available? Be super fancy like me and use Solo cups!
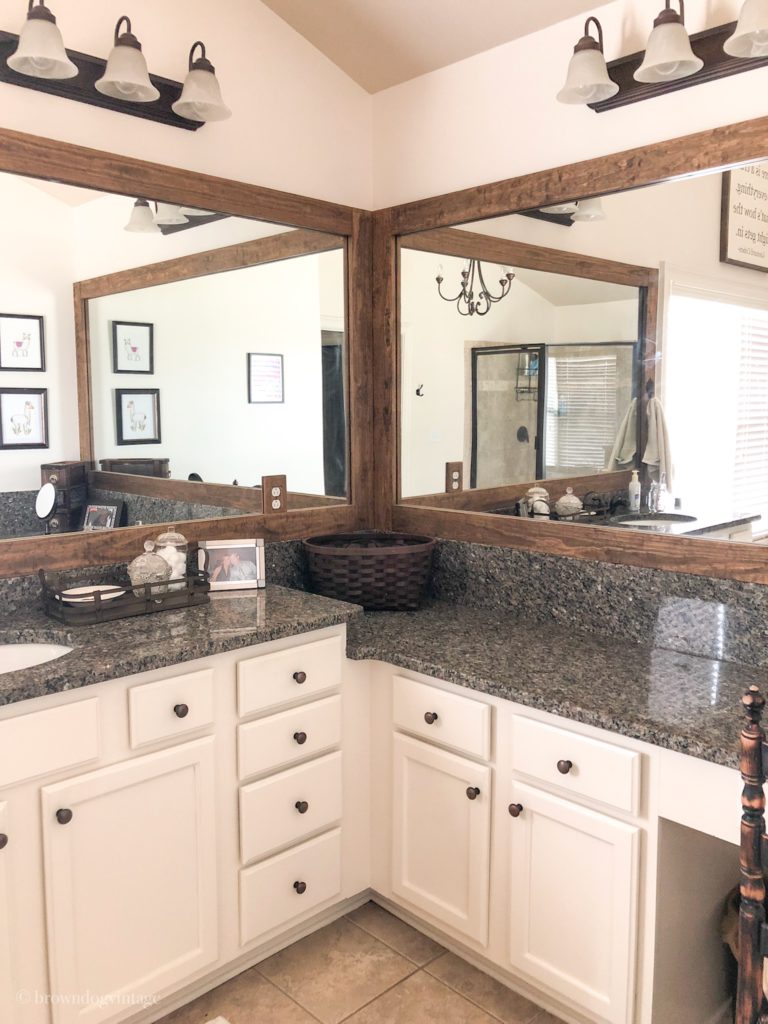
Next, we decided to trim the mirrors – we got 1×4 boards from Lowes and cut them all down to size. We decided to cut them all straight and line them up but you could do mitered corners too. I stained the fronts and backs of each board with Minwax Provincial Stain. This was done in the garage because stain is smelly stuff. Once they were dry, we added liquid nails to the backs and put them in place on the mirrors.
The bathroom walls got a fresh coat in the same Panda White but a matte finish. Finally, it was time for shiplap! This was our first try at shiplap so we started small.
We have a small toilet room in the bathroom just to the right as you walk in. The toilet came out and the baseboards came off. I pretty much stalked Pinterest for tutorials and guides. We got inexpensive plywood sheets from Lowes (we had them cut into 6-inch strips for 0.25 cents per cut).
While at Lowes, the hubs says “but wait – wouldn’t it be great to add beadboard to the ceiling too?” Why yes, it would be great. We bought a 4×8 sheet of beadboard and he cut it to size. Then he cut out for the fan, light, and vent. Paint it and let’s put it up. Hold on – Picture holding up a freshly painted, very heavy piece of beadboard and realizing the holes you cut for the fan/light/vent are not correct.
More cutting, more painting, and boom! Beadboard ceiling!
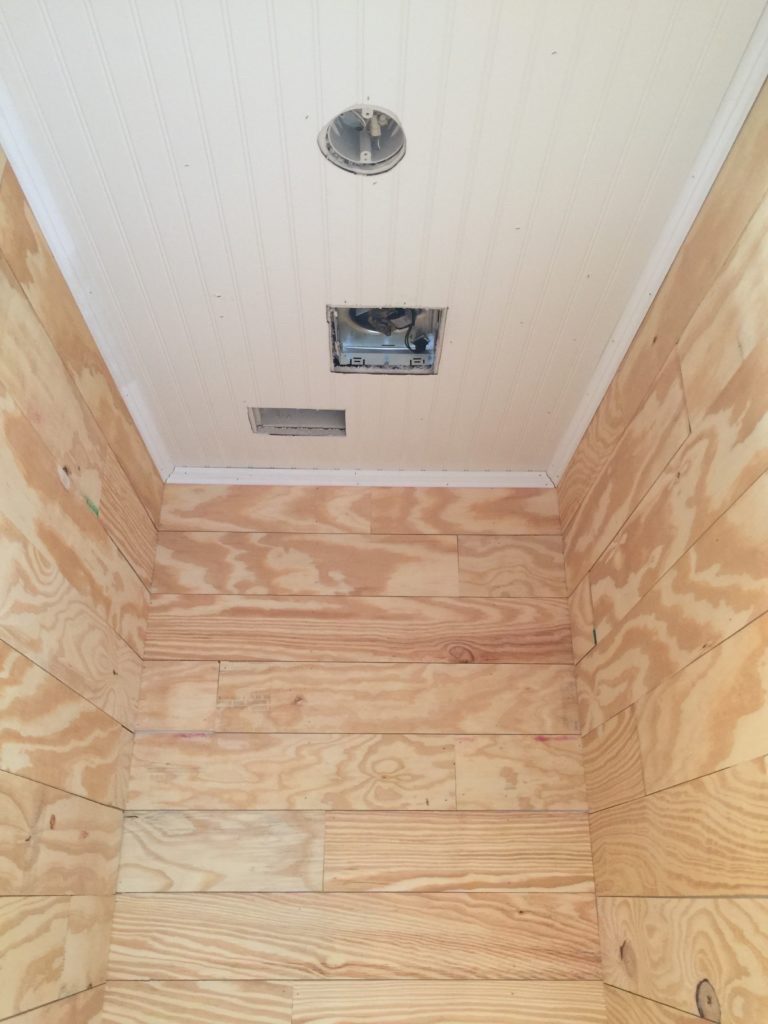
Time to start adding boards. We did choose to paint the walls in Panda White first so the builder tan wouldn’t show through the gaps. And one night when I came home from work – this greeted me!
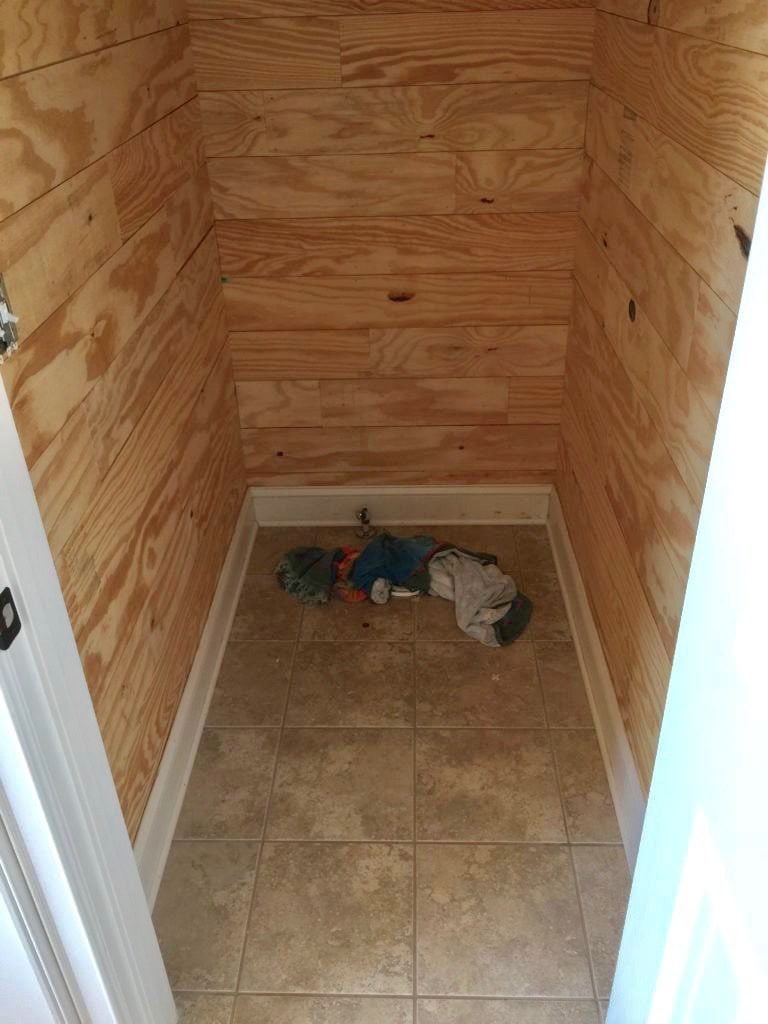
I purposely didn’t sand the sheets of plywood because I was going for a rougher look and I love it. He used pennies for spacers between each board and also used liquid nails on the backs of the boards in addition to the nail gun to secure them.
Then the fun part – painting. Actually, the painting started and we realized we had the wrong color. What looked like white was actually a lovely gray that we had from who knows when. Not fun. Just remember when you start a project, you will likely end up with quite a few trips to the hardware and paint store. Anyway – correct paint and two coats – done! We didn’t prime the boards first, but you could if you wanted better coverage.


You can see that some boards have bigger gaps between them, but it’s ok – we love it! It’s a huge improvement in the “brown sea” and it’s so much lighter now.
Update: You can see Part Two – Click here

Brian Hall
Friday 15th of March 2019
Have you thought about angling the shiplap or would that be too difficult? Also instead of paint can it be stained? Thought this might give it a little twist bur i like what you have done also.
Melissa
Saturday 16th of March 2019
Thanks Brian! It could absolutely be stained. In fact, that would probably be easier than painting. And I never thought about angling - Could be a future project!
Michele Michael
Thursday 22nd of June 2017
Love the shiplap and the vintage silver platters. The patina and the white look very pretty . Nice job. It's probably even prettier in person. Found you over at Try It Like It Link Party.
Melissa
Thursday 22nd of June 2017
Thank you so much Michele - it's amazing how much brighter it is!