


Today I decided to make a simple DIY wood crate to hold our remote controls. I’m not a skilled woodworker for sure, but four hours later, I had a DIY wooden crate. Yes, four hours. Clearly, I’m not that swift at woodworking. However, it worked, I have a new simple DIY wood crate, and it was all 100% free from stuff we had in our garage.
Simple DIY Wood Crate
This DIY Wood Crate is an easy way to use up scrap wood and also make a functional storage piece without buying a ton of supplies. You can make one with or without power tools and create a storage caddy you’ll love!
Now – I would love to have a fabulously decorated coffee table, but let’s get real. It’s often covered in coloring books, Shopkins, trading cards, and somehow, granola bar wrappers. I’m doing good just to have somewhere to corral the remotes. (And I wouldn’t have it any other way at this stage of mommyhood).
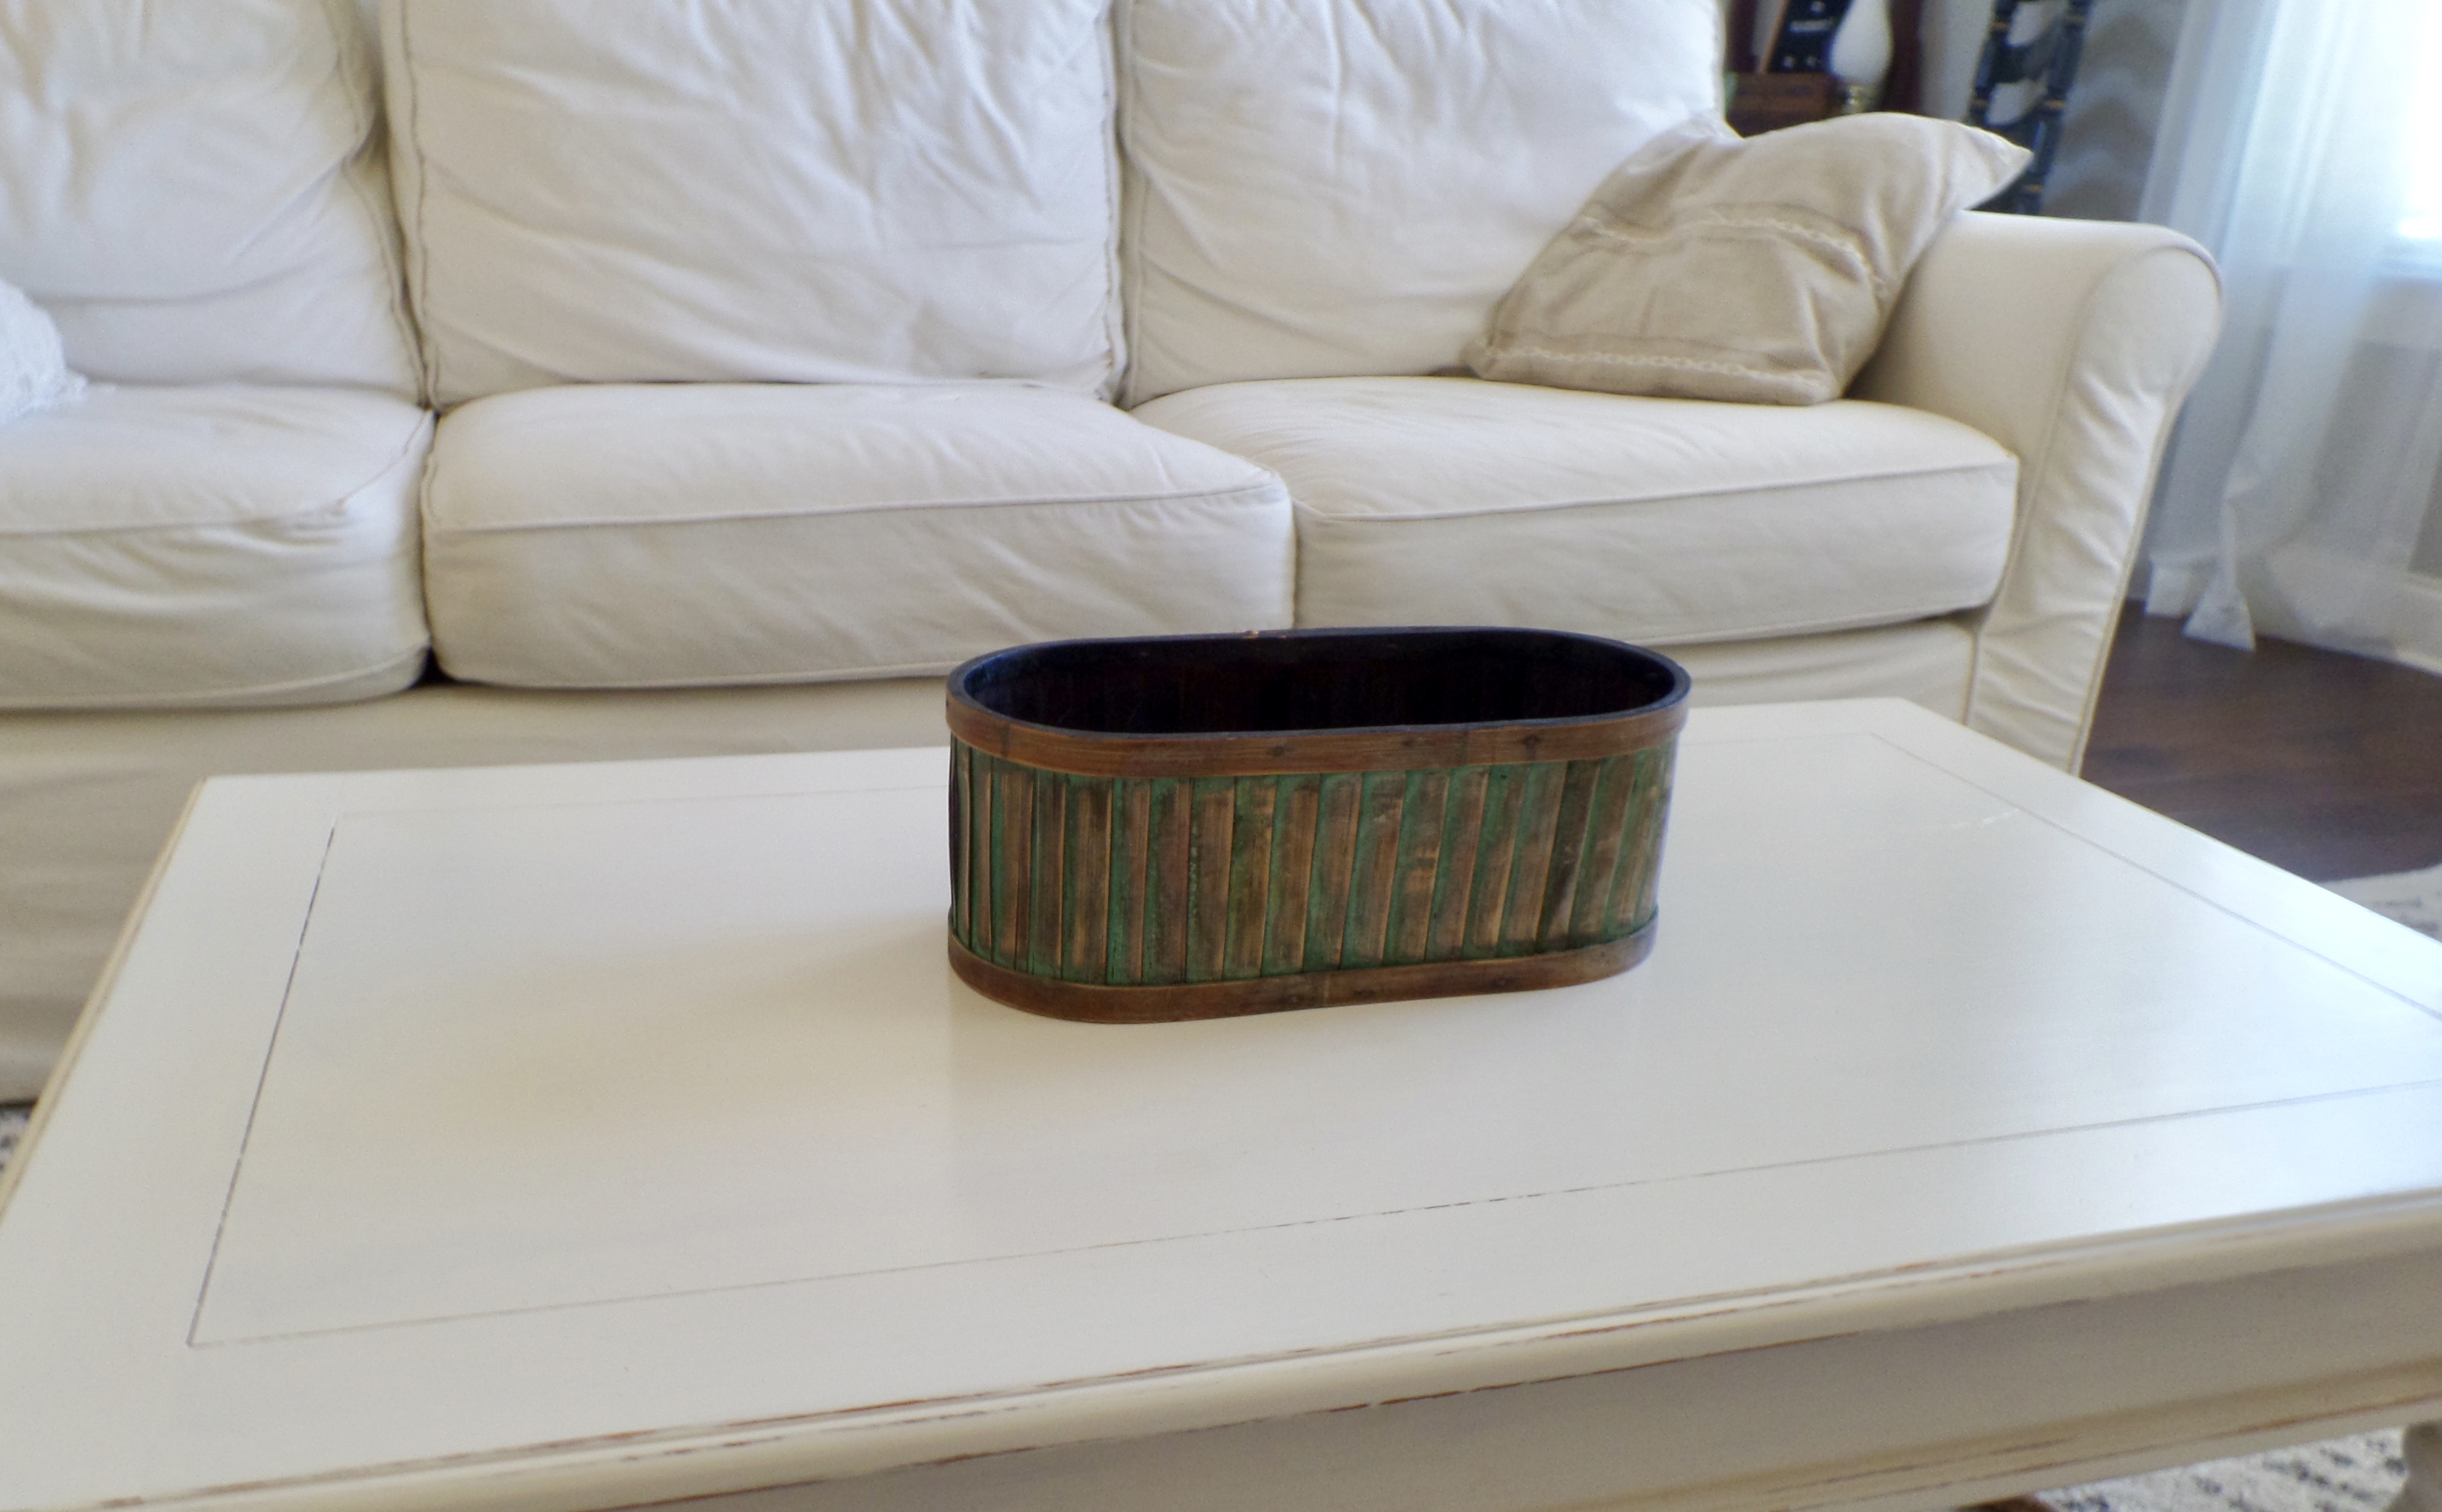
We have a small box thingy on our coffee table that holds remote controls (and pencils, stickers, random dolls….??). It came from a yard sale a few years ago and it was doing its job holding stuff, but the box just didn’t go. Plus it was too small for the width of the table.
Here’s our before:
I had a few hours at home alone and thought I would try my hand at making something. So first things first:
Supplies for DIY Wood Crate
- Scrap wood – I used a plank for the bottom of the box that was leftover from the bathroom shiplap . It is 1/4 inch plywood – Nothing special and doesn’t have to be specific. Any plywood scrap will do.
- Scrap 1 x4 boards – If you don’t have any random wood lying around, hit up Lowes or any other hardware store and see if they have a scrap wood bin. Or you could buy some for very little money. I hit mine with a hammer a few times to bang them up a little and not look so fresh.
- Old hardware – I have a hardware stash in the garage from past furniture makeovers. If you don’t have any, there are lots of options to choose from that will only set you back a few bucks. Hobby Lobby has 50% off sales on their handles/knobs every few weeks, so that’s an option too. You could easily find two for a few dollars. An even better option is to hit up a vintage store and find some cheap handles.
- Wood glue – Now, here’s where I went wrong in my project. I could not find our wood glue (and I know we have at least three bottles!). I ended up using nails to hold it together which will probably prove to be a mistake in the long run. The nails will eventually work themselves out, but if it happens, I’ll just do it the correct way and use wood glue. You can find wood glue at any hardware store and even Wal-Mart.
- Sandpaper or sanding blocks – I used these to clean up the ends from my cuts and to get off some of the markings from my boards. The boards I used were new recently and had several markings from who knows what on them. I just sanded them off the best I could.
- Saw – I started off using a hand-held saw, but my cuts were very uneven. I busted out the big gun after that. It is much easier to get a straight cut with a miter saw. However, if you don’t have a saw and you have to buy wood, just get the hardware store to cut it for you and you don’t even need a saw!
- Screwdriver/drill – You’ll need this if you don’t use wood glue like a sane person should to put it together and for the hardware. If you use wood glue and opt to leave off the hardware, you can get away without it.
- Wood Stain – Any color you like, or if you would rather use paint, that’ll work too. Doesn’t matter – just whatever look you’re going for and you don’t need much. So, if you don’t have any, you can pick up any color at Hobby Lobby, Wal-Mart, or anywhere that sells those $1.50 craft paints.
Get Started!
Decide what size you want your crate. I just picked based on the boards I found laying in the garage. Initially, I was shooting for 16″x9″. But, what I found in the garage was 15&3/8″ long and there were two of them so I went with it.
So I had two 1x4s at 15&3/8″ long and then I cut the plywood to 15&3/8″ for the bottom of the crate, and sanded the rough edges.
I then measured for the ends and determined I needed 7&3/8″ wide slats to fit on each end to enclose the crate. This took me a couple of tries on the saw. This is what I ended up with after the cuts:

Put It All Together
I started by attempting to attach the sides to the bottom. However, my plywood was so thin that I couldn’t get it nailed together. Again, more of a reason to use wood glue. It would’ve been so much simpler just to glue it together.
And yes, I could have gone to the store, but I was determined to use only what I could find on hand. So, I changed courses and nailed the frame together without the bottom. And I do like seeing the nails in the finished product.
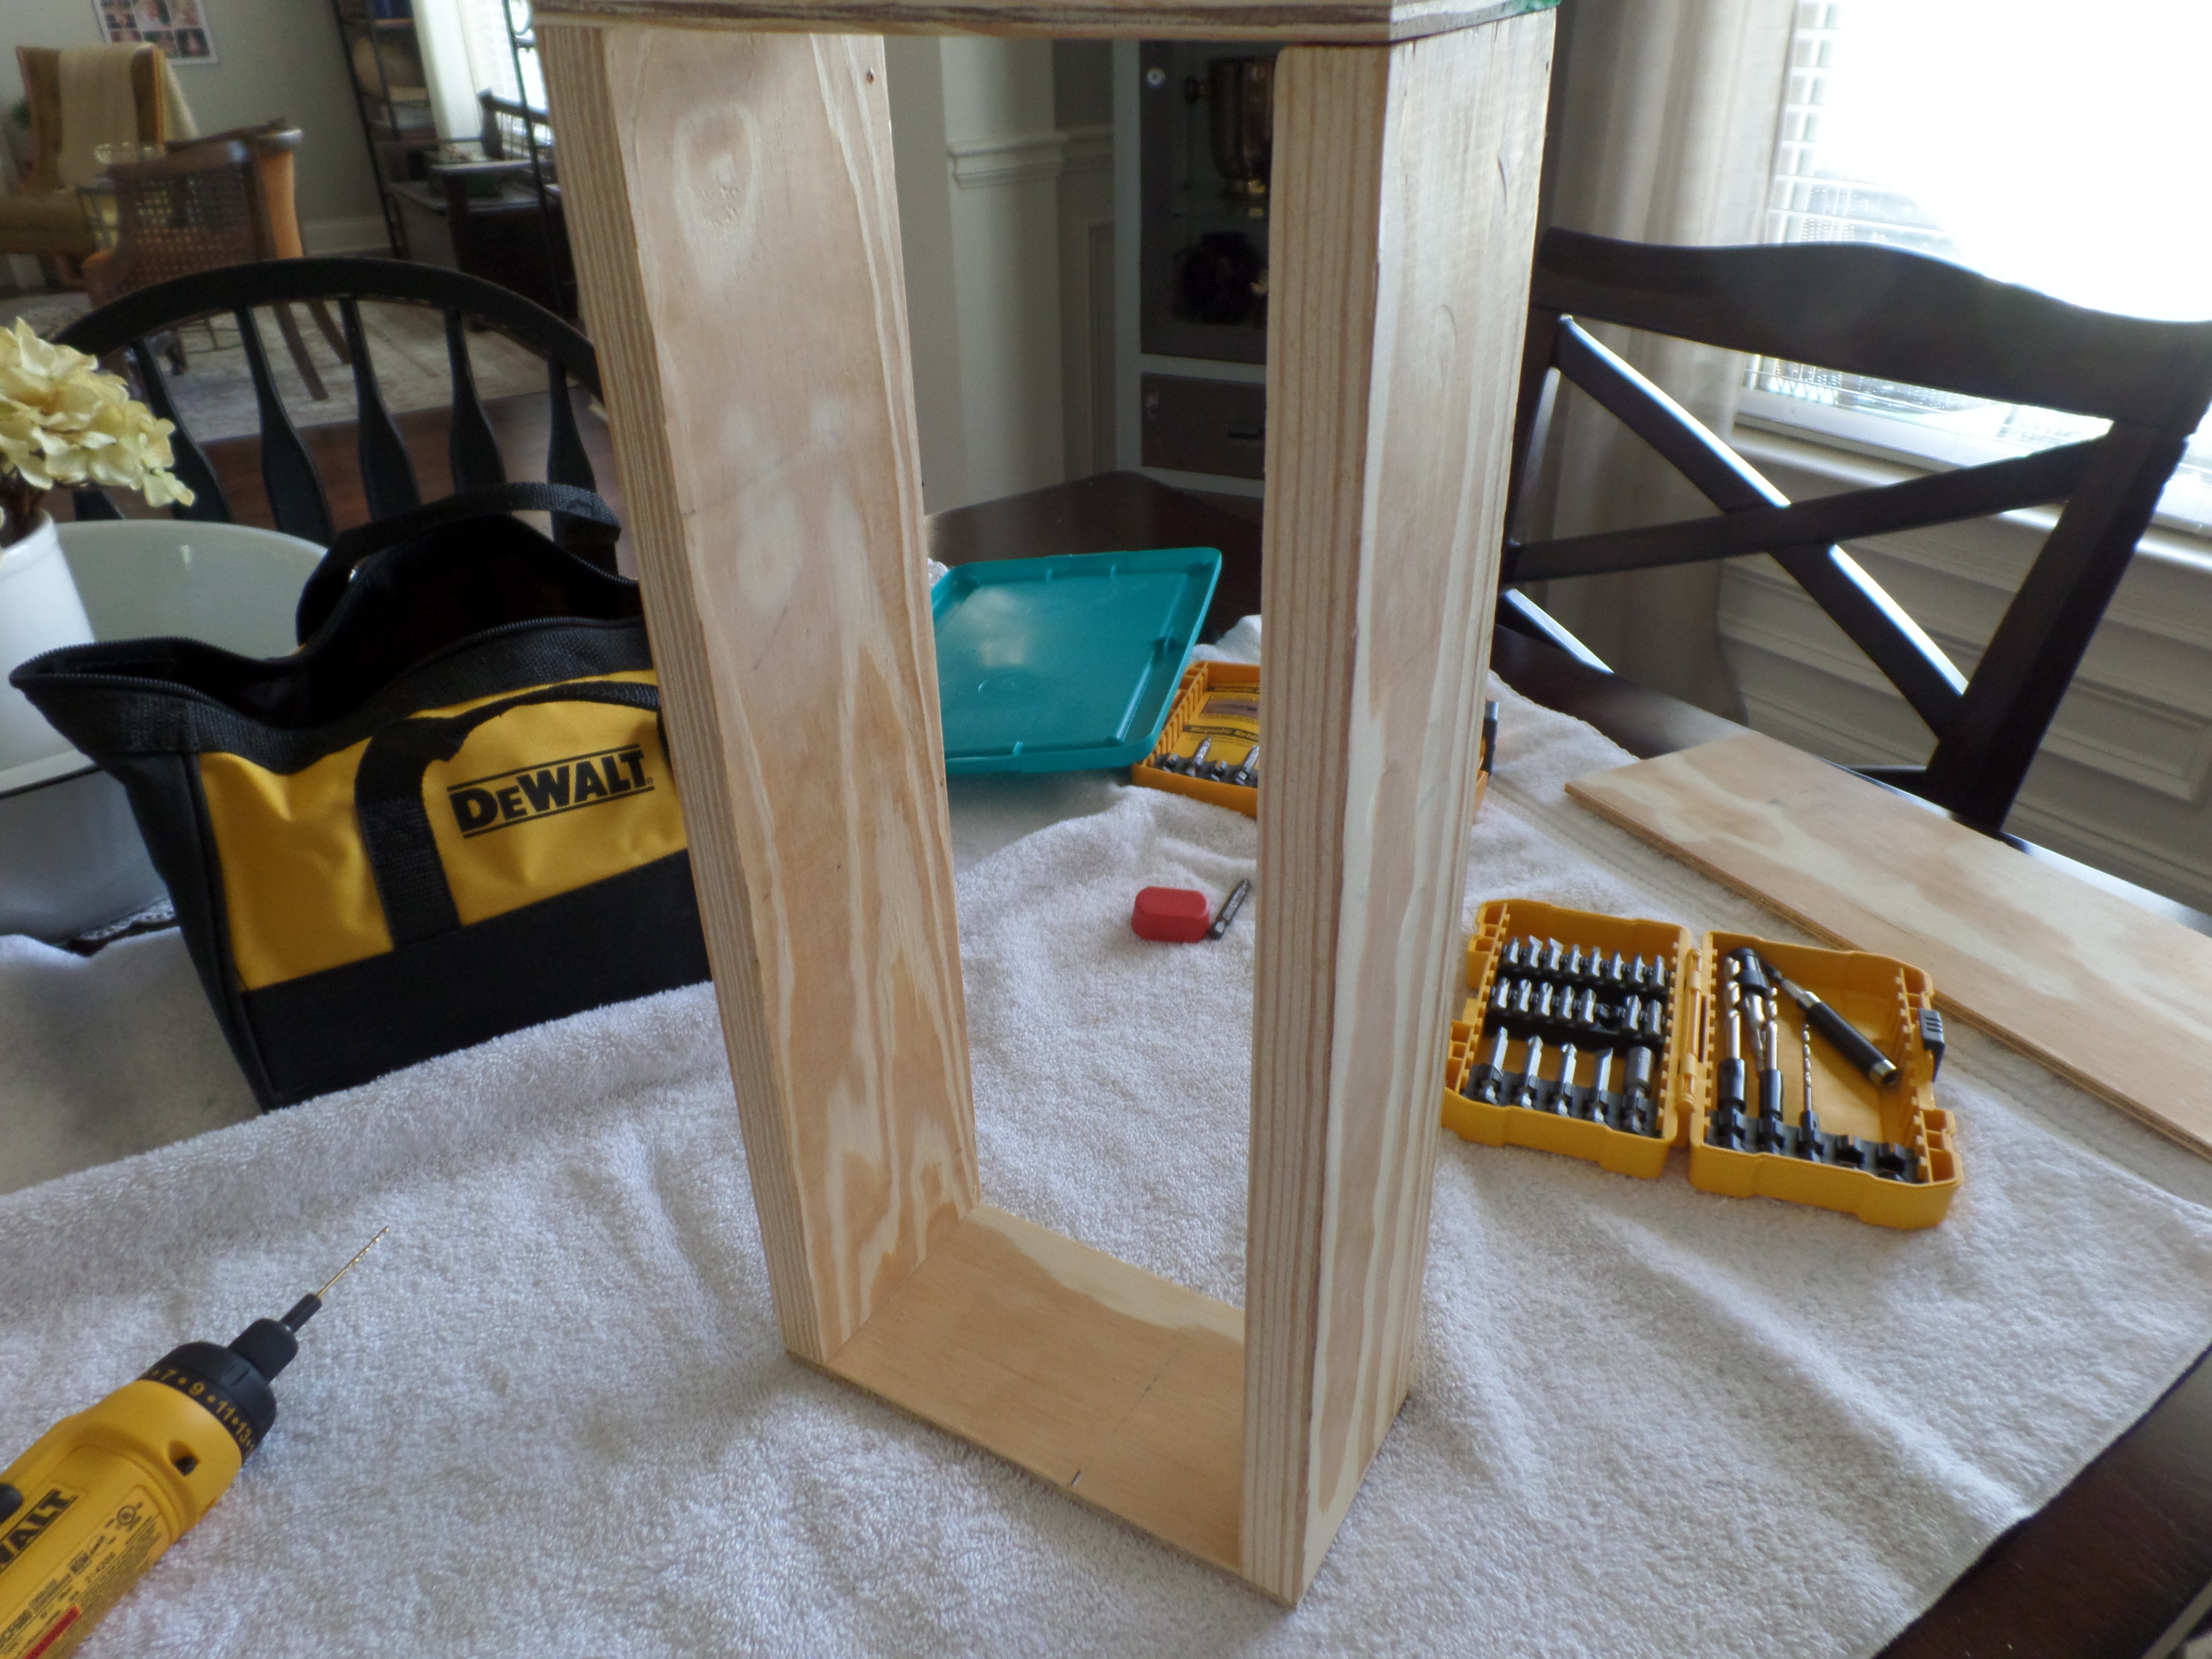
I used the tiny drill bit from my Dewalt Screwdriver to drill pilot holes so I could nail it together. This is necessary to avoid splitting the wood, as well as for ease of nailing it. I used wire nails and added three on each end of the small ends. Wire nails because that’s what was in my tool bag already.

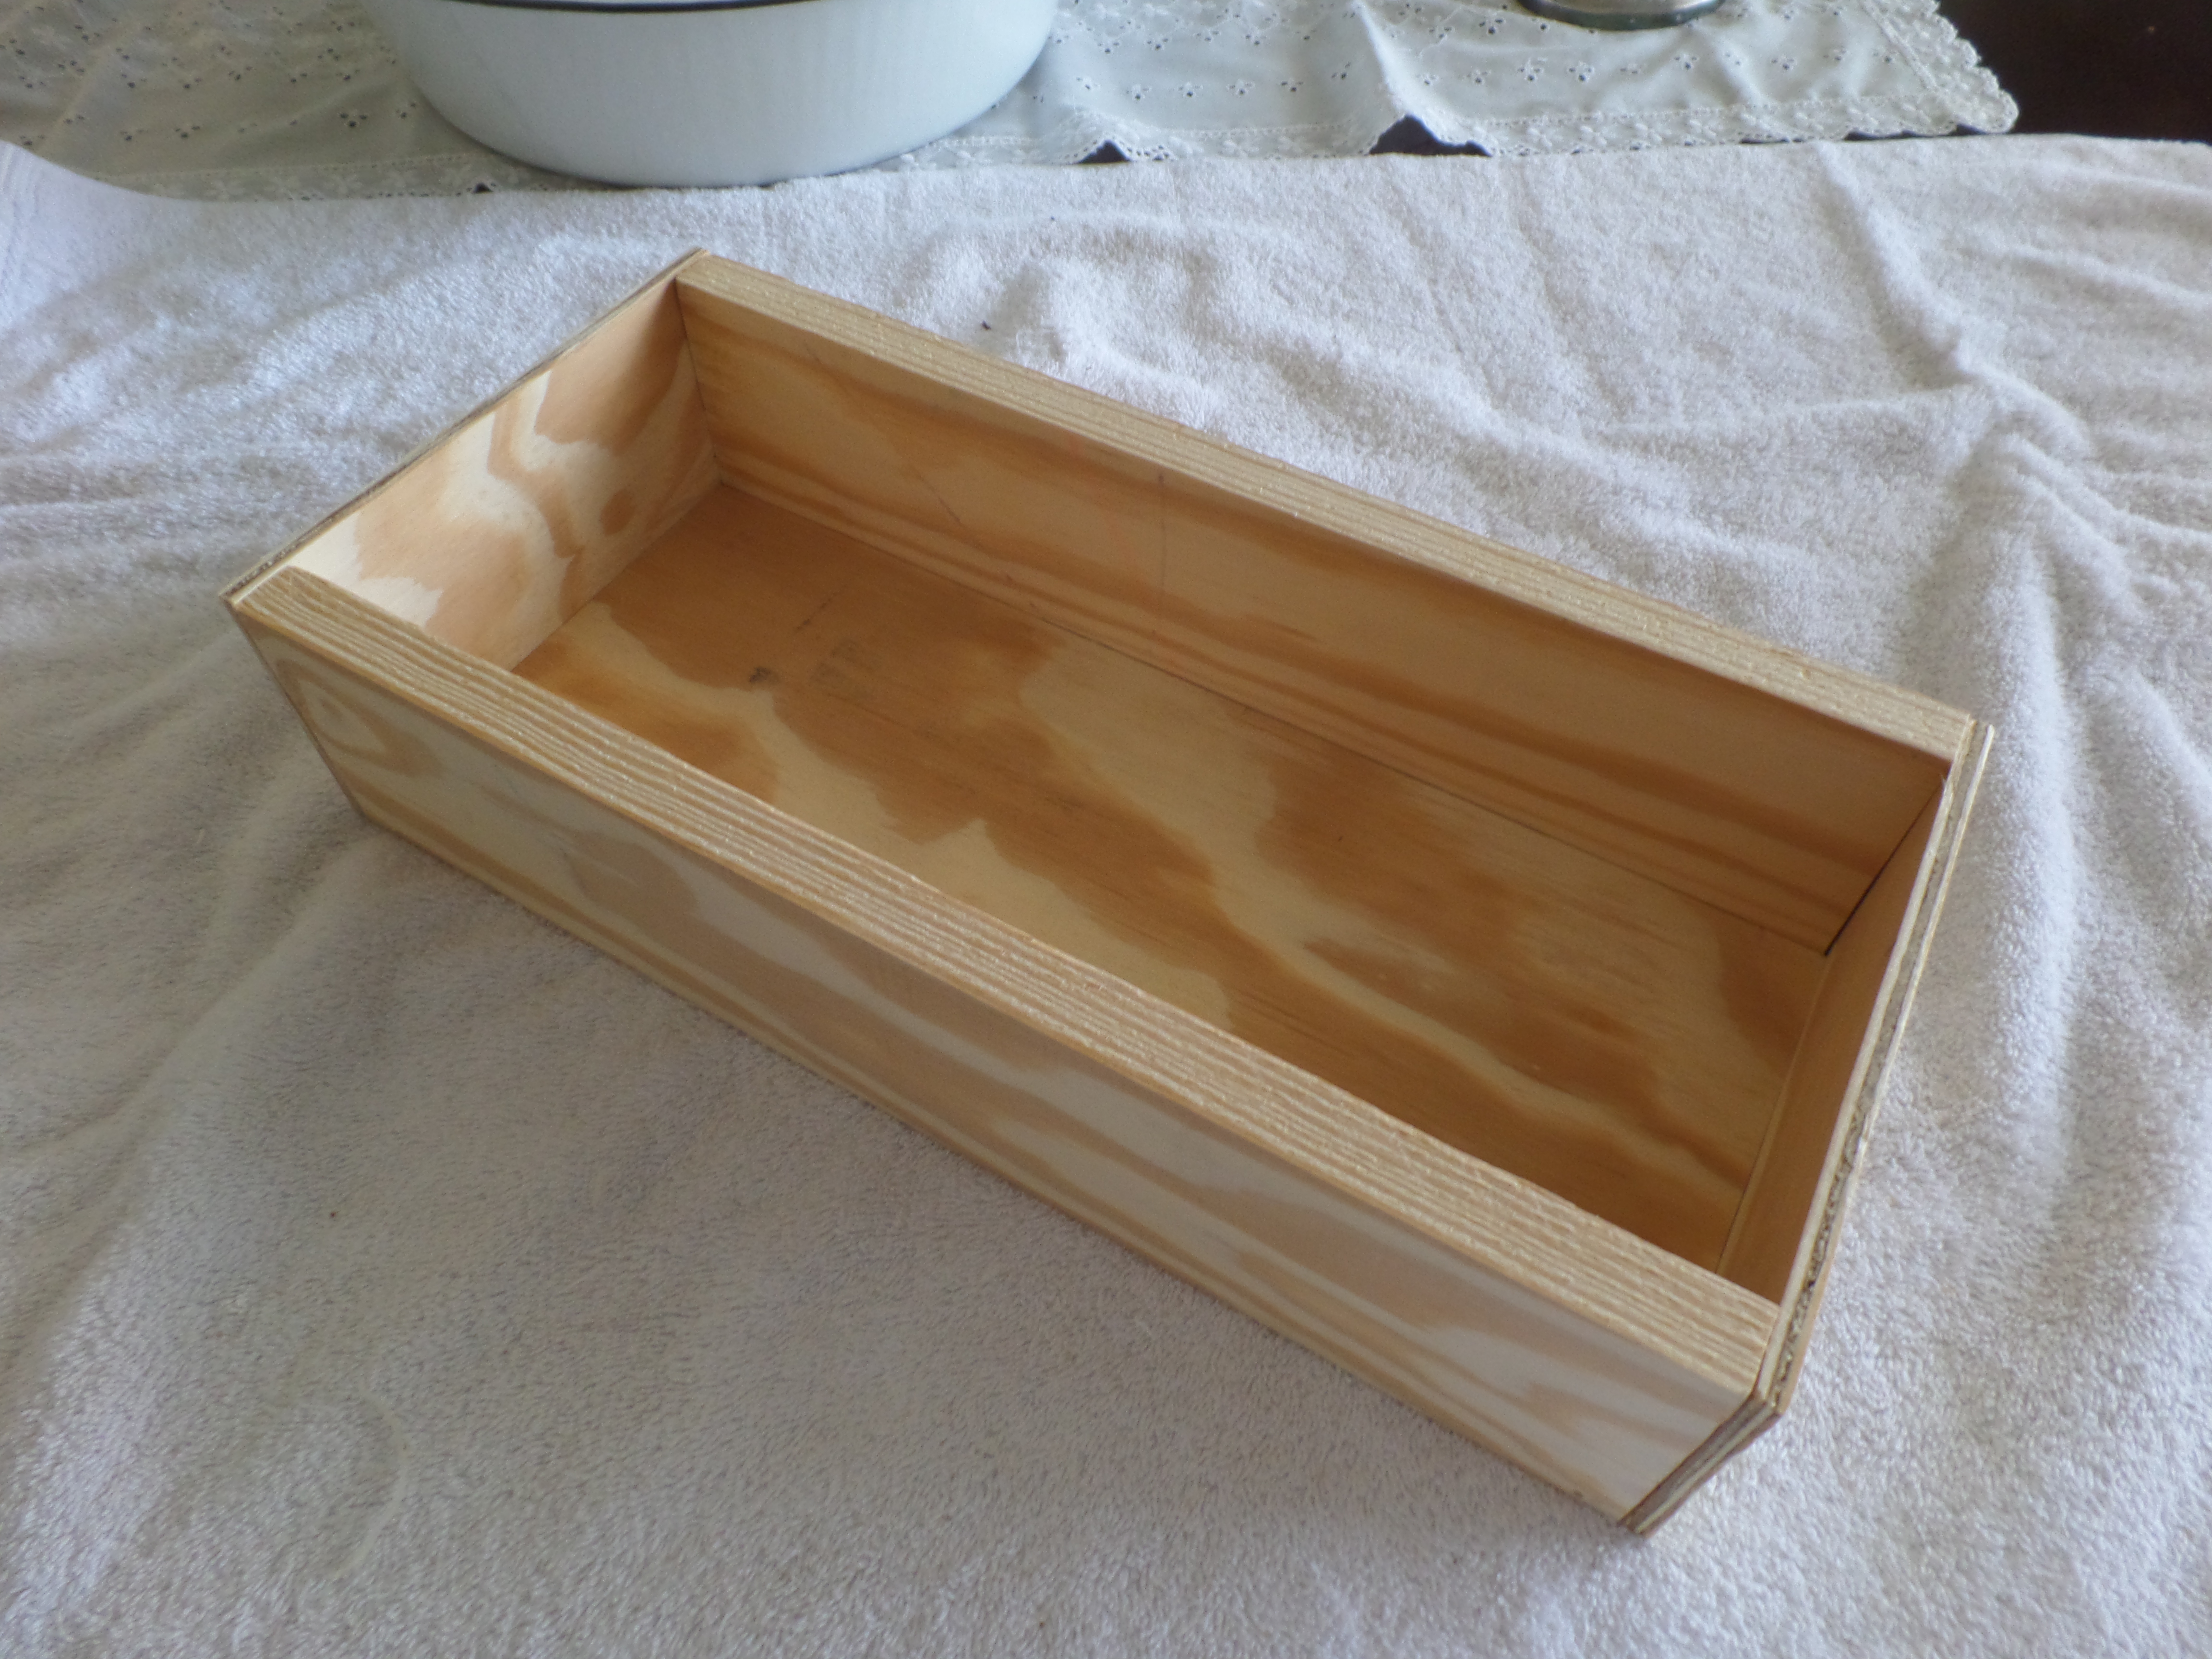
After the frame is secure, you can fit the bottom piece in. Mine was pretty snug and I had to work it in there.
Ps. Notice the old towel in the pic – I was working on my dining room table. Probably not a smart idea but it works.
Add the Hardware
Once everything is together, measure the distance for your hardware if you are adding any and use a drill bit to make your holes. If your projects are like mine, you will measure wrong and the holes will be too close together (not saying this happened or anything).
The screws for the hardware I had ended up being too long so my kind husband cut them down for me. I added a washer to the inside to clean it up a bit. The wood split a bit on the inside when drilling for the holes, but it doesn’t bother me. It’s supposed to be rustic so it just adds to the character.

Finish It Off
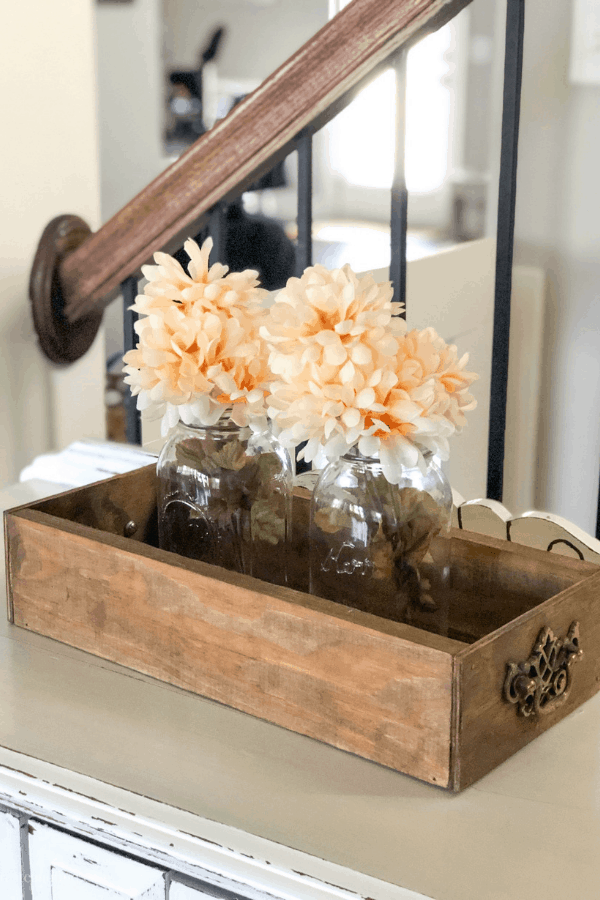
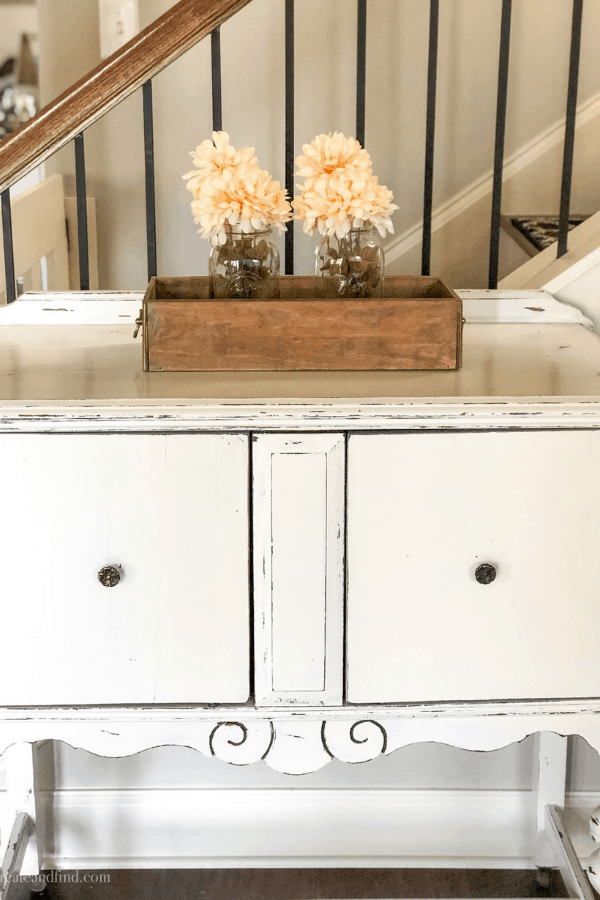
Now you can make it your own! I chose to stain mine because our coffee table is currently white and I want it to stand out. You can use stain or paint – whatever you want. You don’t need much. I started with weathered oak stain but didn’t like it (it looks pale gray on new wood), so I switched to MinWax Provincial.
I only needed one coat of stain applied with an old dishrag. Then, I let it dry, added the hardware, and stuck a few felt feet stickers to the bottom so it won’t drag on the table. And wallah! The simple DIY wood crate is done!
Use it for remotes, decor, or even a DIY Herb Garden like this one!

Now, here’s the best part of my first ever DIY build on my own. That very night, I was going to a barn sale. I told my hubs before I left that I would find the perfect box and guess what?
We met the sweetest vendor who was cleaning out her grandpa’s barn and guess what she had? The most amazing dove tailed vintage wood boxes. Nearly the exact same size as my DIY – and for only $10.
Naturally, I bought one. So now I have two. Search for one until I finally decide to make my own and then find one on the same day. How’s that for coincidence?
Either way, it’s satisfying to make something on your own. I’m always amazed at wood working. It’s truly a skill that some people possess and I’m in awe of those folks that can just put together a piece of furniture in no time.

The Creative Gallery #242 - making it in the mountains
Sunday 30th of July 2017
[…] Dog Vintage found the perfect hardware for this vintage inspired DIY crate! […]
Nicole (@momfindsout)
Sunday 4th of June 2017
This is such a cool DIY wooden crate. I like how you use it as a table centerpiece to hold the plants. #HomeMattersParty
Melissa
Sunday 4th of June 2017
Thank you Nicole! At least the plants stay put! Unlike the remotes that I originally built the box for!!
Sara
Friday 2nd of June 2017
This turned out great! Love the handles and stain color you went with. I end up changing my DIY plans all the time based on what materials I have around the house, too...I figure it it breaks later, I know how to fix it, haha. #HomeMattersParty
Melissa
Monday 5th of June 2017
Thank you Sara! My husband laughs at me all the time because I just use whatever and figure out a way to make it work! Glad I'm not the only one!
Ruth van den Bri k
Friday 7th of April 2017
It's not specifically about our home. More about faith and life. But I did do a post about what God has been teaching me as we do our renovations. 🙂 www dot graciouslyredeemed dot com
Melissa
Friday 7th of April 2017
I'll definitely check it out!
Ruth in NZ
Thursday 6th of April 2017
Hi there, Visiting here after seeing your post on WOW. I LOVE upcycling and we are currently doing up (very slowly) an 1890s villa in New Zealand so I am adding your blog to my Reader. I am really interested to see what you are up to.
Melissa
Thursday 6th of April 2017
Hi and thank you for stopping by! I appreciate the support! Do you have a blog about your home? I'd love to follow along!