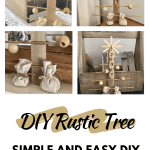

This DIY Rustic Christmas tree is an easy craft you can make this year with minimal supplies and time. I’ll show you how to make it, the supplies needed, where to get them, and then you can make your own!
Crafts don’t have to be crazy complicated or elaborate. They can be super simple like these trees. These give your holiday decor the perfect rustic vibes and you can make them so easily.
And I’m joining several other talented bloggers with some amazing ideas for DIY decor – be sure to check them out at the bottom of the post!
Supplies for a Rustic Christmas Tree
- wood shims
- wooden dowels
- wooden beads
- popsicle sticks
- drop cloth or other fabric scraps and stuffing from an old pillow or cotton balls
- twine
- glue gun
- scissors or knife (or in my case, I used a random tool I found in my husband’s tool chest – shhhh, don’t tell him)
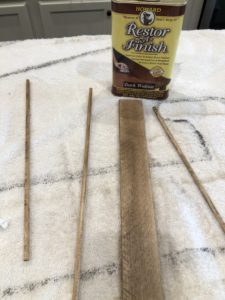
- stain or Restor-A-Finish (If you don’t own Restor-A-Finish, do yourself a favor and get some. I’ve had the same bottle for at least a year and a half. I use it when I just want a light coat on raw wood for craft projects and don’t feel like getting out the stain. It works like a champ, dries fast, and the smell won’t linger as long as stain. I also use it to touch up my great grandmother’s washstand to keep the wood from drying out.
The best thing about these supplies is that you can use them for so many projects. I keep wood shims on hand pretty much all the time for crafting!
I started off by applying a thin coat of Restor-A-Finish to the front and back of two wood shims. Then I coated 3 of the wooden dowels. After that dries you can start assembling your tree.

Assembly
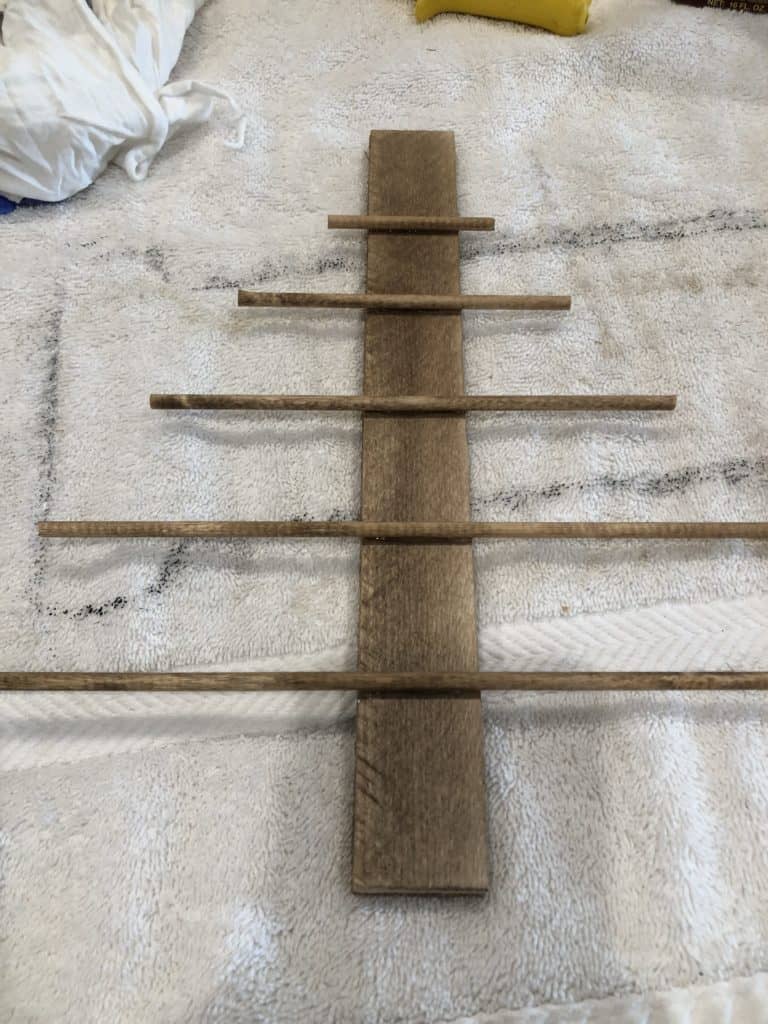
- Hot glue two 12″ wood shims together matching up the narrow end and wide end of each side. Shims have a narrow, thin end and a thicker end. Their proper use is for positioning windows and doors during construction, but they are fabulous and cheap crafting materials!
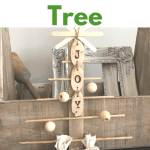
- Figure out how you want to arrange your “tree branches”. I used three dowels total (my dowels were around 3/16″ and 12″ long). I snipped a bit off of one whole dowel to use as my bottom branch and then I just eyeballed it and cut four more branches in decreasing size. The actual measurements of each branch I made are 11″, 9.5″, 7&1/4″, 5, and 2&3/4″. But it doesn’t matter the sizes – just eyeball what you want and snip your dowels to fit. I eyeballed the center and used hot glue to attach them to my wood shims.
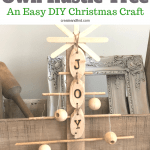
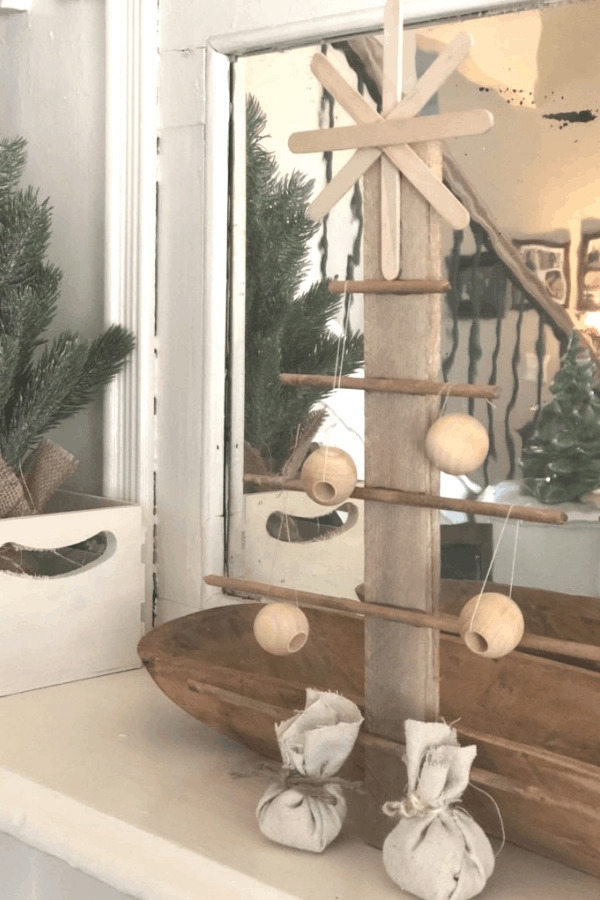
- Make a star out of popsicle sticks using hot glue and then attach to the top
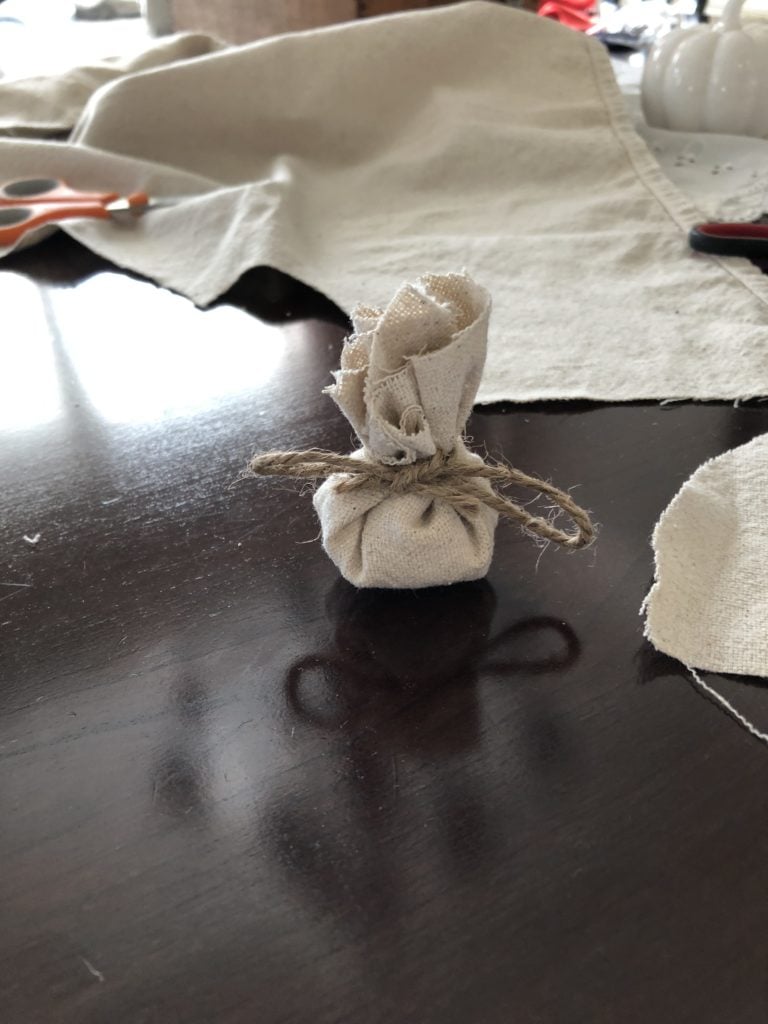
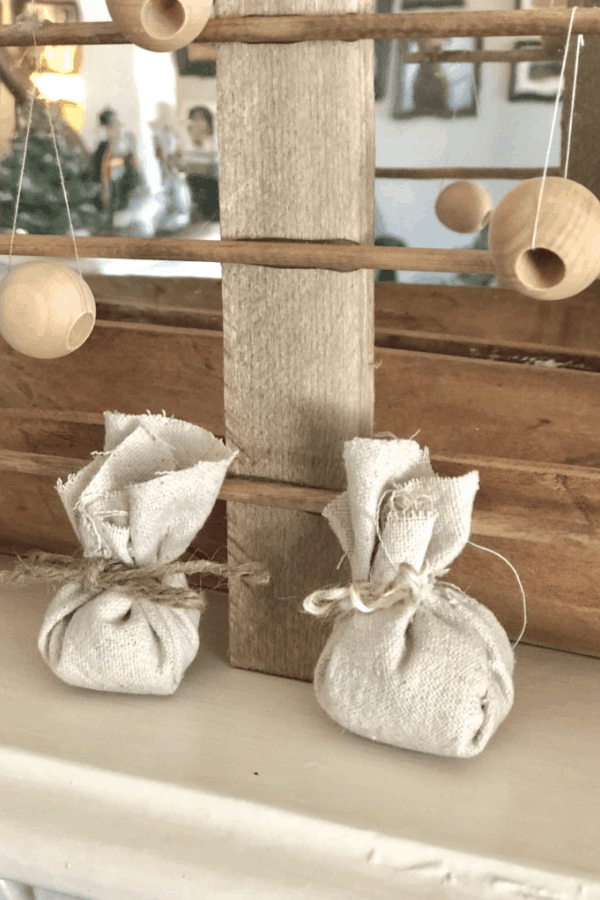
- Cut out a scrap of fabric about 5 inches in diameter. Bundle it around some stuffing from an old pillow or use cotton balls and tie it off with twine like a miniature present.
- Hot glue the backs of your “presents” to the bottom branch of your tree so they will stay put when you display it.
- Use thread to hold the wooden beads and use them as “ornaments” on your tree.
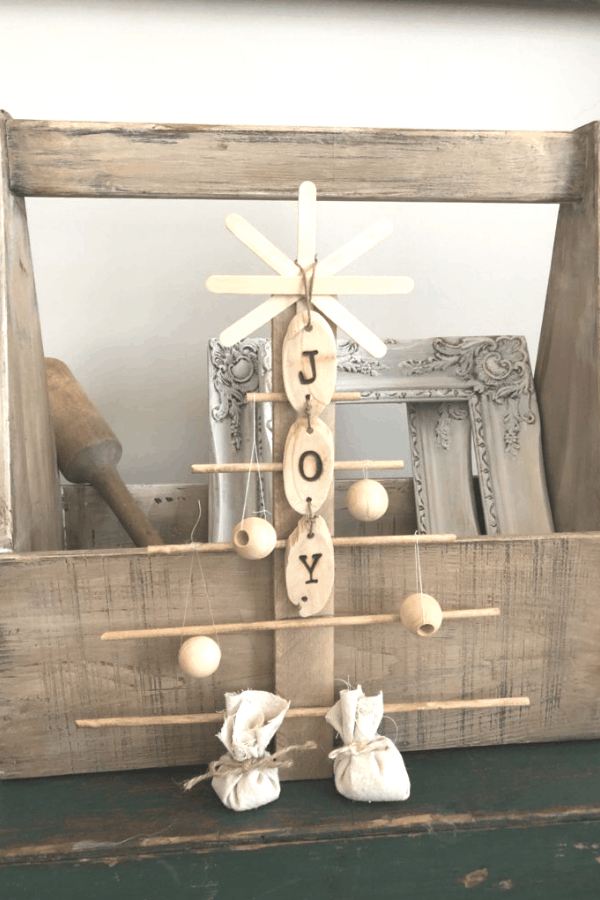
- I topped mine off with an amazing hostess gift that my sister brought for Thanksgiving – A JOY ornament made from driftwood and wood burning from Home Grown Trading Post– You can find them on Instagram @homegrowntradingpost. I like to get a new ornament each year and this one is perfect!
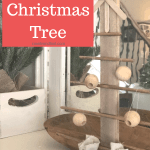
DIY Rustic Christmas Tree!

And that’s all you need for your own DIY Rustic Christmas Tree. You can customize it any way you like or leave it natural like mine.
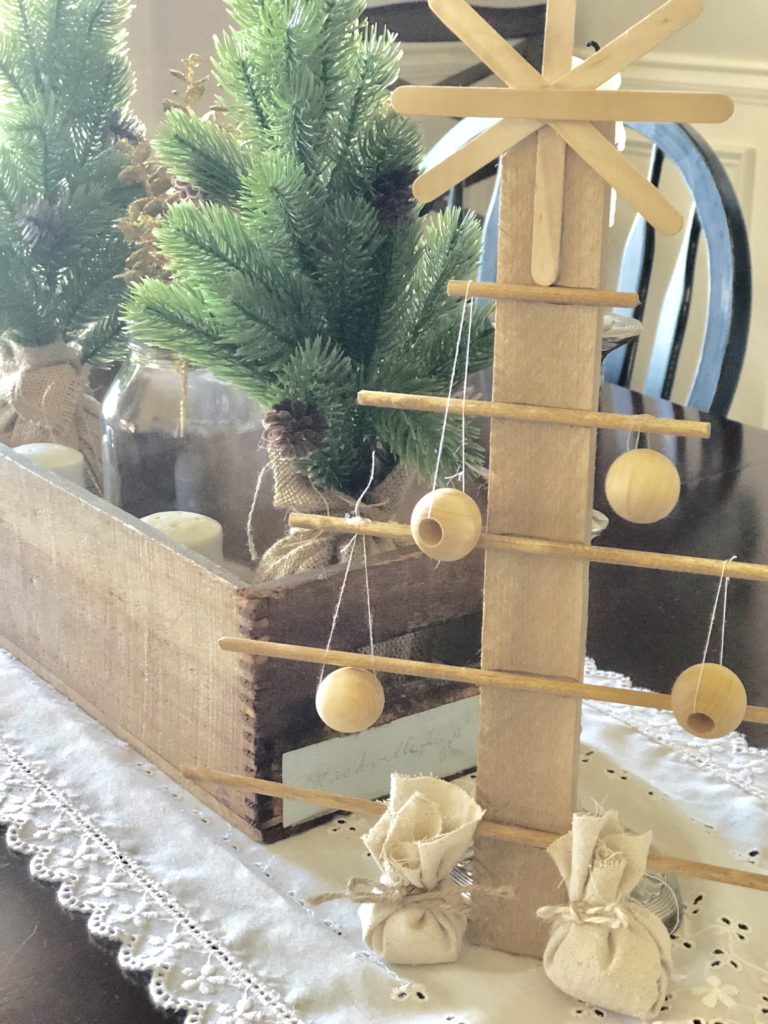
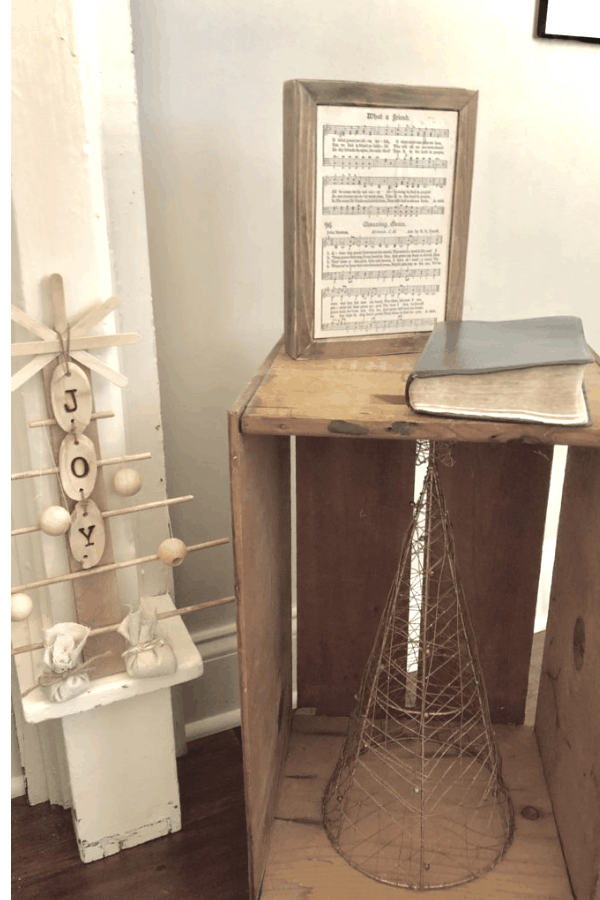

I didn’t make a stand for mine and the little presents help it to stay upright. You could even add a hook or command strip to the back and hang it if you wanted. Either way, it’s a simple DIY Christmas craft you can make in no time!

 Loading InLinkz ...
Donna @ Modern on Monticello
Tuesday 5th of December 2017
So cute and very original! I like the idea of changing it up every year. Thanks for sharing at #HomeMattersParty
Melissa
Wednesday 6th of December 2017
Thank you Donna!
Debbie
Friday 1st of December 2017
Melissa,
That is so cute. And you could do so much with it each year to change up the decorations! Love it! BTW, I noticed you changed up your site. It looks great!!
Melissa
Friday 1st of December 2017
Thanks Debbie! I agree - I'm considering making a few bigger ones next year to go on the mantel. And I appreciate you noticing the site. It's still kind of a work in progress figuring out a new theme!
Amy Odom
Tuesday 28th of November 2017
How cute!!! I love it & I am so glad you like your JOY ornament!
Melissa
Tuesday 28th of November 2017
Thanks! And yep - it's my new favorite!!