This one came to me from a sweet friend. It belonged to her parents since they were married. And it’s in unbelievable shape for its age. Seriously, it’s clear they took great care of their possessions. One drawer track was slightly broken but nothing a little gorilla glue can’t fix.
And thanks to DecoArt for providing me with some amazing new paint for this makeover. This was my first time using this line of their paint and I’m hooked! I would never recommend something if I didn’t love it, even if I get it for free. But this stuff is fantastic!
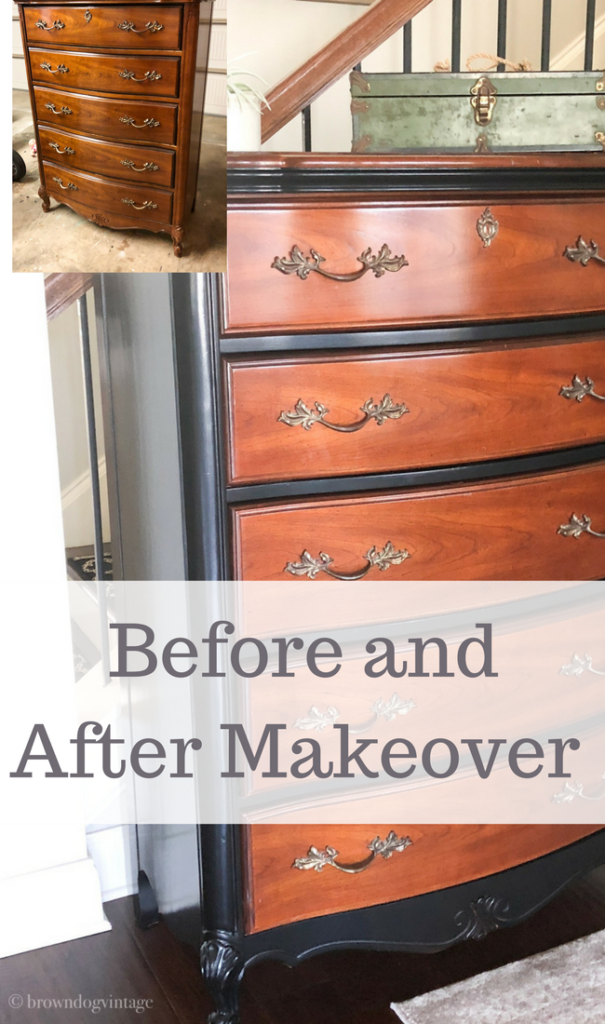
Dresser Makeover
Here’s a pretty pathetic before shot that took place in my hideous garage. Note to self: Please get a decent before shot next time!
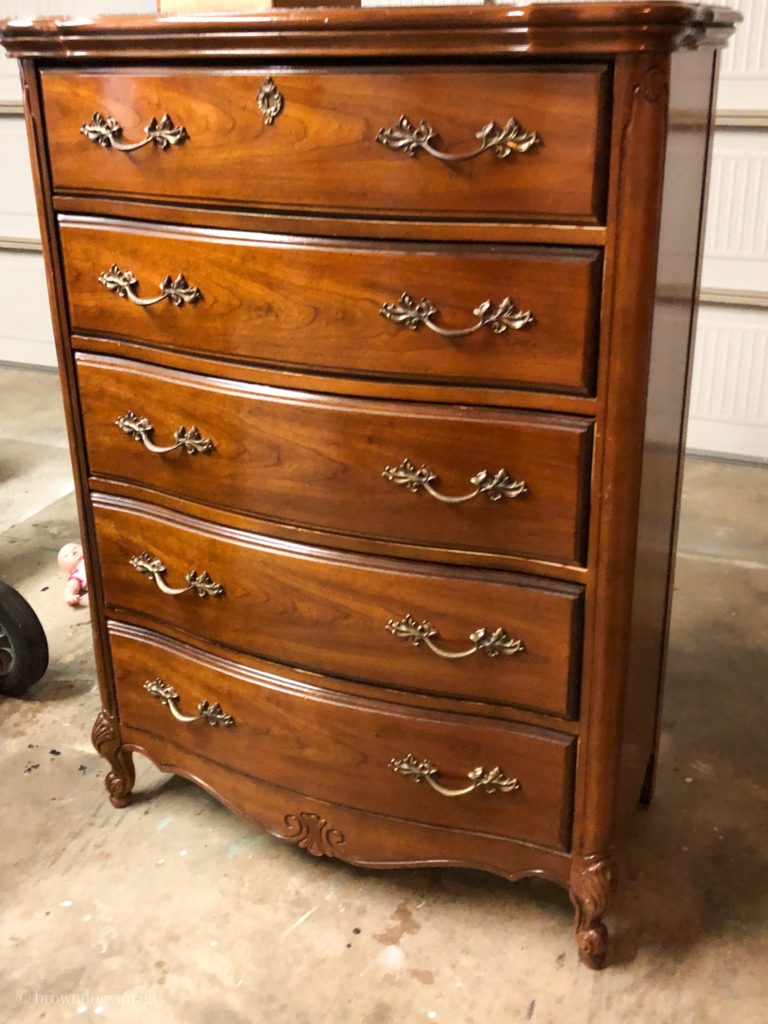
It has beautiful lines and details and the wood is beautiful. I didn’t want to cover all that gorgeous wood so I went with a two-toned look similar to this vintage desk makeover. So what did I use to turn this vintage beauty into a handsome prince? (And yep – Since I went with black paint on this one, I’ve decided it’s a “he” now.)
SUPPLIES FOR THIS DRESSER MAKEOVER
- DecoArt Satin Enamels Paint in Classic Black
- Liquid deglosser
- Restor-A-Finish in Dark Walnut (I use this ALL the time)
- 2 Inch Paint Brush
- Paint pail/liners
Here’s a little confession. I get lazy sometimes when I paint. I don’t always want to sand furniture, but this surface was pretty slick to start with. This paint says you don’t need to sand or prime, but I felt like there was lots of Pledge built up over the years! It needed something to get the paint to adhere to. I used a liquid deglosser. Follow the directions on the bottle and you’re good to go. You wipe the liquid deglosser, then wipe with a clean cloth. I used this same process in my kitchen cabinet painting and it works beautifully!
I had an 8-ounce jar of the paint and I didn’t quite use all of it after two coats of paint. And I didn’t prime this one since I was using a dark color over dark stain. If I had chosen a light color, it would’ve taken more coats of paint or else I would’ve primed it first.
Painting the 1st Coat:
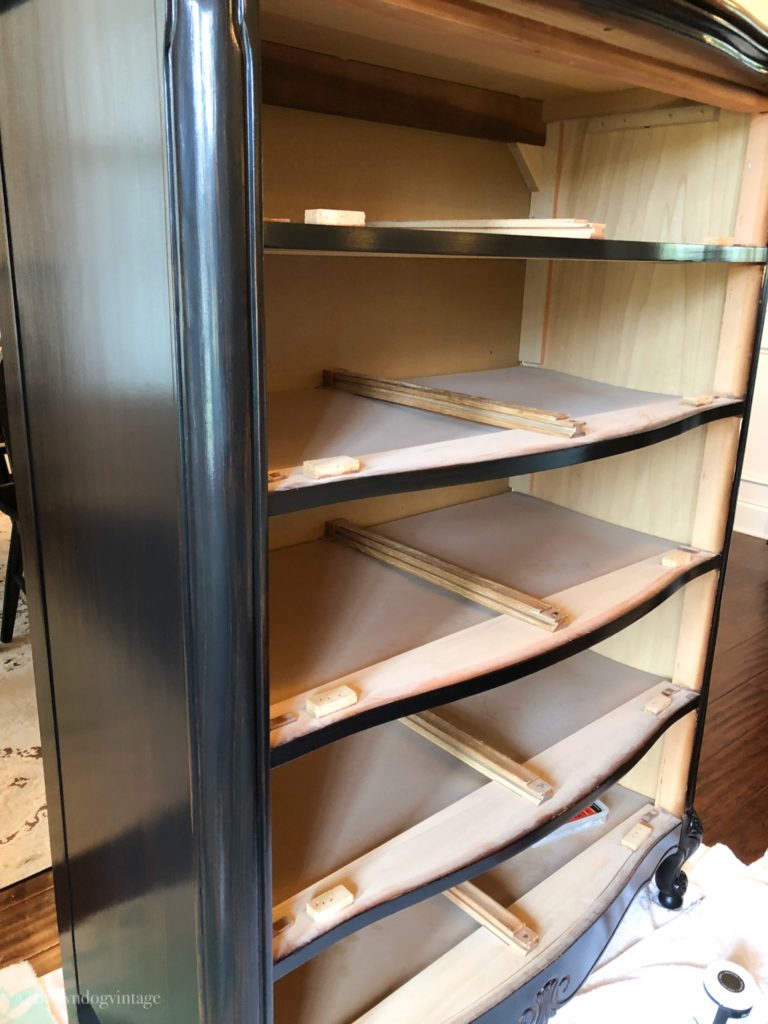

Here’s my favorite thing about this paint – it has excellent coverage. If I had been more careful, I probably could’ve gotten away with one coat! And it’s super smooth. There are a few brush strokes and one tip about satin paint – It’s noticeable when you go back over an already painted spot.
But if you come to my house and start inspecting all the sides of my furniture, you probably won’t be asked back. Not many people are even going to notice.
I did run into a problem when I finished and got it all put back together. You can see in the pic above that the darker stain color is on the insides of where the drawers go. When I put the drawers back in, you could still see that different color. Not cool.

So here’s the easy fix. Paint your new color onto the insides a bit. Like this:

Now it looks like it was meant to be!
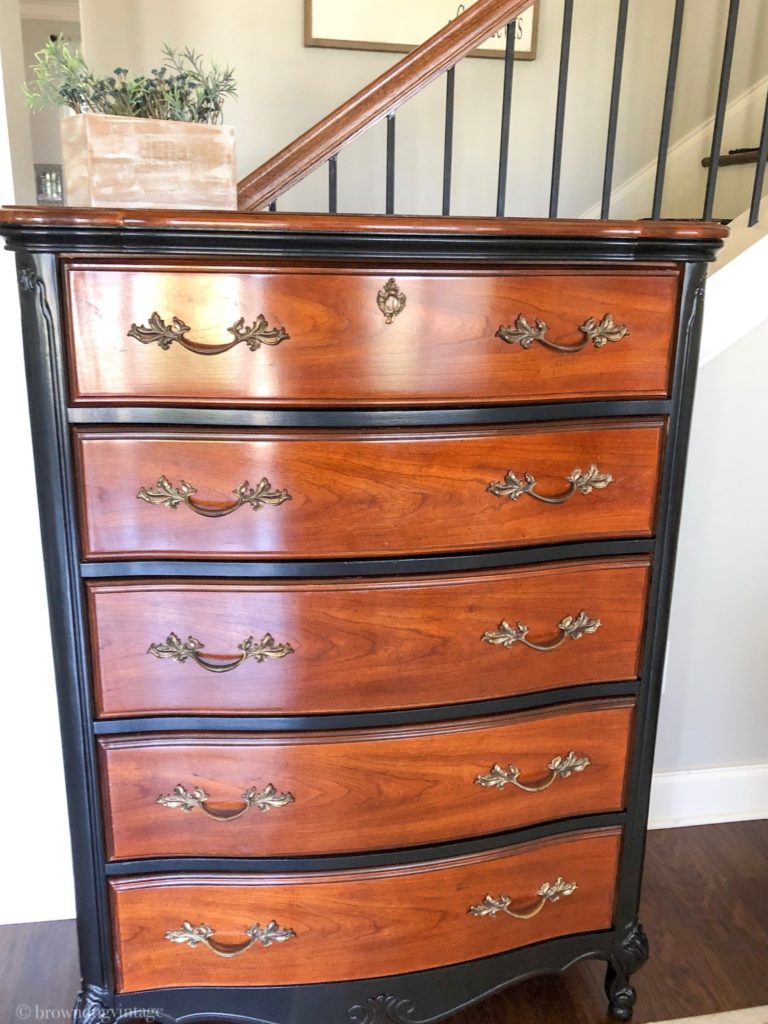
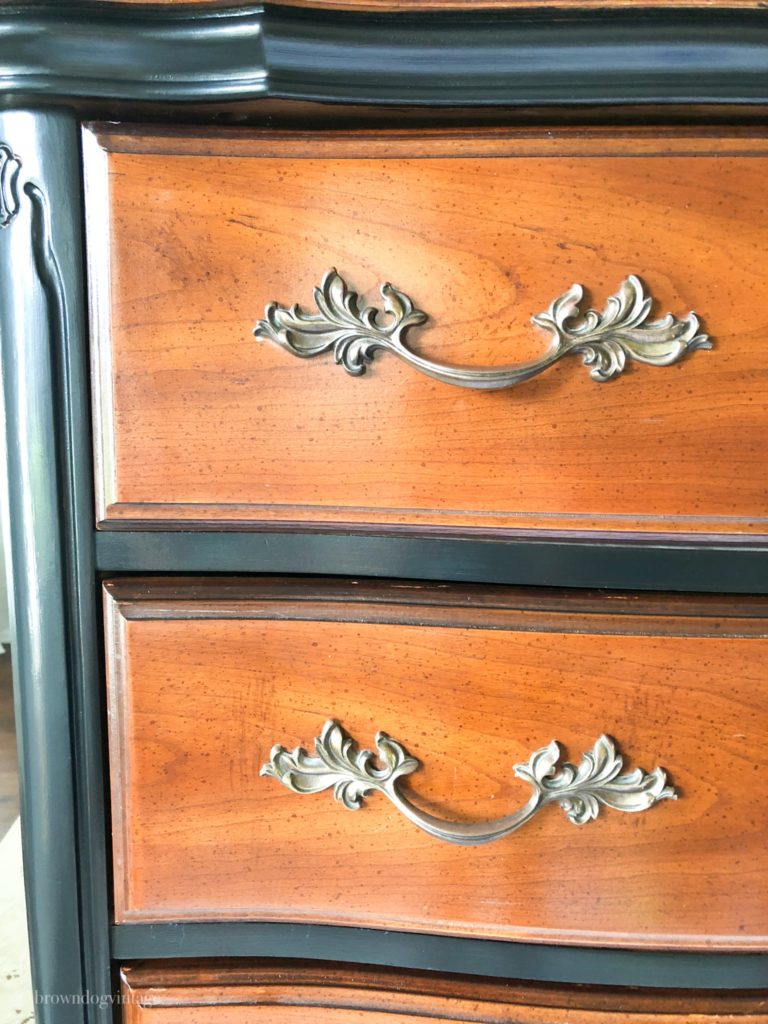
And since this is enamel paint, it dries to a very hard finish and doesn’t require a sealer! Sign me up! Sealers are my least favorite part of furniture refinishing. I spiffed up the wood by rubbing Restor-A-Finish over it to bring it back to life. This stuff is amazing and I use it on almost every wood piece I refinish.
Now it’s the perfect amount of updated while still keeping some of the vintage charms.
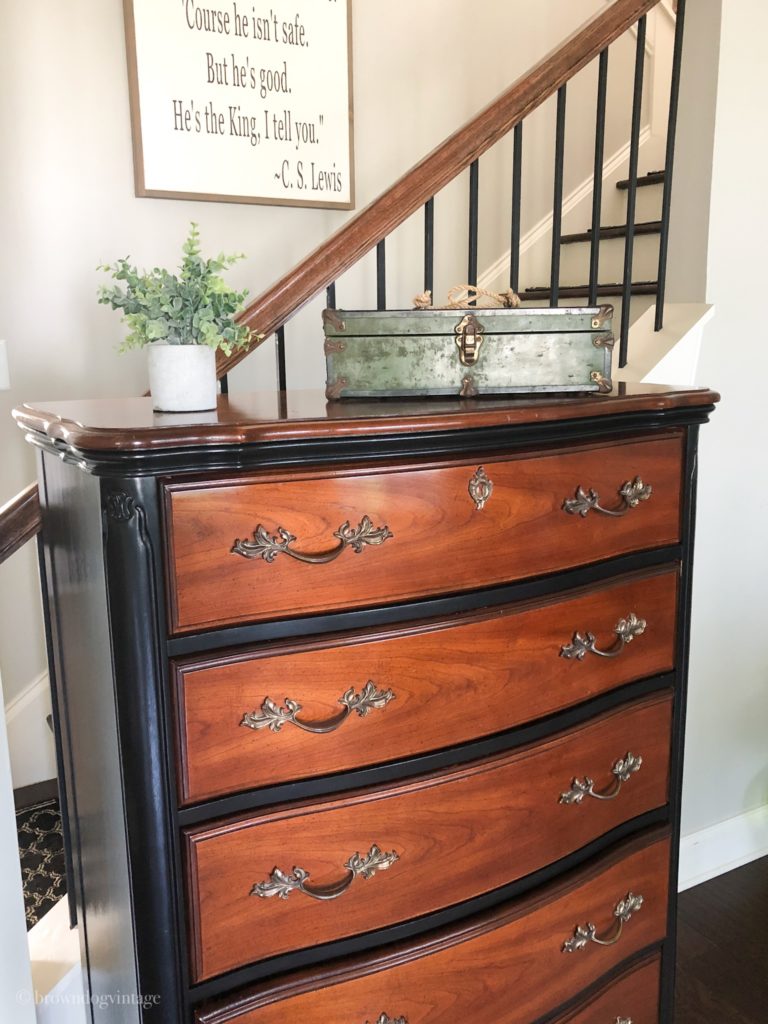
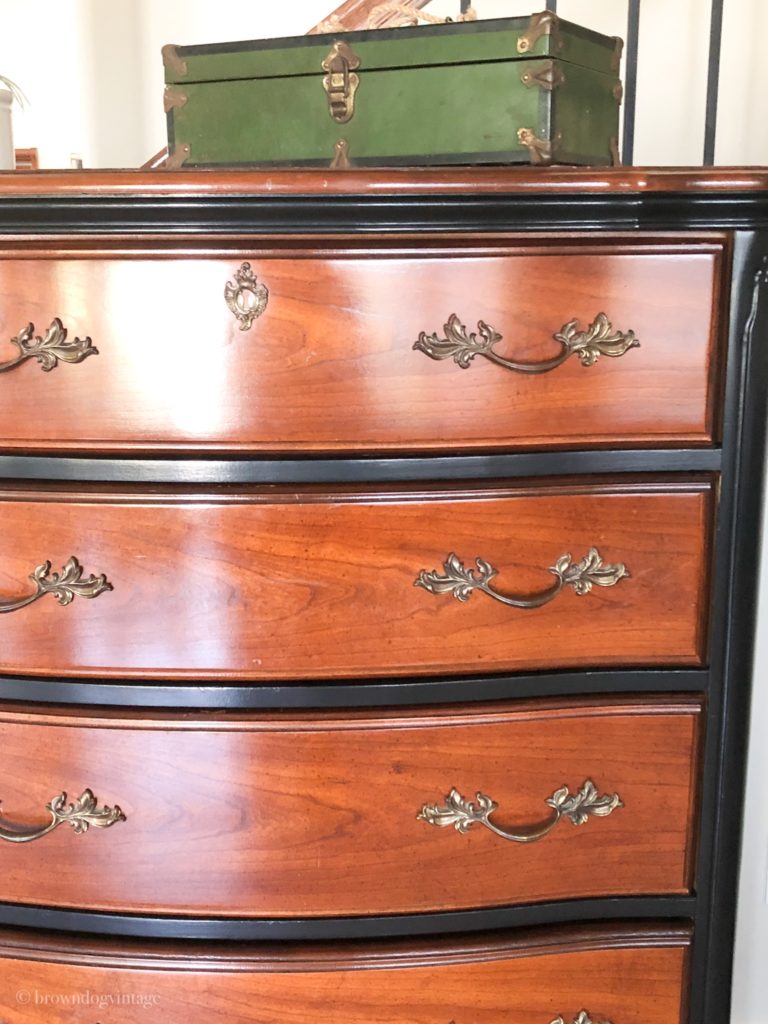
Thanks for checking out this handsome dresser makeover. Don’t toss out old stuff just because it’s not your style anymore. Update it with paint! And a special thanks again to DecoArt for providing me with the amazing paint for this piece. If you haven’t tried this paint yet, do yourself a favor and try it. It’s super affordable and comes in so many finishes and colors.
Happy Painting!
Pin it for later!


Amy
Monday 26th of October 2020
Hi! This dresser is awesome!!! Did you seal the wood top and drawers with anything?
create and find
Tuesday 27th of October 2020
Hi there - thank you! And I didn’t seal this one. The paint dried to a gorgeous hard finish and all I did was clean the wood and used Restor-A-Finish on the drawers and wood top.