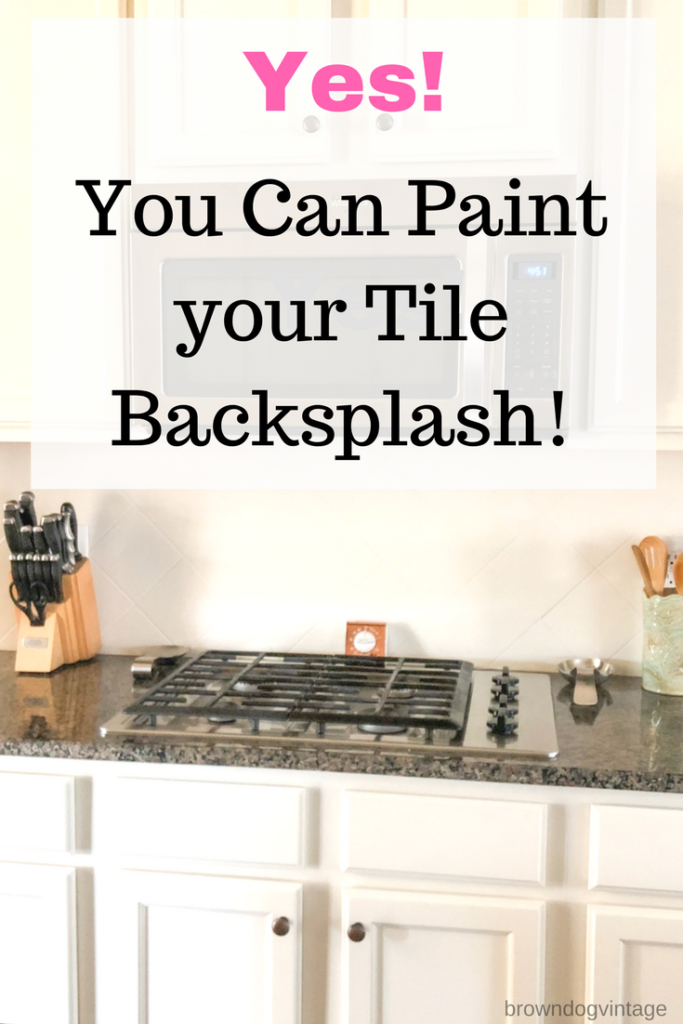
Do you ever want to attempt a DIY project, but you’re not sure how it’ll stand the test of time? That was my dilemma when I wanted to paint our kitchen tile backsplash. One of my least favorite parts of the kitchen was the tile backsplash. I researched it and a few years ago, I decided to just go for it. So I thought it would be helpful to give an update about painting tile backsplash.
I’ve got an update for you in case you’re on the fence about painting tile. Especially in an area like the kitchen that gets used multiple times a day. Our painted tile backsplash is holding up beautifully and it’s still one of the most budget-friendly DIY projects we’ve done.
When we moved into our house, I knew eventually I would attempt to change our kitchen a bit. Nothing drastic – no gut jobs or ripping stuff out because that’s just not in the budget right now. Mainly cosmetic changes such as paint.
Painting Tile Backsplash
So, what do I think after a year? Yes, yes, yes. Do it! I’ll be the first to cheer you on if you decide to paint! It’s so worth it and so easy. And the best part is, it’s holding up beautifully! I would do it again in a second.
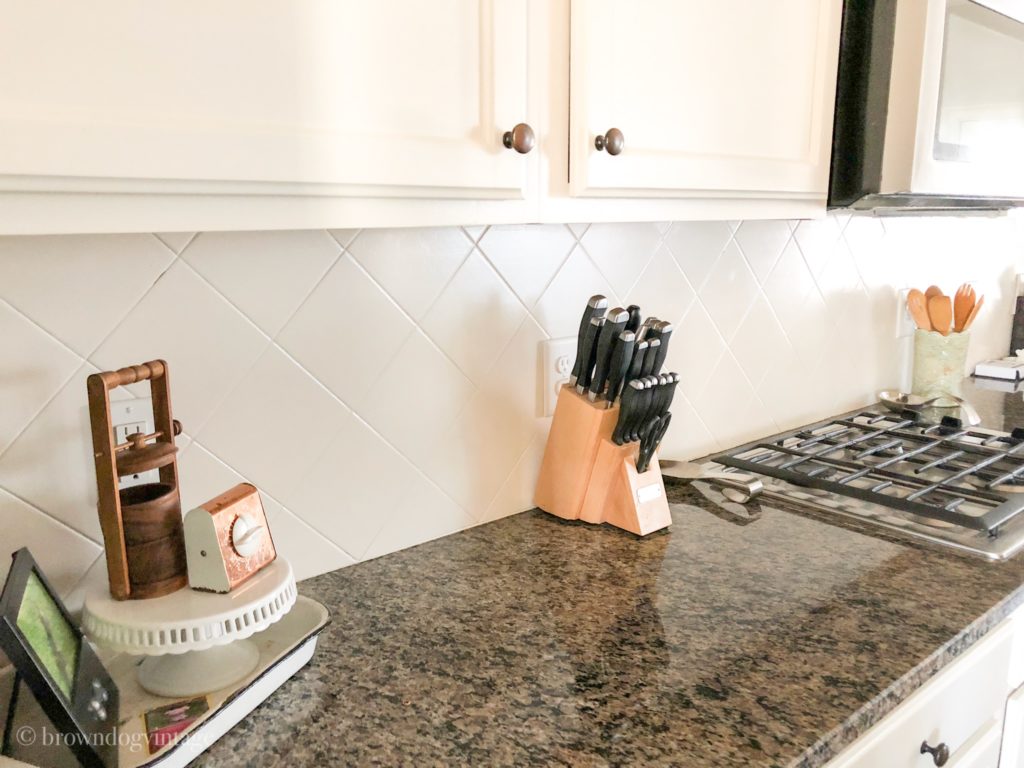
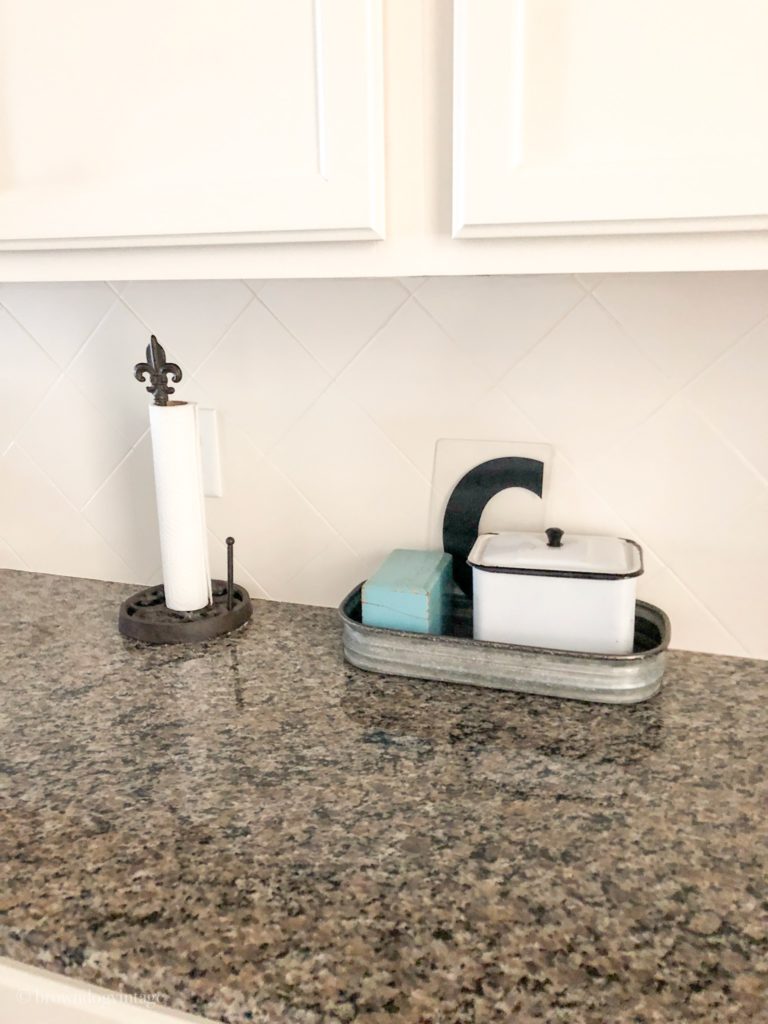
It cleans up perfectly – lots of messes are made in this kitchen! There are no chips or peeling spots. It looks just like it did when I first painted.
In case you’re considering it, I’ll give you a rundown of what to do, what not to do, and the best kind of paint to use. If you want to see the full tutorial, you can check it out here –Painting a Tiled Kitchen Backsplash
And since I painted the tile, I finally got the nerve to paint the cabinets too – I took part in a $100 Room Makeover Challenge and went for it.
Thrifty Kitchen Cabinet Makeover Reveal
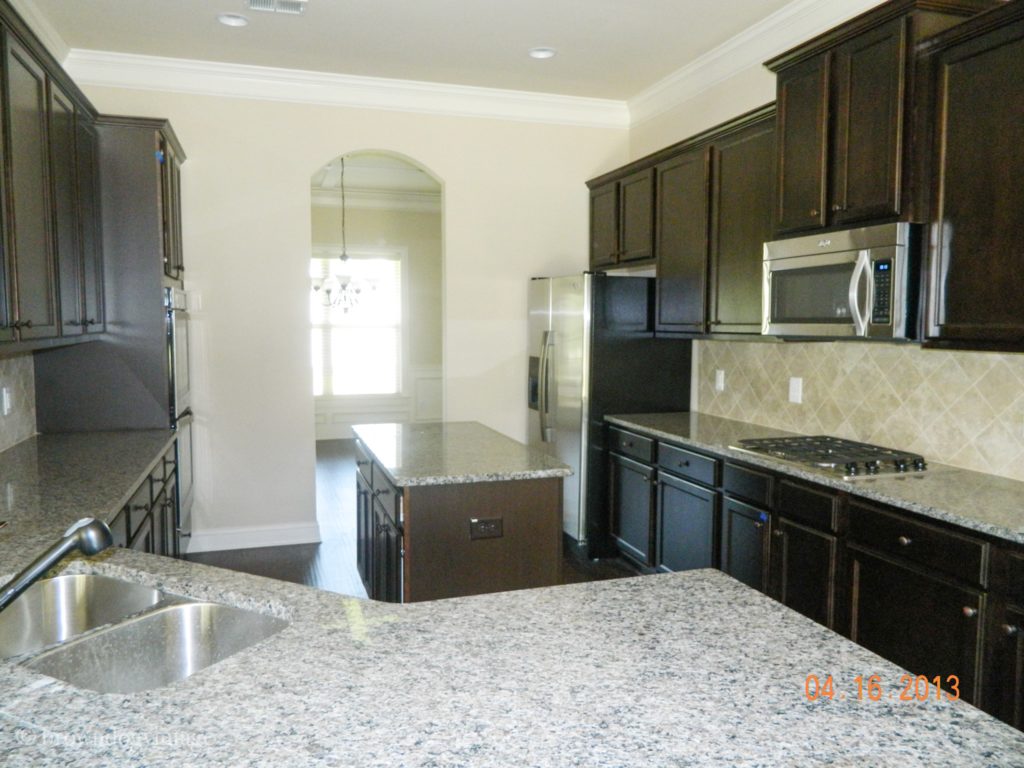
Here’s the original photo of our kitchen from the real estate listing when we bought it:
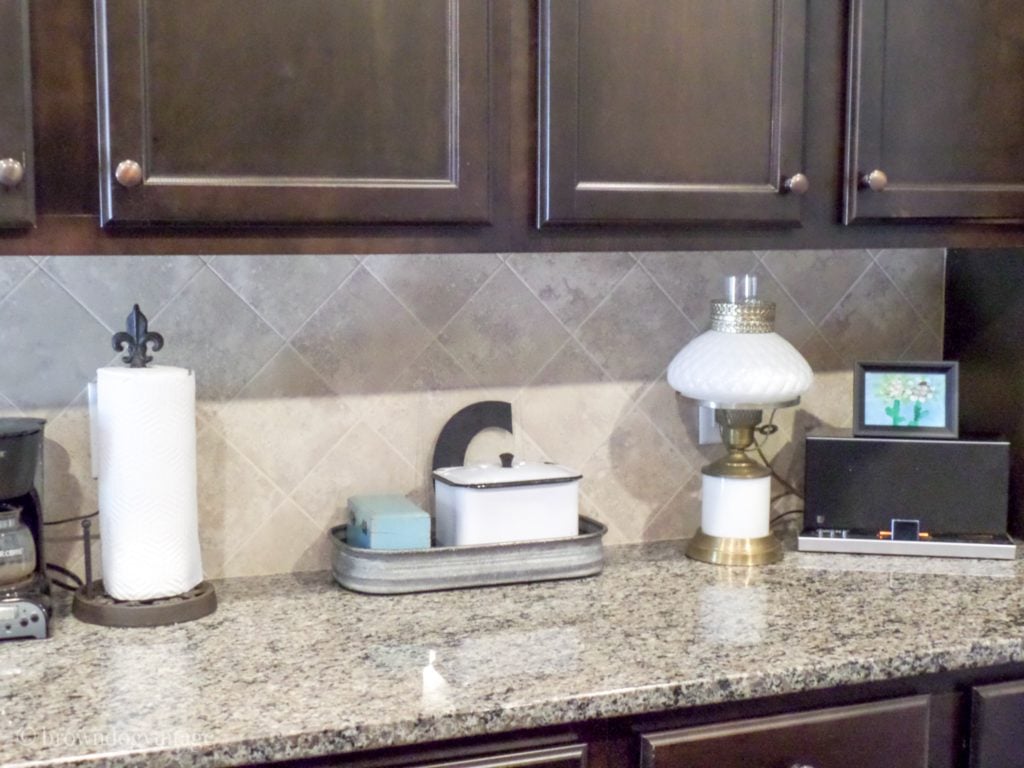
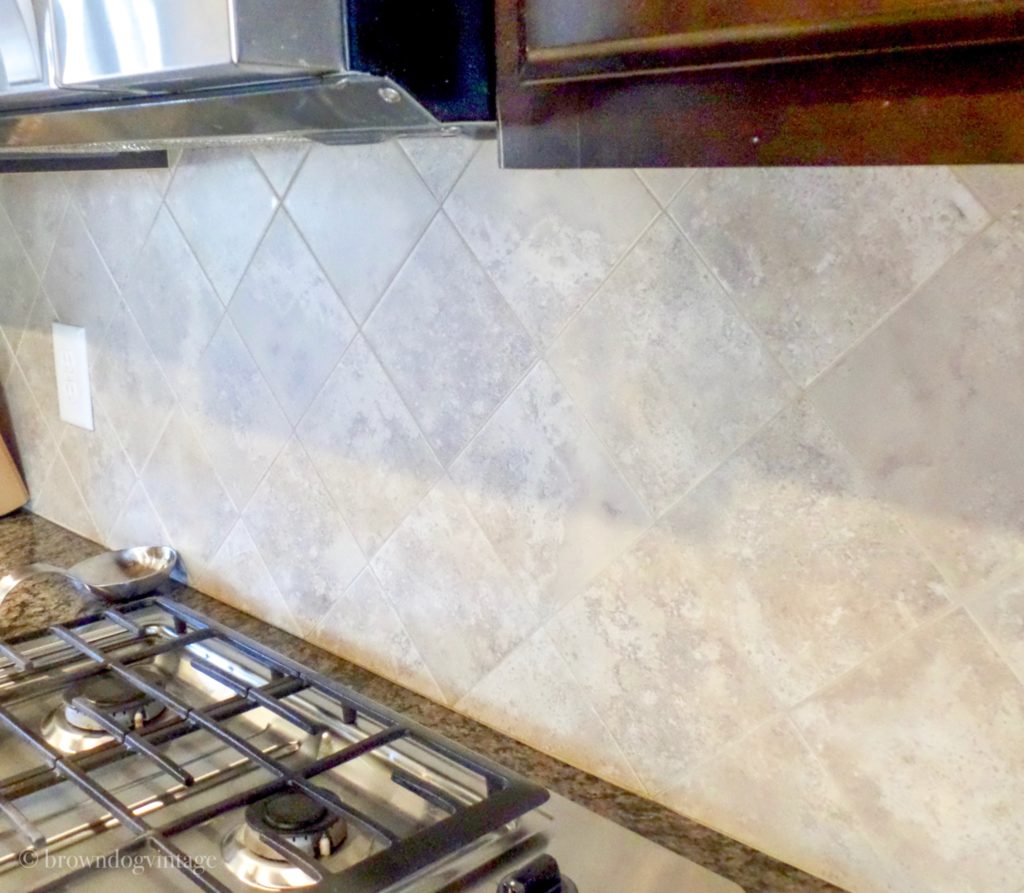
And a few right before I painted:
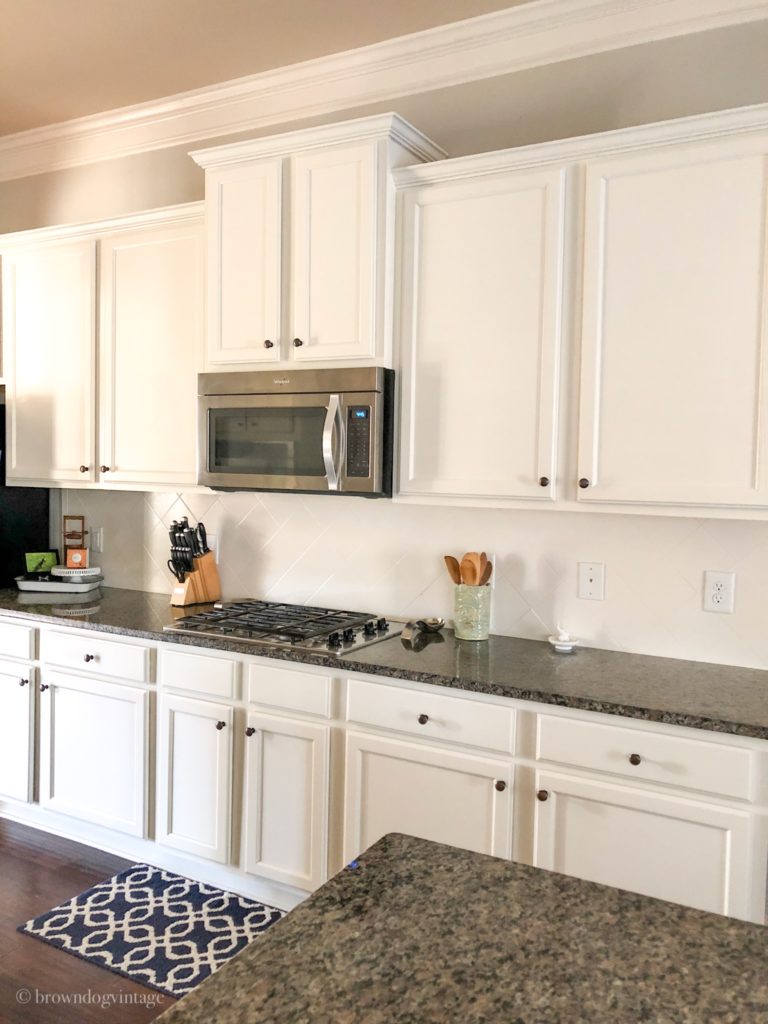
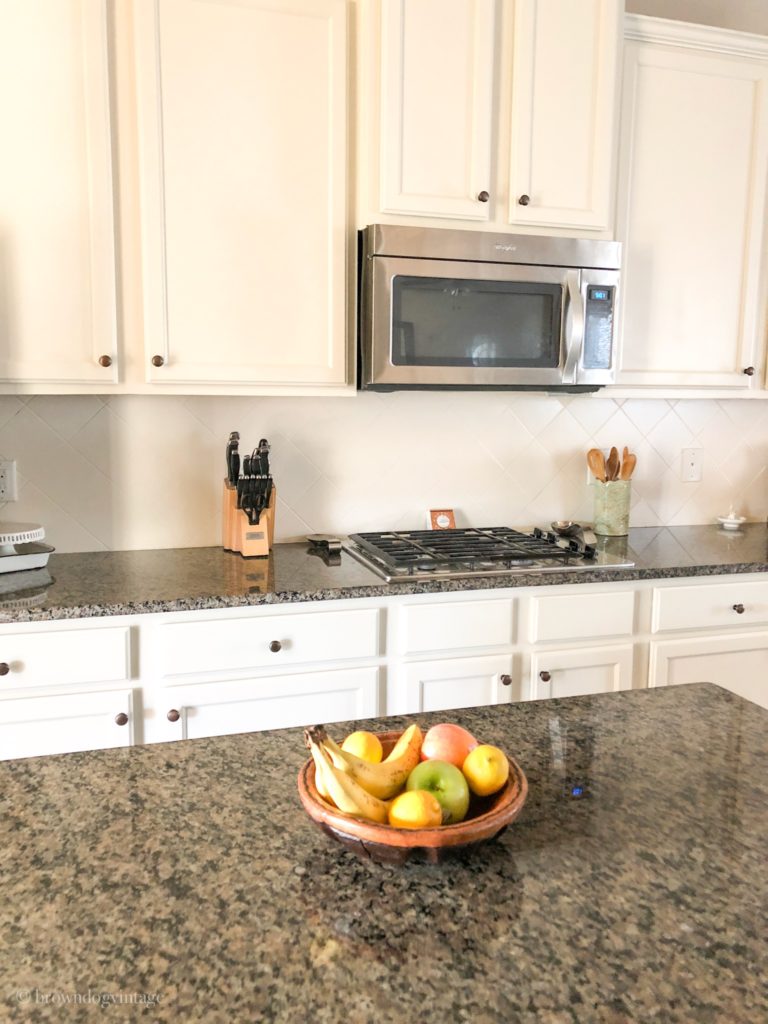
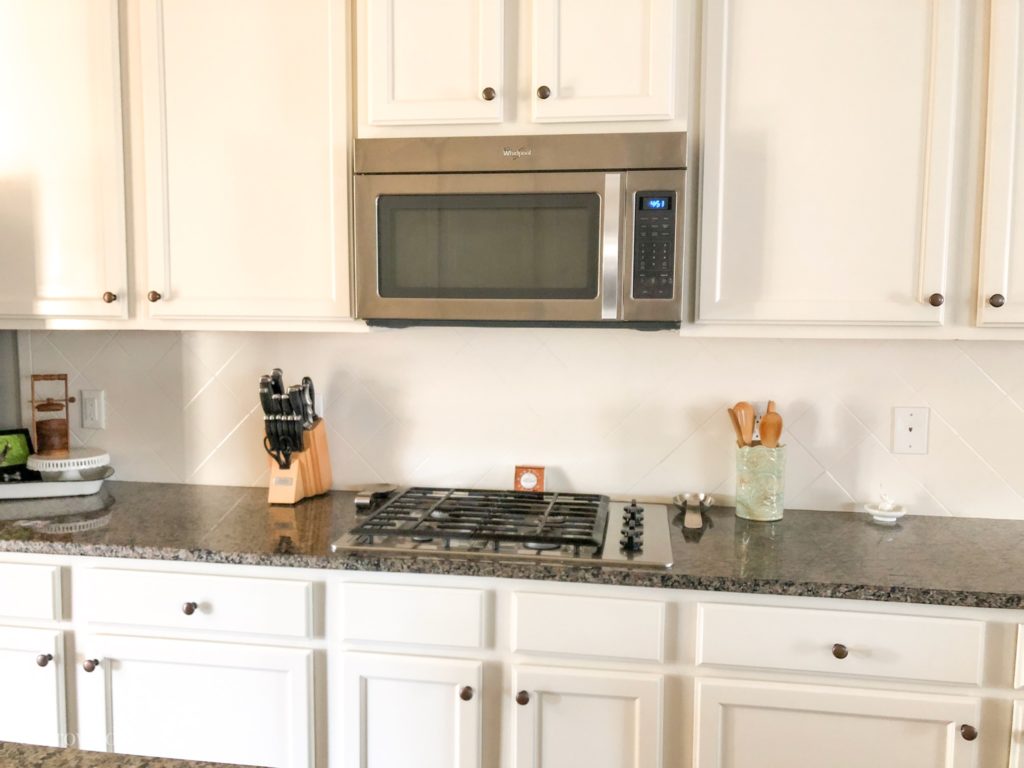
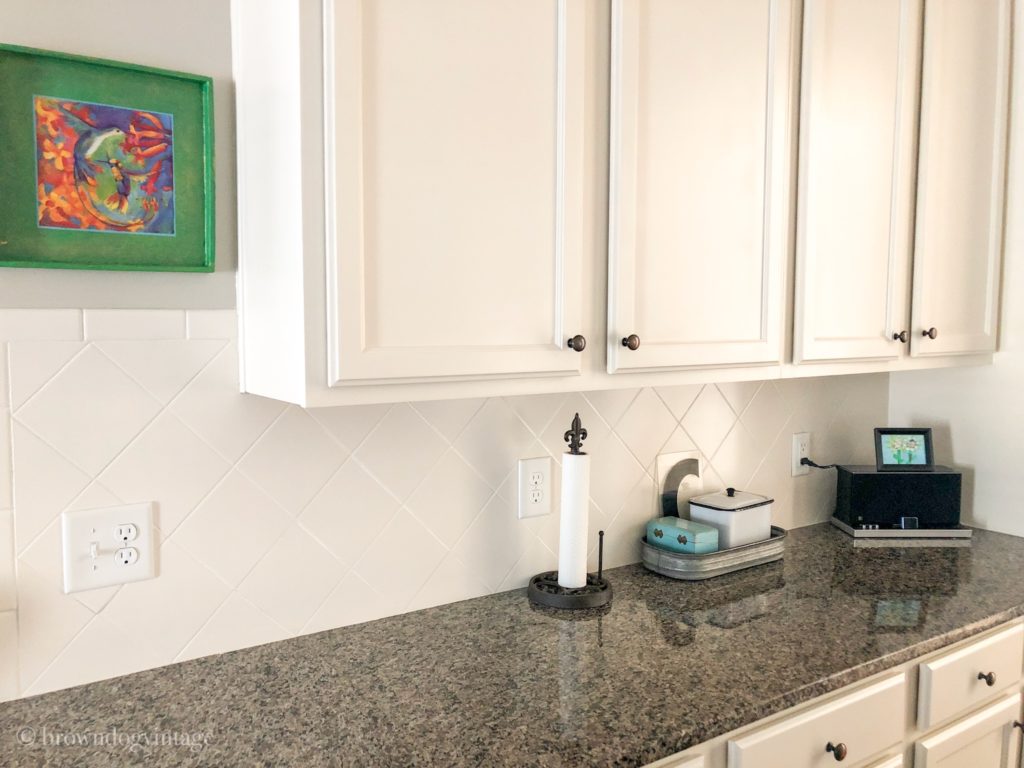
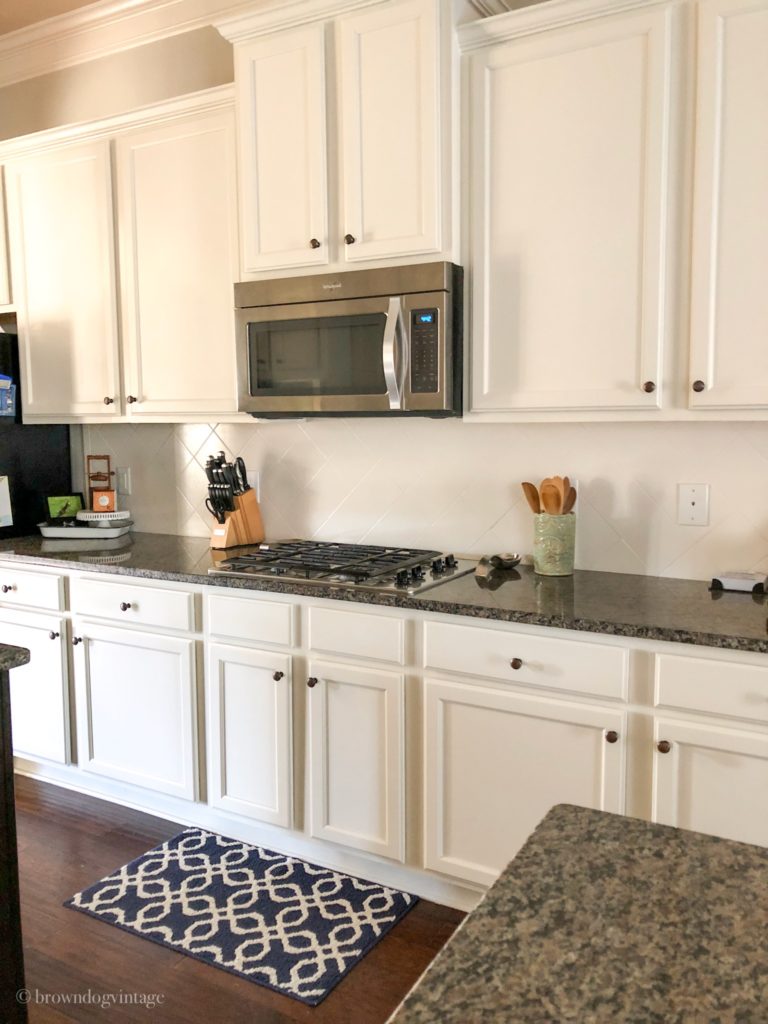
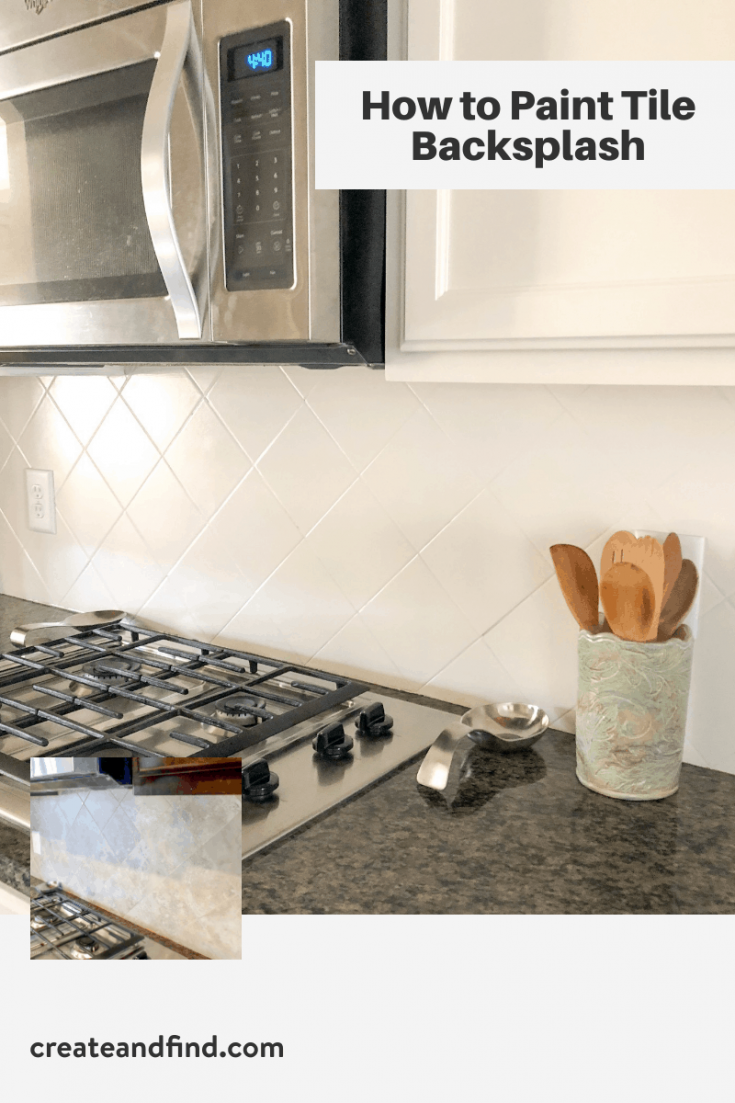
And here’s what it looks like now!
Supplies Needed for a Painting Tile Backsplash
- TSP
- Kilz Oil Based Primer
- Oil Based Enamel Paint
- Quality Paint Brush
- Foam Rollers
- Rags
- Newspaper or something to cover your counters
- Painters Tape
- Bucket
- Mineral Spirits (you can’t clean oil-based paints/primers with soap and water)
- Liquid Deglosser – optional (I used it for part of the tile after cleaning with TSP, but it’s not a necessary step. My paint adhered on the parts of the tile I didn’t use it on just fine.
Painting Tile Backsplash Tips
- The most important thing you can do is clean the surface like crazy before you start. I used TSP cleaner. Especially in a kitchen where you can have oily spots or caked-on gunk – it’s got to come off or your paint won’t adhere. So clean, clean, and clean some more. I use an old mop bucket and rags and follow the instructions on the bottle.
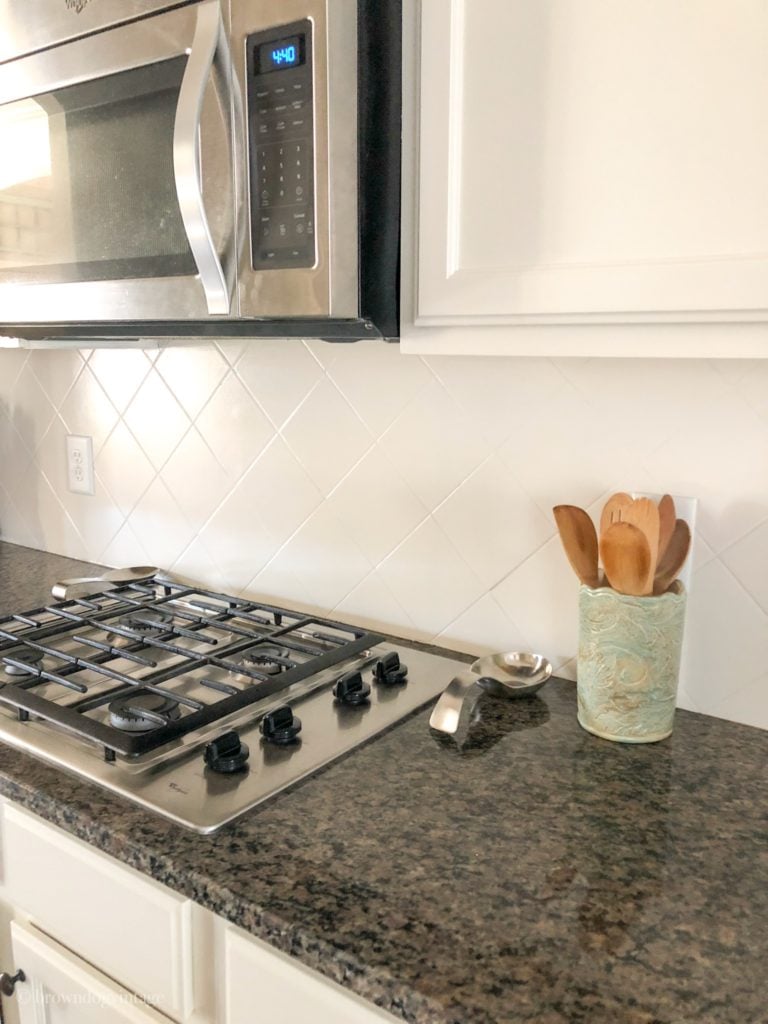
- Protect your counters. I’ll say it again. Protect your counters. Because you know who didn’t do a good enough job of that? This girl. I still have tiny little specks of paint on my counters. Cover all of it. You don’t realize how much a roller splatters even when you’re super careful. Here’s looking at you shiny silver cooktop with paint flecks on it now. Oops.
- Tape off the surfaces you don’t want paint on. I taped around the appliances and the underside of the cabinets.
- Prime your surface. Especially in an area like a kitchen that gets tons of use – you’ve got to prime. There’s a lot of projects I skip primer, but I wouldn’t with this.
- Use good quality paint and brushes. You don’t want a chippy mess in a few months. Unless that’s the look you’re going for of course.
- Allow for adequate drying time and ventilation. Oil-based primer smells. I know this and I use it anyway because I’ve found it to be the best thing out there for making sure your paint adheres. Open windows and make sure the kids are gone that day.
- Don’t overpaint the surface. It’s tempting to go back and try to smooth out something or touch it up just one more time. But with oil-based paint, you need to paint it and leave it. I have a few noticeable spots (probably only to me) that I tried to just “fix” an area and it didn’t work. Use a quality roller and a quality brush.
- If you’re nervous like I was to even touch the brush to the tile, go to Lowes or Home Depot or any other hardware store and get one of those large inexpensive tiles and do a practice run. This will let you see how the paint goes on and might make it a little less daunting.
- You’ll need at least two coats of paint and you need to allow for adequate drying time. I waited a full day before the second coat of paint.
- The paint I chose didn’t require any sealer and it’s a gloss finish so it wipes clean like a champ.


If you want more details, definitely check out the original post click here
Hopefully, this helps if you’re on the fence about painting tile backsplash or not. I spent about $30 total including paint and supplies and it was so worth it.
And feel free to email me or comment with any questions you might have. Shoot me an email if you do it – I’d love to know how it turns out!
2021 Update for our Painted Tile Backsplash
It’s now been several years since I painted the backsplash – almost 4 years actually.
I did the one year update, but how about 4 years later?
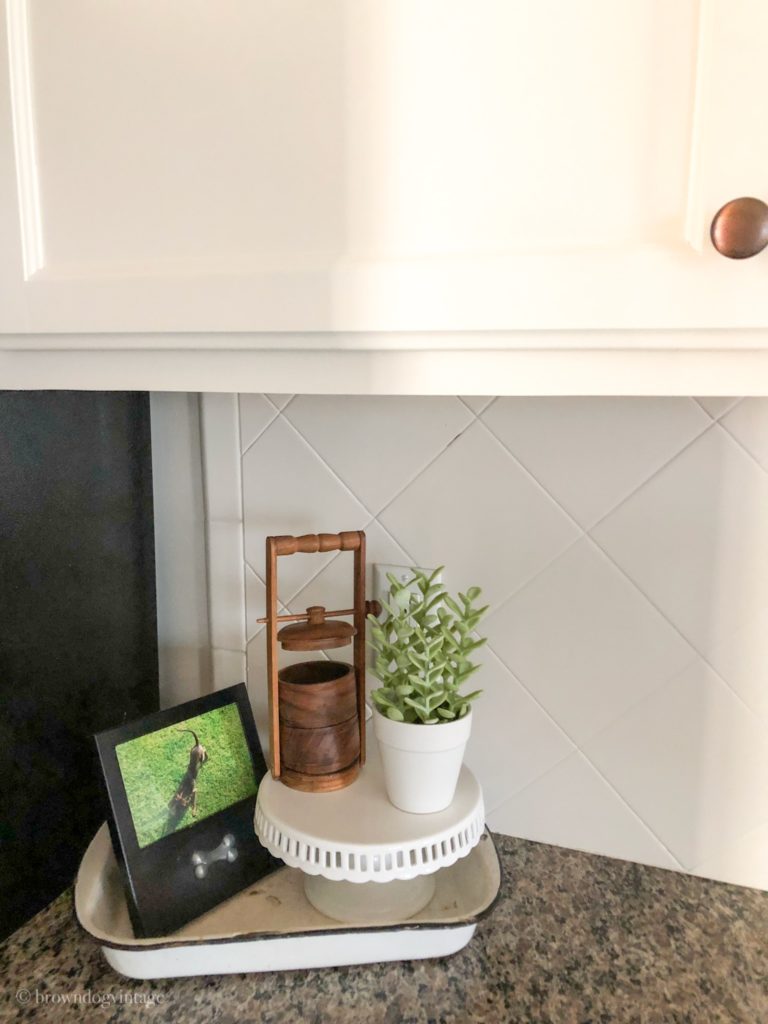
The short answer is amazing. That’s right – no problems at all! It’s super easy to clean and I finally got the first few chips in the paint.
The chips happened close to our dish drainer – I apparently don’t know how to be gentle when putting heavy pots or pans down and I banged into the tile one too many times and got a tiny chip.
However, it’s barely noticeable and I highly doubt anyone would even pick it out. It’s still shiny and pretty – I used gloss paint for painting the tile and it looks great. I don’t regret the finish or paint at all.
So after 4 years, would I still paint our tile kitchen backsplash?
YES!!! It’s seriously one of the most cost-effective changes we made to update our house on a budget. Along with the $100 kitchen cabinet painting, it completely changed the look of our kitchen for very little money.
How To Paint Tile Backsplash
A tutorial for how to paint tiled backsplash in the kitchen and also an update to show how it holds up to use and time.
Materials
- PAINT
- PRIMER
- BRUSHES
- PAINT TRAY, PAILS, AND LINERS
- DROPCLOTH OR NEWSPAPERS
- PAINTER'S TAPE
- BUCKET/RAGS
- GLOVES
- MINERAL SPIRITS
Tools
- PAINT BRUSH
Instructions
- Remove all outlet covers and switch covers
- Tape any area that you don't want to get paint/primer
- Protect counters with drop cloths or newspapers
- Clean tile thoroughly with TSP - make sure there is no residue or grease
- After the tile is clean and dry, apply a thin coat of oil-based primer
- Let dry completely
- Paint with oil-based paint in the color and sheen of your choice
- Let dry and paint a second coat if necessary
- Clean brushes with mineral spirits and dispose properly
Notes
Don't use soap and water to clean brushes after using oil-based paint. Use mineral spirits and be sure to dispose of them according to your county guidelines. They cannot be flushed or put down your sink.
Work quickly to avoid dragging the brush in the primer or paint. If you miss an area, get it on the second coat rather than risking messing up.
Cost varies depending on what supplies you already have on hand but a good guess is between $30 and $60
Recommended Products
As an Amazon Associate and member of other affiliate programs, I earn from qualifying purchases.
-
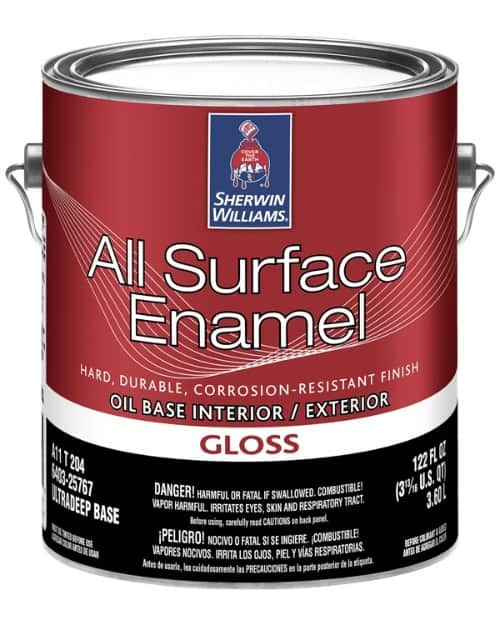 All Surface Enamel Oil Base - Sherwin-Williams
 -
 Pro Grade - Paint Roller Tool Kit - 10 Piece Painting Set
 -
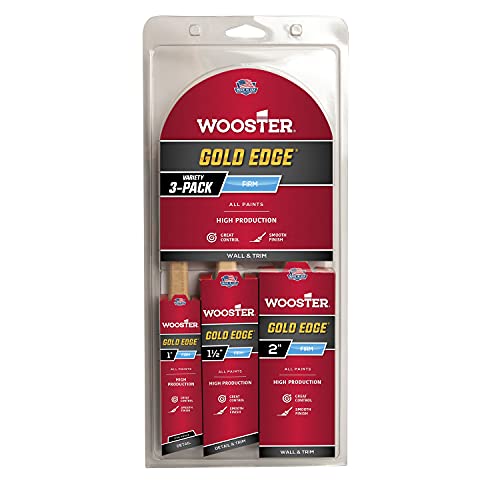 Wooster Series 5239 Gold Edge Wall Brush 3 Pack, 1 Inches
 -
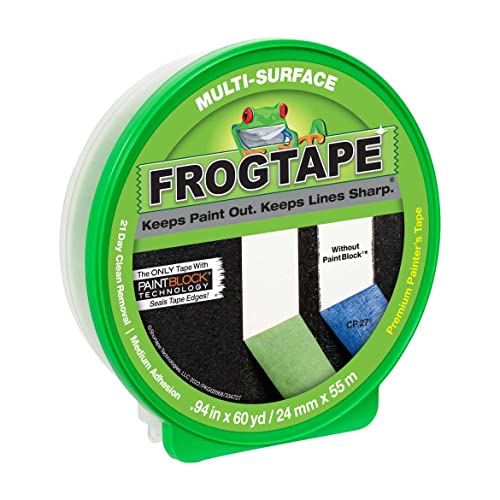 FROGTAPE Multi-Surface Painter's Tape with PAINTBLOCK,
 -
 Sunnyside Corporation 80332 Low Odor Mineral Spirits
 -
 KILZ Original Multi-Surface Stain Blocking Interior Oil-Based Primer
 -
 Savogran 10621 Trisodium Phosphate (TSP) 1LB (16oz) - 2 Pack
Pin for Later!

Raeleen
Thursday 1st of August 2024
Awesome! Your old kitchen is so similar to mine. I hate the counter tops, backsplash and cabinet color. Mine is the same as yours was. Now I have a great idea what to do with mine . Thank you!
Lisa
Sunday 12th of February 2023
Hi, what are your thoughts of painting the tile the same color as the walls-considering it will blend in with multi colored countertop ?
create and find
Sunday 19th of February 2023
Hey - I actually like the idea. I think it looks like nice when they are the same color.
Lauren
Tuesday 21st of June 2022
I’ve read that oil based paints can yellow over time. Have you experienced this in any spots?
create and find
Saturday 25th of June 2022
Hey Lauren!
I didn’t have any yellowing at all. In my experience, the light-colored paints tend to yellow when you use an oil-based topcoat like oil-based varethane or polyurethane.
But I didn’t have any issues at all with just the oil based paint.
Hope this helps!
Melissa
Donna
Sunday 5th of June 2022
I have a glass backsplash, 15 years ago the multi colored tile was in fashion, not so much today. I lightly sanded and primed with Stix, waited 24 hrs and put first coat of Benjamin Moore Advance (hi bred paint) Enamel with water clean-up. Waited 16 hrs and put on finishing coat. 3-4 hrs not tacky, 16 hrs to 24 hrs . 30days for total curing. I used hi-gloss so it looks just like glass tile, in contrast to the Satin cabinets. Thanks for giving me the confidence to try.
Norma
Saturday 6th of February 2021
What colour did you use on your backslash and cupboards.
create and find
Sunday 7th of February 2021
Hey there - It's Panda White from Sherwin Williams. We matched the trim color in our house. Hope this helps!