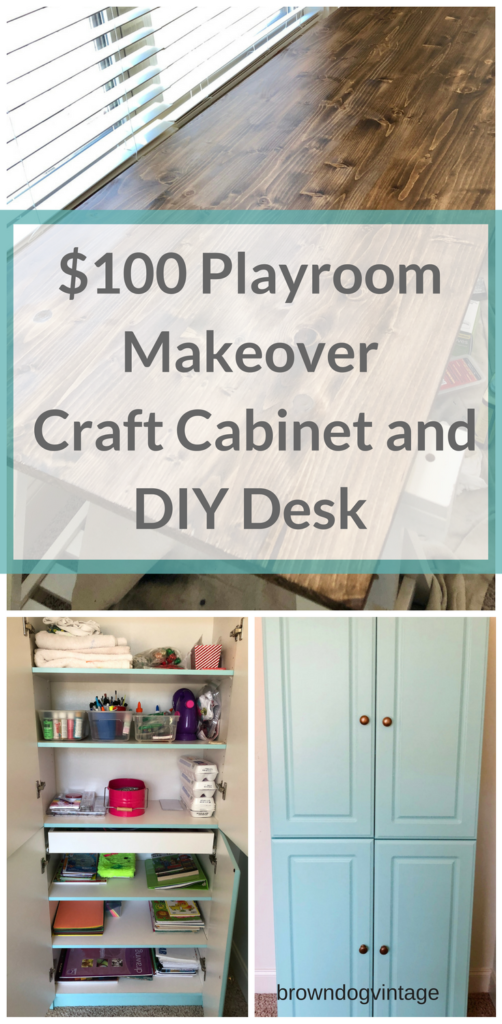
Welcome to week 3 of the $100 Room Challenge! If you’re just joining in, I’m participating in a challenge organized by Erin from Lemons, Lavender and Laundry. It boils down to 4 weeks (or 5 in this case since January has 5 weeks this year) and $100 to makeover a room or space in your house. There are so many bloggers participating this round and it’s amazing what you can do with 10o bucks! I’m doing our playroom and it’s definitely proving to be a challenge. You can read all about my plans from Week 1 here. Week 2 was definitely the most boring and tedious for me since it involved painting the room, but what a difference! Paint is a game changer! Read on to see where I am now!
What’s on the list for the challenge:
- DIY Desk – Almost DONE!
- Paint Walls – DONE!
- Nerf Gun Wall – this didn’t happen this week because it’s been too cold to spray paint outside.
- Craft Cabinet Makeover – DONE!
- Chairs for the Desk
- Hang Art
- DIY Shelf
Where we started:
Here’s a little fabulous refresher pic to show you where I’m starting. Don’t be scared. It’s much different now!
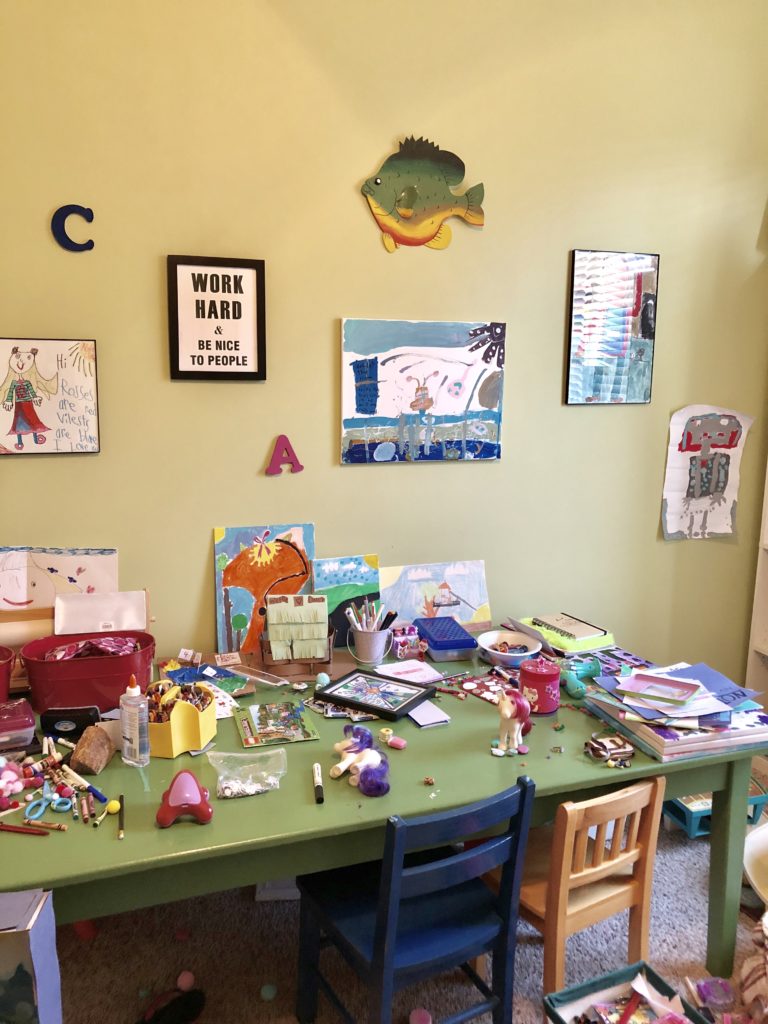
Clearly we like some arts and crafts around here. I love that the kids have a place to get creative and we are very lucky to have such a great room right off the kitchen with plenty of space.
But, it has become overrun with toys they no longer play with, things they’ve outgrown including the table and chairs which are meant for much smaller kids, and too many craft supplies we don’t use. And let’s face it and call a spade a spade – that paint color is hideous.

I’m not kidding when I say there is an E.T. coloring book in there from the 1980s. Apparently my mom held onto it for eons and gave it to my kids once.
Craft Cabinet Makeover
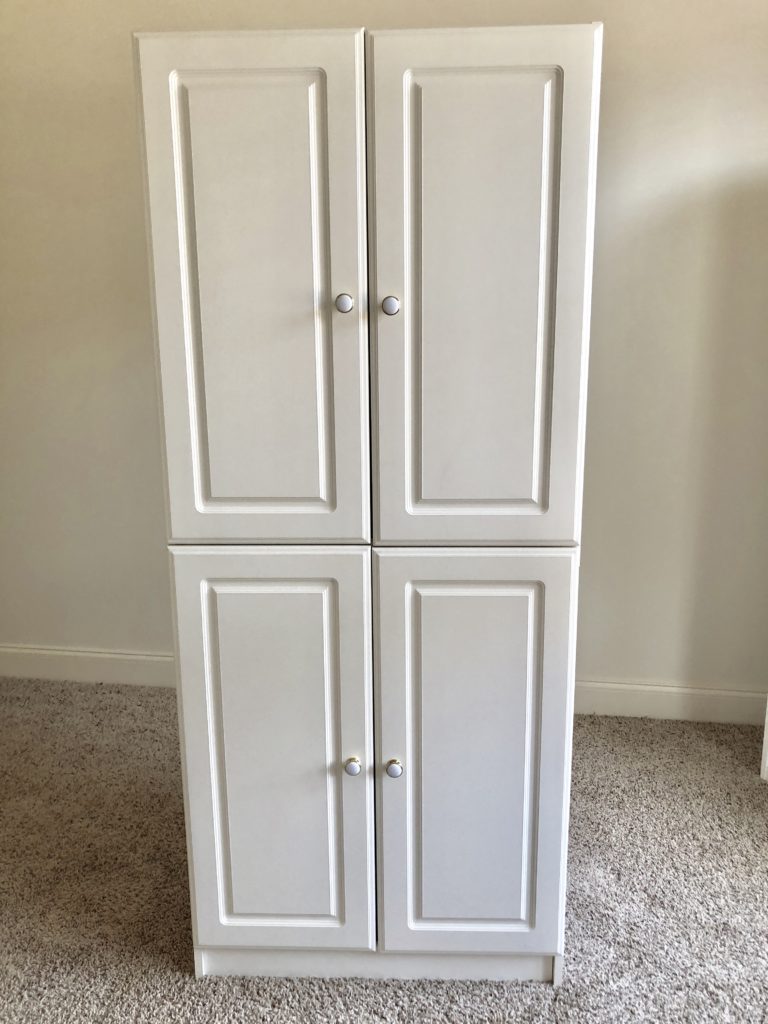
Since that cabinet is so functional, I knew I would keep it but it needed a little makeover. And since painting the room white, I don’t want all the furniture white too. Months ago I found a can of “oops” paint at the hardware store (always check that section – it’s full of goodies that people didn’t end up buying) and it’s a gorgeous blue color. I’m so happy to finally use this paint! Here’s what I started with – just a basic white cabinet. Nothing fancy, but completely useful. And the doors are a little wonky but they work fine.
A few furniture painting tips:
- Number or label the doors somehow. For this one, I wrote with a sharpie which was top left, bottom right…. It makes life so much easier when putting it back together.
- Keep the screws/hardware in a ziploc baggie. Nothing like trying to put it back together and you are missing stuff. If you are taking hinges completely off, especially on an older piece of furniture, put each set of hardware in it’s own bag and label it. I’ve learned this the hard way before.
- Line your paint tray with foil. You can reuse it again and again. My husband laughs at me every time I do this, but hey, a few dollars saved every time I do this!
- If you aren’t painting the inside of a cabinet, use painters tape to cover the back edges. This will keep you from having drips and runs onto the unpainted side, making it look much neater in the end.
- Invest in a few items that don’t cost a ton of money but save lots of time. Paint pails, liners, brush covers, can tops – these are a few of my favorites that I always use.
First, I used painters tape to line the backs of the doors. I knew I wasn’t painting the inside of the cabinet so I didn’t want paint globs all on the inside. And I use sawhorses when painting larger pieces – set your piece up so you aren’t squatting down the whole time. It makes it so much easier to cover all the surfaces.
[one_third]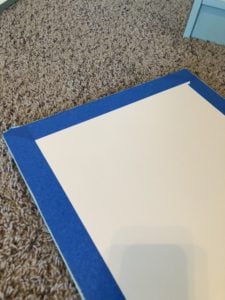 [/one_third][one_third]
 [/one_third][one_third_last]
 [/one_third_last]
For this cabinet, time will tell if my paint job is going to work. It’s a pretty slick surface to start with. I roughed it up with sandpaper a bit and the paint I have is paint and primer in one. However, I have a sinking feeling that it’s just not going to stick. I should have gone with my gut feeling to take the extra time to use an oil based primer for this one. But who knows? Maybe I’ll get lucky! I did two coats of paint with a roller (use a brush for the inside grooves or your paint will be goopy. I also painted the outside edge of each shelf to give it a little fun color when you open it.
And here’s what I ended up with!

I also decluttered and got rid of so much we don’t use. Our art supplies are all neatly organized, paper, coloring books, stickers, scissors, glue – it’s all got a home now!

One word of caution – especially in a playroom, brace a cabinet like this to the wall. It’s not the most glamorous thing to look at an ugly brace, but it’s necessary. You don’t want it falling over on anyone!
DIY DESK
And now for the DIY Desk! This is my favorite part of this makeover so far. And I got super lucky with the materials. I was sad to see our old nursery sized table go, but it was time. We couldn’t sit there and do projects and still fit our knees under it. The chairs were sized for toddlers and not 7 and 10 year olds. I know I have a $100 budget for this room so buying a new desk and chairs is pretty much out of the question. And I want one big enough for both kids and me since I sit in there with them often. Several weeks ago on the online Facebook yard sale, I came across a listing for 2 IKEA Finnvard trestles for $20. SOLD! Both for $20! They were dirty, but nothing a good cleaning can’t fix.

Here’s where I think I’m a DIY genius. I’ll buy a few boards, put them together, stain it, and done. Not so much. It needed to be a flat surface. My daughter does a lot of coloring and the dips/grooves in the wood planks will not be very “coloring” friendly. So off we go to the hardware store and I find this:
[one_half]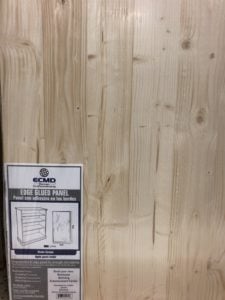 [/one_half][one_half_last]
 [/one_half_last]
Again – I think to myself, I’m a DIY genius. Not so much again. I get home, we discuss how it’ll work, and then my husband asks if I measured the trestles. Umm. No. Guess what? They are wider than the board. The board is 24″ wide. The trestles are about 28″. And the trestles already have the holes in the ends that you could use for screwing planks into. Well, we’ve got to make it work. I say “we make it work” lightly. My husband is the smart one when it comes to building and making stuff work. Of course he figured it out. He did have to go buy different screws, but that’s just a minor set back.
I’ve got a whole post coming soon on exactly how we made it and materials used. And it got the seal of approval from the kiddos. So I’m calling this one a win!
UPDATE – Here’s the full post on the desk!
I don’t have completely finished pics yet because I’m waiting on several more coats of polyurethane. Since it was bare wood to start with, it needs to be protected. Here’s a little sneak peak of where it is now:


So that’s it for Week 3. I’m hoping I’ll get a decent day outside to spray paint so I can make the Nerf Gun Wall. It’s downhill from here and I’m still under budget.
Budget Breakdown:
- Paint trays and roller $20
- IKEA trestles $20
- Screws/hardware $5
- Wood for the desk $40
TOTAL: $85
And I sold the old table and 2 bookcases for exactly $85! So I’m officially at zero dollars out of pocket so far. Everything else I’ve used I already had. I guess that’s one benefit to being a craft hoarder!
Stay tuned for Week 4 of the $100 Room Challenge and don’t forget to check out all the other amazing bloggers that are participating!
[inlinkz_linkup id=760869 mode=1]
Morgan
Wednesday 24th of January 2018
Oooh! I love the color of your cabinet! What a great storage piece- and now it looks so pretty too! The desk looks amazing! I’m so excited to see your reveal!!
Maria
Monday 5th of February 2024
@Melissa, hi,where did you buy the wood top for your trestle?
Melissa
Saturday 27th of January 2018
Thanks Morgan! It's so much better now!! I'm excited to see all the rooms on Wednesday!
Carrie
Tuesday 23rd of January 2018
Those ikea legs were such a great find! And I love that blue paint color. Your room is really coming together!
Melissa
Wednesday 24th of January 2018
Thanks Carrie - the seller seriously probably thought I was a little crazy at how eager I was to pick them up!
Maria - House by the Preserve
Tuesday 23rd of January 2018
LOVE the color of the cabinet and taping the doors behind it so you wouldn't get paint there was genius! And that Ikea table!!! It's so pretty!!
Melissa
Wednesday 24th of January 2018
Thanks Maria! It's so much happier now that the cabinet is bright and fun! And I so happy with the taping strategy - there was no paint at all that seeped through!
Kristen
Monday 22nd of January 2018
I love the color of the cabinet! Pretty!
Melissa
Monday 22nd of January 2018
Thanks Kristen! It's so much happier now!
Erin- Lemons, Lavender, & Laundry
Monday 22nd of January 2018
Both of these projects turned out just beautifully! The cabinet looks so nice with that blue color (and SO organized inside!) And what a steal on those IKEA trestles for the desk!
Melissa
Monday 22nd of January 2018
Thanks Erin! I am so much happier with the cheery cabinet color and you'd be amazed at how much junk I got rid of from it! The lady that sold the trestles was probably a bit scared of how eager I was to get them! Ha!