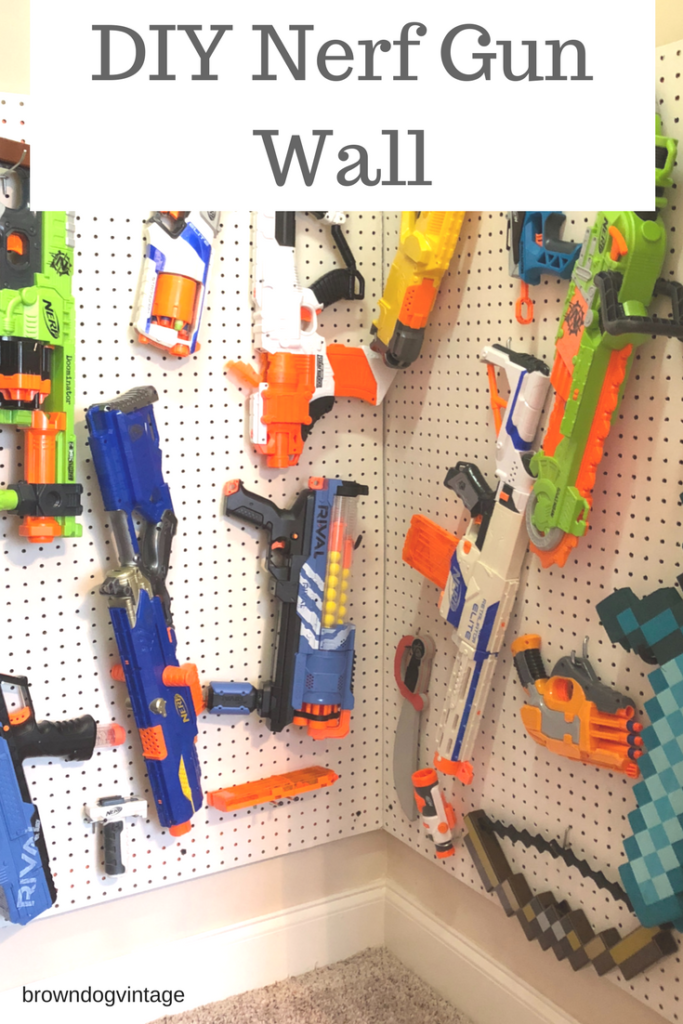
This post is all about storing the endless arsenal of Nerf guns that seem to multiply at our house! It’s part of our $100 Playroom Makeover. Nerf guns are super cool and my kids love them, but they aren’t the easiest to store. Here’s how to make your own easy DIY Nerf Gun Wall and it’s cheap too!
Since these Nerf guns occupy our playroom, it made sense to find a better way to store them and this makeover challenge was a perfect time.
All the details can be found here from each week in the challenge:
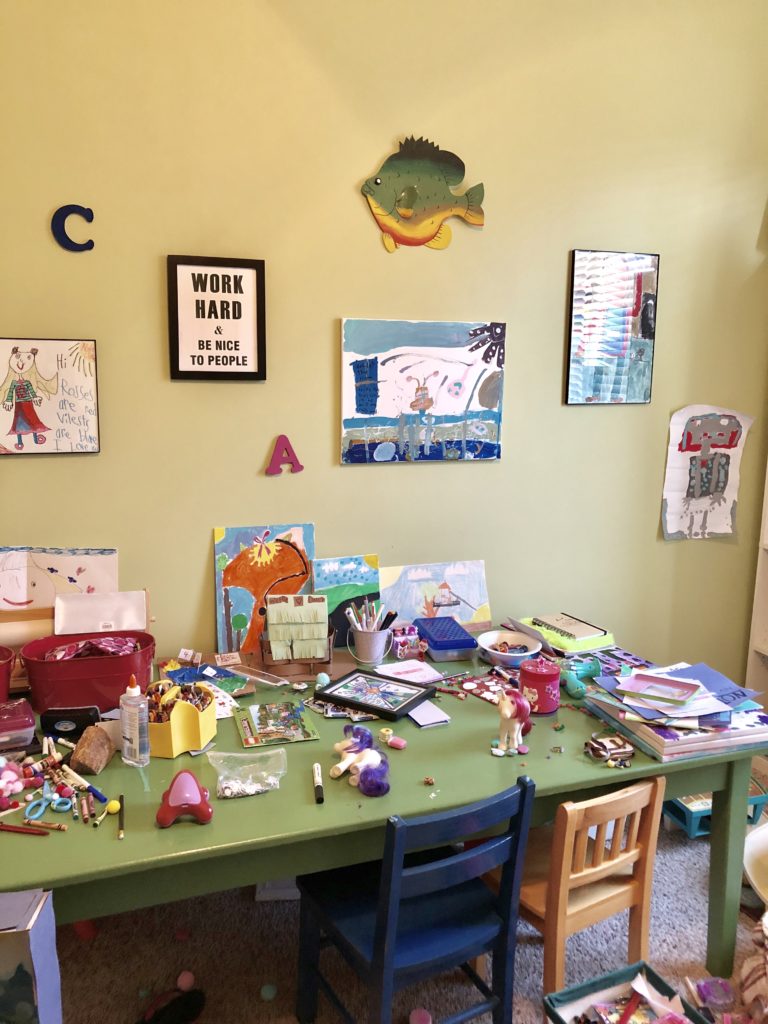
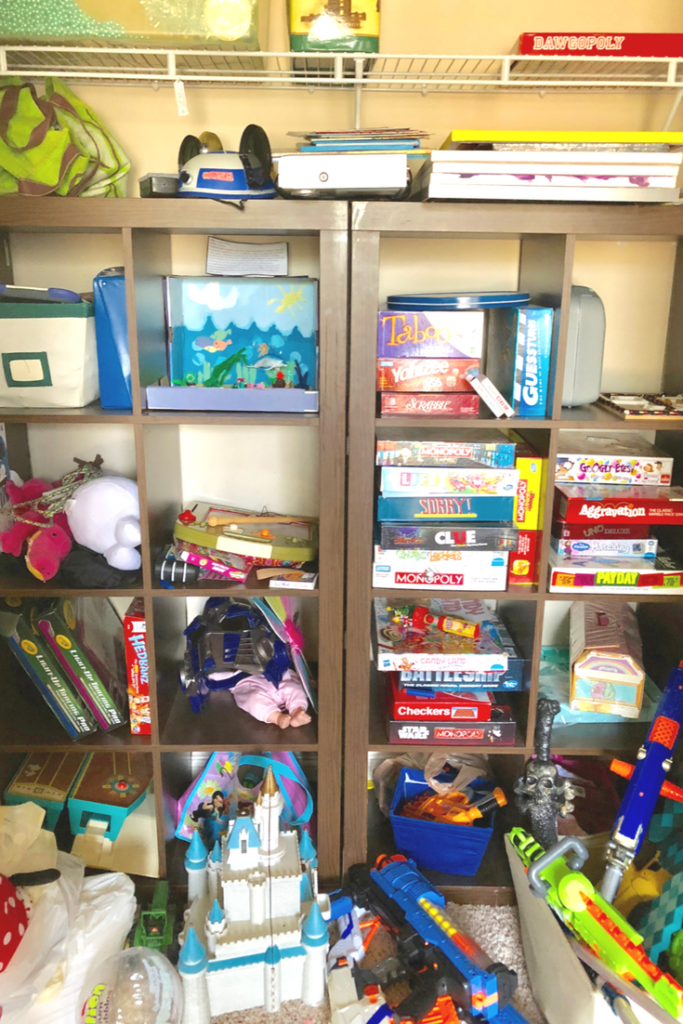
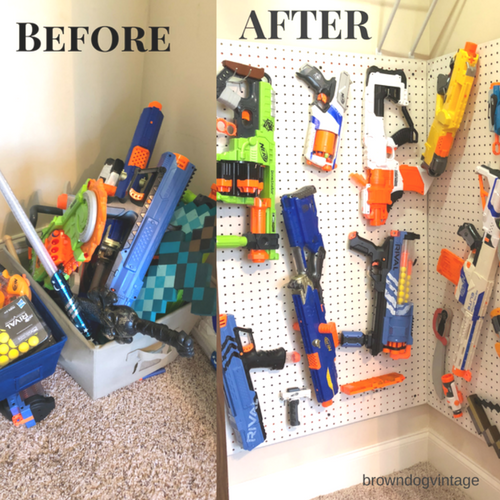
I had grand plans for this room on a not so grand budget. Our kids have outgrown lots of the toys and also the furniture so it was time for a change. Plus, the wall color had to go and the clutter was overwhelming! Here’s a lovely before shot for your enjoyment:
$0 – Paint – I used leftover paint from our Master Bedroom Makeover and finally found a use for a gallon of paint that’s been stored in my garage for months!
$20 – I had to replace the roller for painting because I couldn’t find it anywhere and needed one for rolling the walls, also bought some new large tray liners
$5 – Craft storage supplies from Dollar Tree
$0 – Chairs – These were FREE from the online yard sale. The same person I got the trestles from was giving away 4 plastic IKEA chairs!! They were desperately in need of a good cleaning and a paint job, but free. Yes, please. I couldn’t get there fast enough to pick these up! And I already had paint on hand.
$0 – Nerf Gun Wall Supplies – we had everything already that was just collecting dust in our garage.
Total so far – $90, however, I was able to sell our old table and two bookshelves, so I’m at $5 out of pocket!
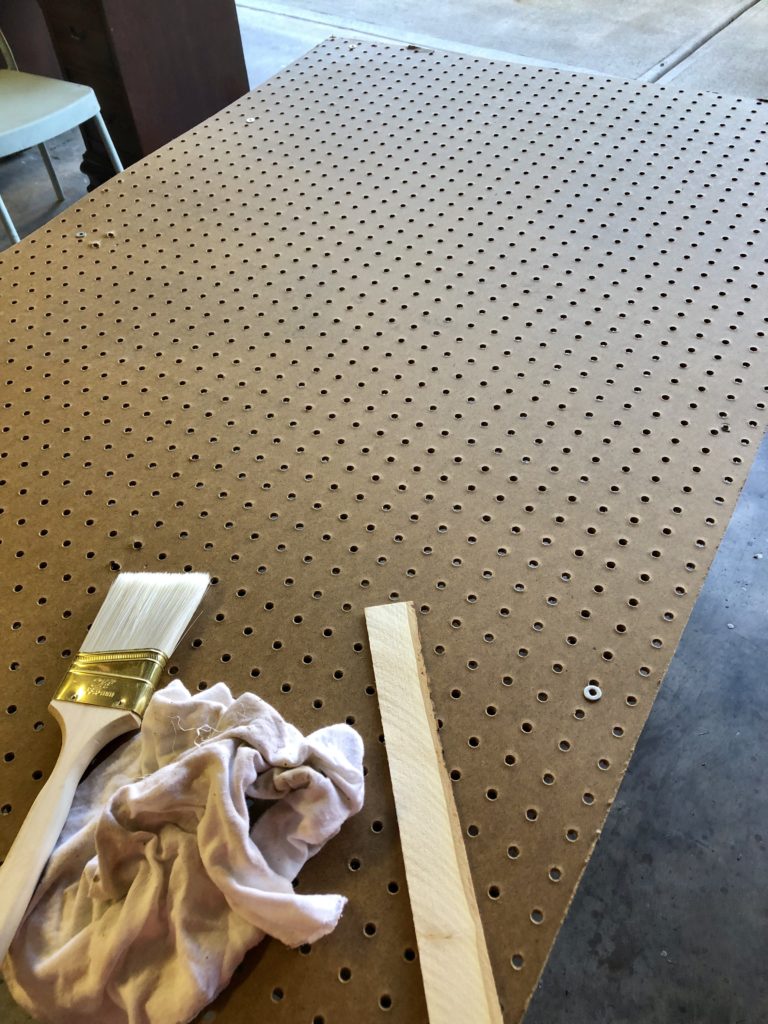
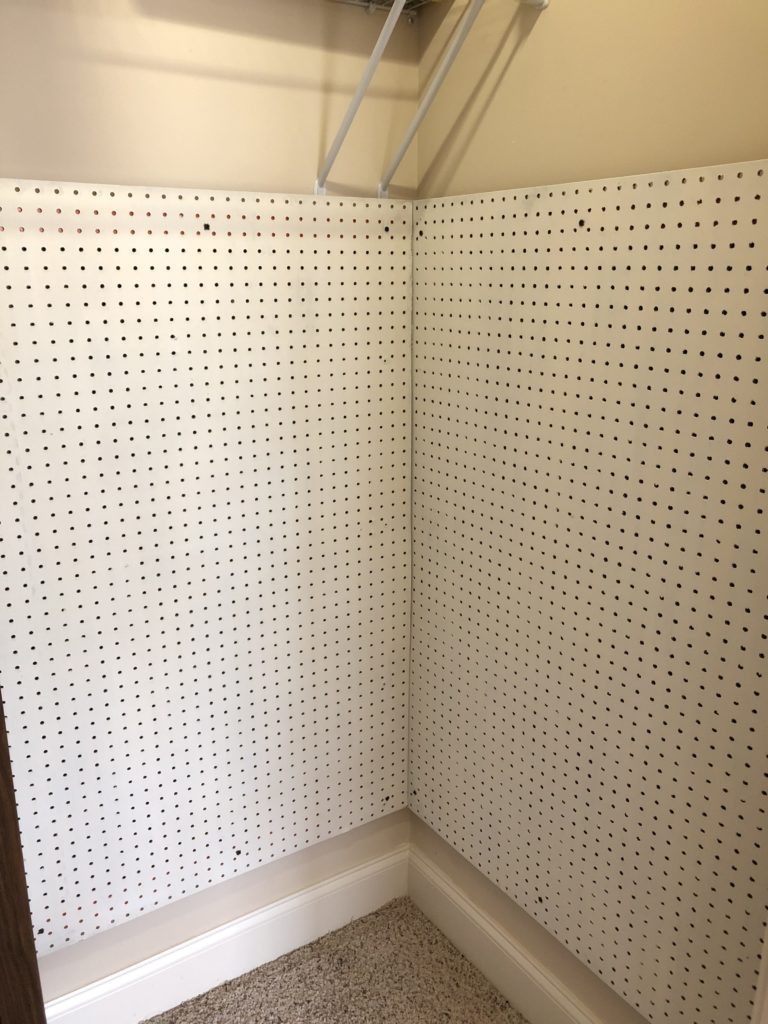
Since we were putting this in the closet of the playroom, we had to trim down some of the pegboards. It had been hanging in our garage for years, but we weren’t using it. My husband had already cut it down for the garage, but we needed to take another 3 inches off the width for one side. I was planning on having the back and side wall of the closet used for pegboard.
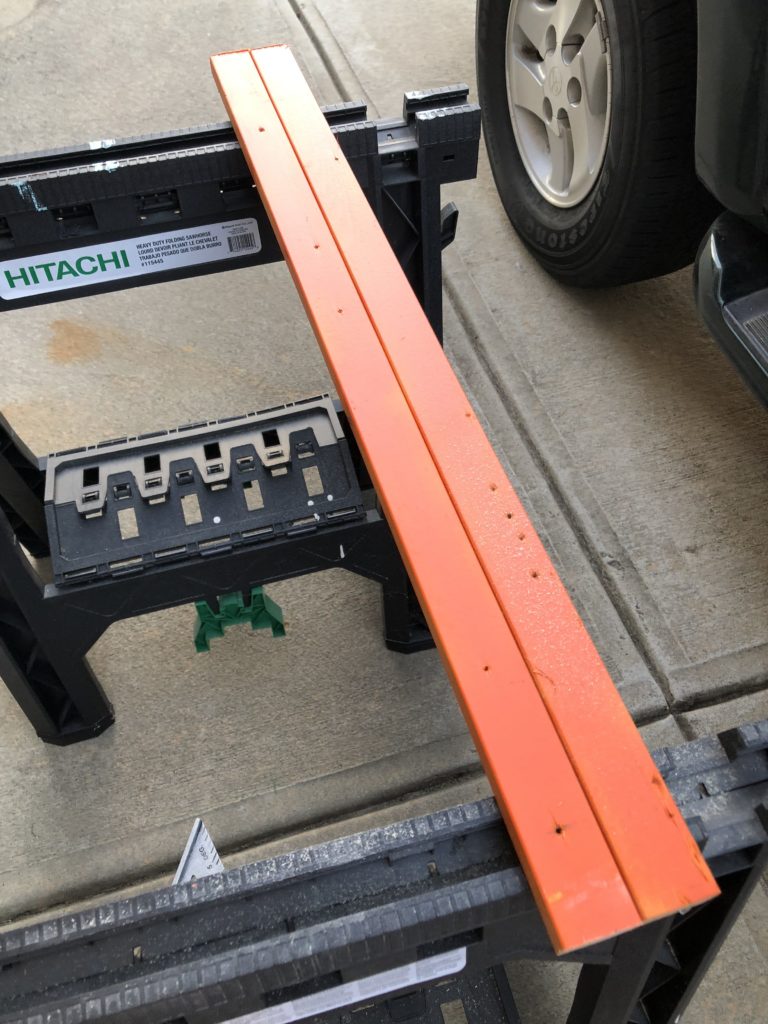
He set it on sawhorses and used a circular saw to cut it. Since it wants to slip around while cutting on the sawhorses, he used a small clamp to keep the cut end from flopping around. This made for a much neater cut.
Paint your pegboard whatever color you want. I used a brush and some leftover white paint. I also didn’t get too picky – it’s going in a closet. My son chose white, but you can do whatever looks cool to you.
I sprayed the 1×2’s with orange spray paint, but this was an unnecessary step. It’s barely visible at all behind the pegboard so feel free to skip this part.
Measure the width of your pegboard and cut the 1×2 at least the same width or a few inches wider if you have extra wall space. For example, one of our pegboards is 33 inches wide and the 1x2s are about 35 inches long. You need at least 2 1×2 supports for each piece of pegboard. Possibly even 3 evenly spaced supports if you are doing a really tall pegboard.
Assemble the Pegboard Wall
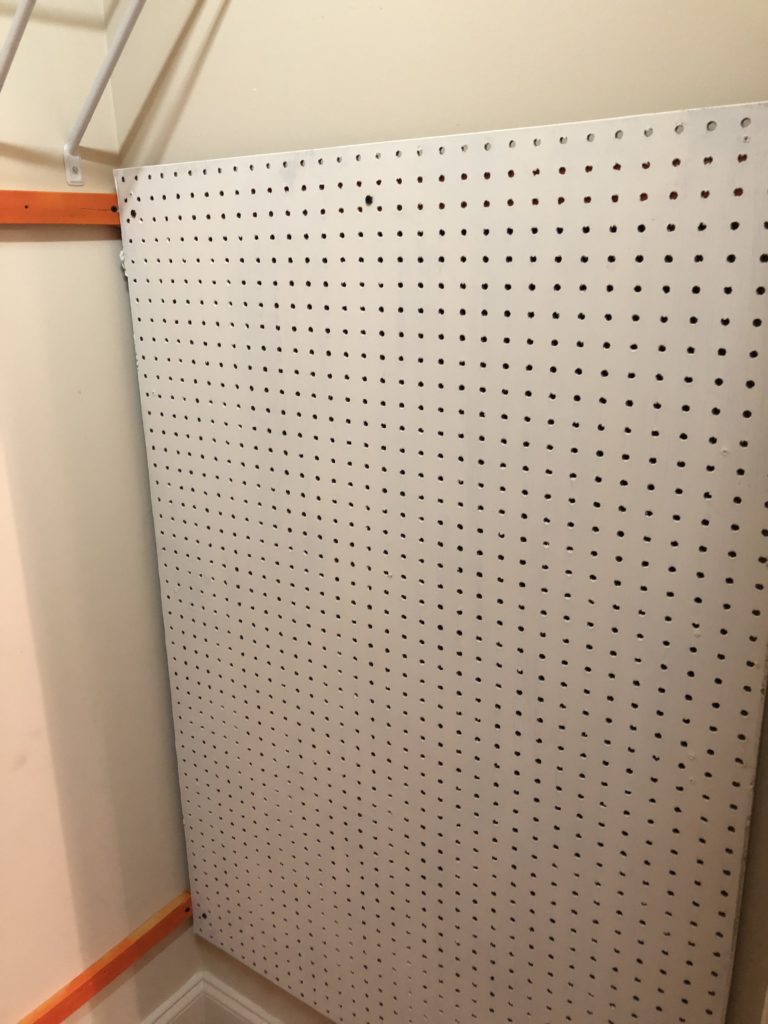
Measure where you want the top of the pegboard to be and mark it. Come down about 2 inches from that mark and mark that – this is where you want to put the 1×2 boards. Do the same for the bottom – mark where your board will end, come up about 2 inches and mark this.
Find the studs in your wall and screw the 1×2 pieces into the studs. You really want to screw the 1x2s into a stud because pegboard is pretty heavy. If you just screw into the sheetrock, the weight of the boards, plus the guns may pull it down.
Helpful hint, you can use a stud finder and most studs these days are 16 inches apart. And don’t worry if the screw splits your 1×2 a bit. Ours split a small amount on each end because our studs were so close to the ends.
Make sure your pegboard is level and screw it into the 1×2 boards on the wall. This step is definitely easier with two people.
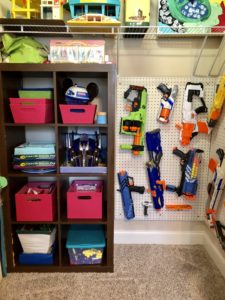
And that’s it! Put several screws in the top and bottom supports so it’s secure. This nerf gun pegboard wall is so great for storing all those odd-shaped toys!
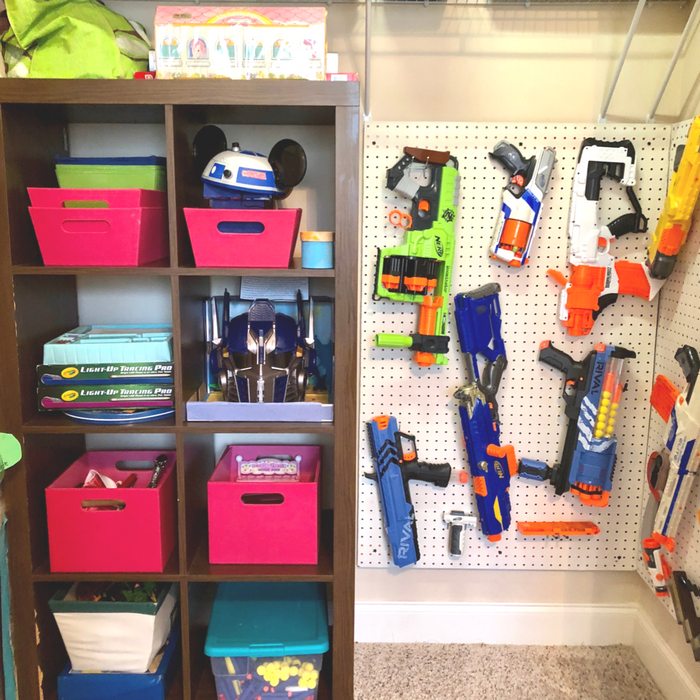
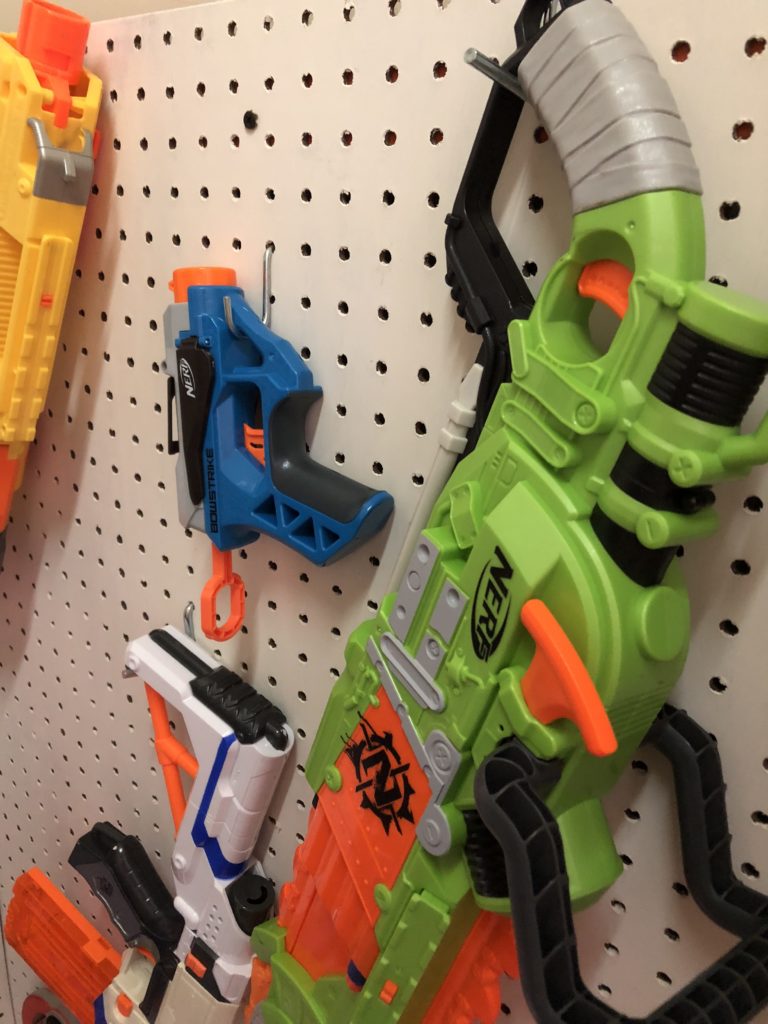
And now hang up the guns! We had an assortment of hooks in the garage and I just picked out the ones that worked best for his guns. They aren’t the most secure things in the world, but they work. I know that when there are 5 boys in there grabbing guns off the wall, some of the hooks will fall out, but they are easily replaceable. I might actually find a way to secure the hooks, but for now, they work great.
Update! A fellow blogger gave me a super helpful tip that I had no idea about! The little black plastic pieces that come in the hooks are what you use to secure the hooks! Who knew?? Maybe I was the only one, but what a game changer – genius! Just place your hooks and then secure them with the black thingys!
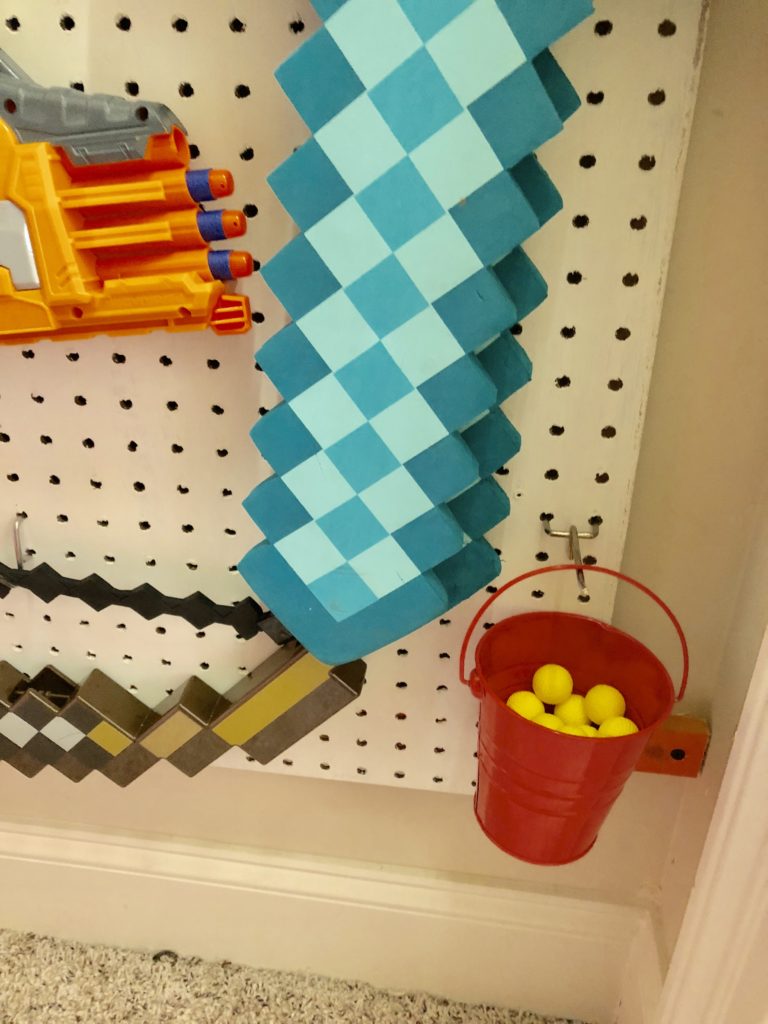
I use a plastic container to store all the extra Nerf bullets so there are no more grocery bags full of them in there! This DIY Nerf Gun Wall was seriously so easy (special thanks to my super handy husband for helping all my visions work) and I wish we would’ve done this long ago. And if I wasn’t on a budget I definitely would’ve bought some of that cool stainless steel or blue pegboard!
I have been trying to find a way to space my pegboard from the wall. The spacers were just too flimsy. Your idea is genius! Thank you so much for sharing!!
create and find
Thursday 3rd of February 2022
That's great to hear! This was one of my favorite DIY projects and I only wish I'd done it sooner! Glad it helped you.
Scarlet
Friday 7th of August 2020
OMG. My son would love that nerf gun wall. It looks like a great way to store them and keep them from laying around in the yard, porch and house!
create and find
Saturday 8th of August 2020
Thanks Scarlet - It is amazing!!! And so easy to make - you should definitely try it.
Erin- Lemons, Lavender, & Laundry
Wednesday 31st of January 2018
I am SO doing this!!! I have an 11 year old and 7 year old son, and the amount of NERF guns we have around here is crazy. Love this idea for a simple storage solution. Such a great idea!!!
Melissa
Friday 2nd of February 2018
You definitely should Erin! It's amazing and no more huge piles of guns and darts all over the place!
Debbie
Monday 29th of January 2018
Absolutely LOVE the nerf gun storage!! What a cute idea!
Melissa
Tuesday 30th of January 2018
Thanks so much friend! It was a much needed improvement for that junky closet!
Natalie @ NeliDesign
Thursday 25th of January 2018
It's so perfect! The kids must love it! I would feel like in a movie when they turn the secret wall and behind there are guns all over the wall hahaha
Melissa
Thursday 25th of January 2018
Thanks Natalie! It's definitely cool when you open the closet doors and it's all there! Secret spy house!


Kara Bybee
Sunday 30th of January 2022
I have been trying to find a way to space my pegboard from the wall. The spacers were just too flimsy. Your idea is genius! Thank you so much for sharing!!
create and find
Thursday 3rd of February 2022
That's great to hear! This was one of my favorite DIY projects and I only wish I'd done it sooner! Glad it helped you.
Scarlet
Friday 7th of August 2020
OMG. My son would love that nerf gun wall. It looks like a great way to store them and keep them from laying around in the yard, porch and house!
create and find
Saturday 8th of August 2020
Thanks Scarlet - It is amazing!!! And so easy to make - you should definitely try it.
Erin- Lemons, Lavender, & Laundry
Wednesday 31st of January 2018
I am SO doing this!!! I have an 11 year old and 7 year old son, and the amount of NERF guns we have around here is crazy. Love this idea for a simple storage solution. Such a great idea!!!
Melissa
Friday 2nd of February 2018
You definitely should Erin! It's amazing and no more huge piles of guns and darts all over the place!
Debbie
Monday 29th of January 2018
Absolutely LOVE the nerf gun storage!! What a cute idea!
Melissa
Tuesday 30th of January 2018
Thanks so much friend! It was a much needed improvement for that junky closet!
Natalie @ NeliDesign
Thursday 25th of January 2018
It's so perfect! The kids must love it! I would feel like in a movie when they turn the secret wall and behind there are guns all over the wall hahaha
Melissa
Thursday 25th of January 2018
Thanks Natalie! It's definitely cool when you open the closet doors and it's all there! Secret spy house!