


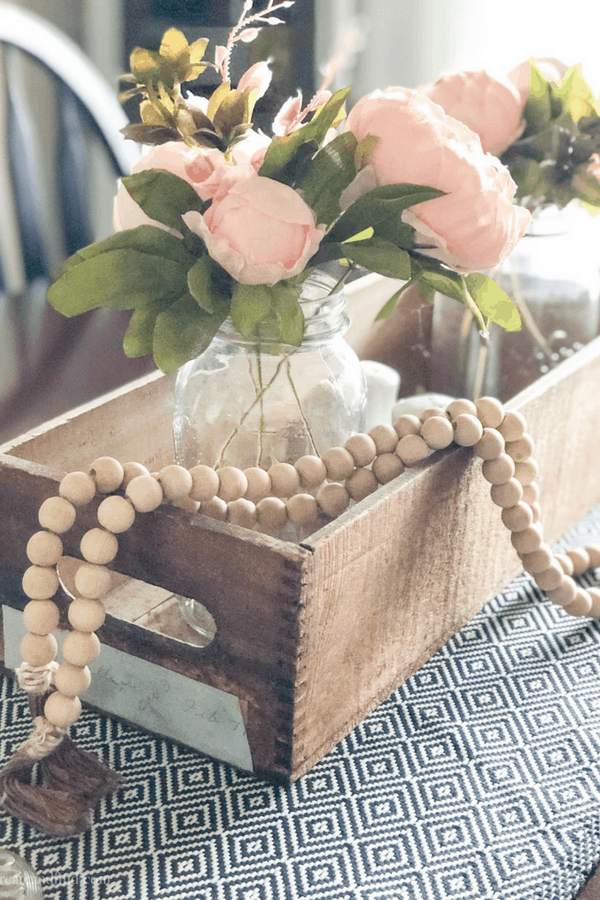
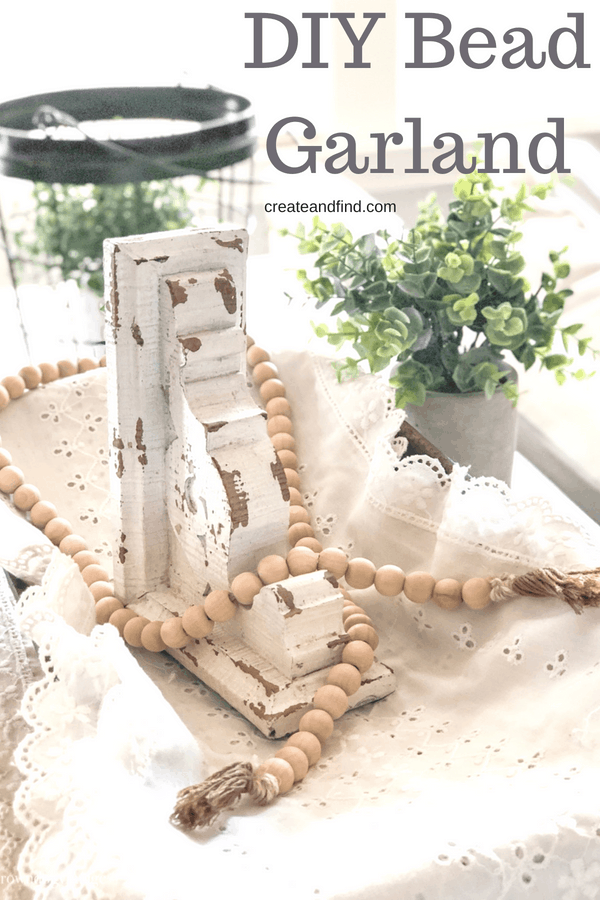
I’m sure you’ve seen some amazing wooden bead garland that has been popping up all over. I’ve seen them for months and almost bought some once, but my thrifty side got the best of me. So what do you do when you can’t buy it? You DIY your own wood bead garland for about 8 bucks!
This DIY wood bead garland is the perfect simple craft that you can customize to your decor. It can be farmhouse style, modern, boho – whatever you like. You can paint the beads, or use multi-colored tassels to suit your style.
Now, I’m not super crafty. I can paint, I can DIY some things, but crafty is not the word I would use to describe myself. Let’s put it this way – I say those words “yes, I can do this” a lot and three hours later, I’m wondering what I was thinking.
However, this is one of those DIY’s that even I can do, so I know you can too! I even included it on my list of 5-minute decor crafts.
For more simple craft ideas, check out this painted terra cotta pot and this easy DIY Spring Art.
DIY Wood Bead Garland
Supplies for Wood Bead Garland
- Twine – any color you like or have on hand already. I couldn’t find colored twine at Michaels so I chose a brown/white color.
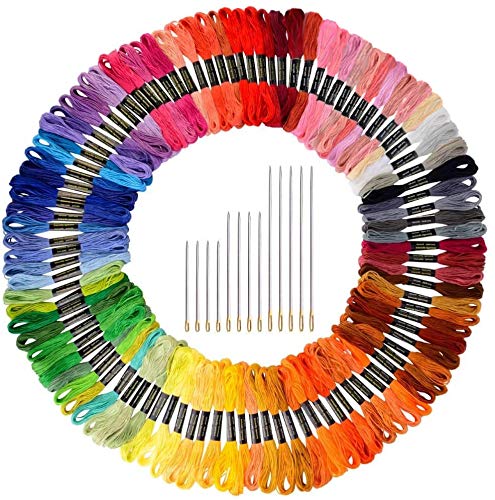
- Embroidery thread – I went this route for my tassels instead of using the same twine. After looking at mine, I’m kinda wishing I had jumped off the neutral boat for a sec and picked a pretty color.
- Wooden Beads – Mine are from Michaels but I’m sure any craft store sells them. I bought two packs and each had 34 beads (what a random number??). I’ve linked some similar ones on Amazon.
- Scissors
- Tape
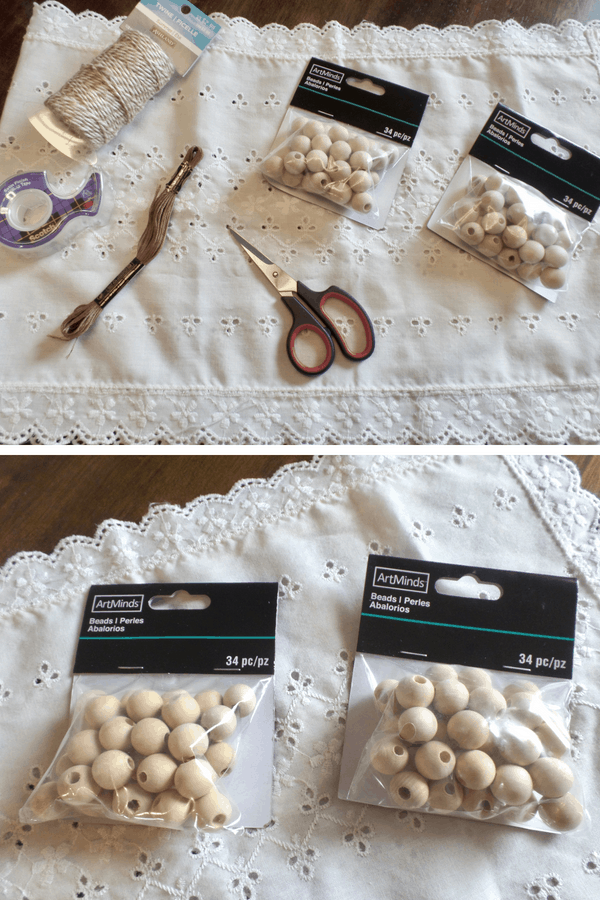
I bought all my supplies at Michaels and after coupons/sales, it totaled less than $8. You could make a smaller garland if you only buy one pack of beads). This would bring your cost down to about 5 bucks. Or you can buy the larger packs above from Amazon and make several!
Make Your Tassels
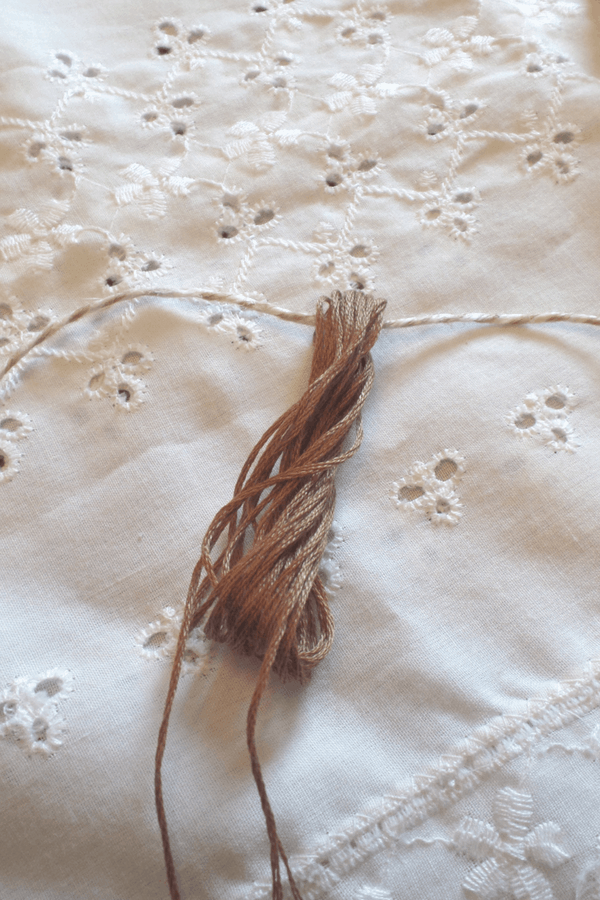
Start by taking your embroidery thread and make about 15 loops around your hand like you are rolling up a hose. Leave two ends hanging down on each side. You will end up with what looks like an “O” of thread with two loose ends hanging off.
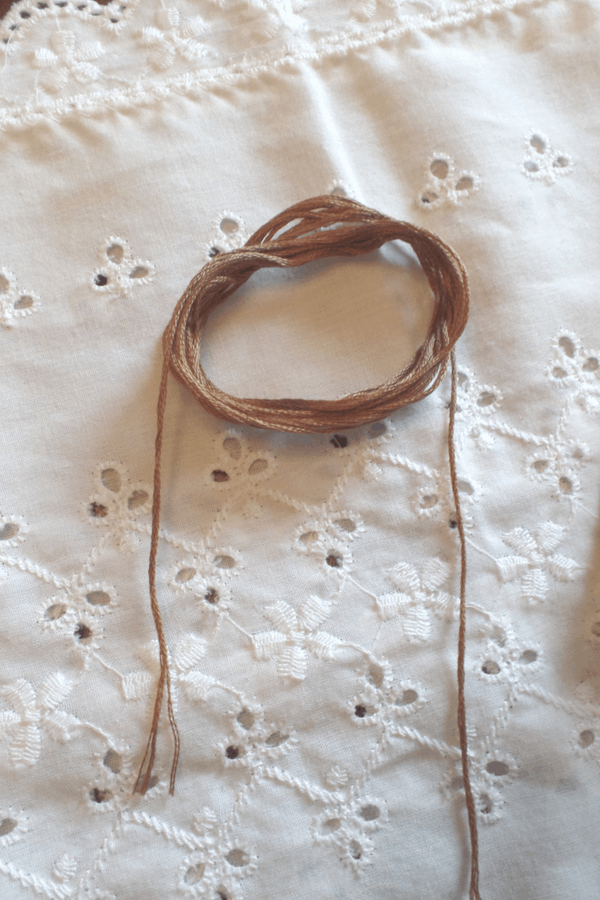
Make your first one and then repeat. You need two if you want tassels on each end. If you don’t want tassels you can skip this step. Set those off to the side and pat yourself on the back. Step 1 – check!
Make your String and First Tassel
Cut off about 7 feet of twine. Or go shorter if you don’t want a long strand. You’re going to fold it over, so don’t fret – you won’t end up with 7 feet of garland. Unless of course, you want 7 feet to drape across your whole house.
Carefully take one of your embroidery thread “O’s you made above and put your 7 feet of thread through the “O”.

You will have about 3&1/2 feet of twine with your “O” hanging from the middle. Picture holding up a jump rope by both handles with a ball of thread hanging from the middle at the bottom.
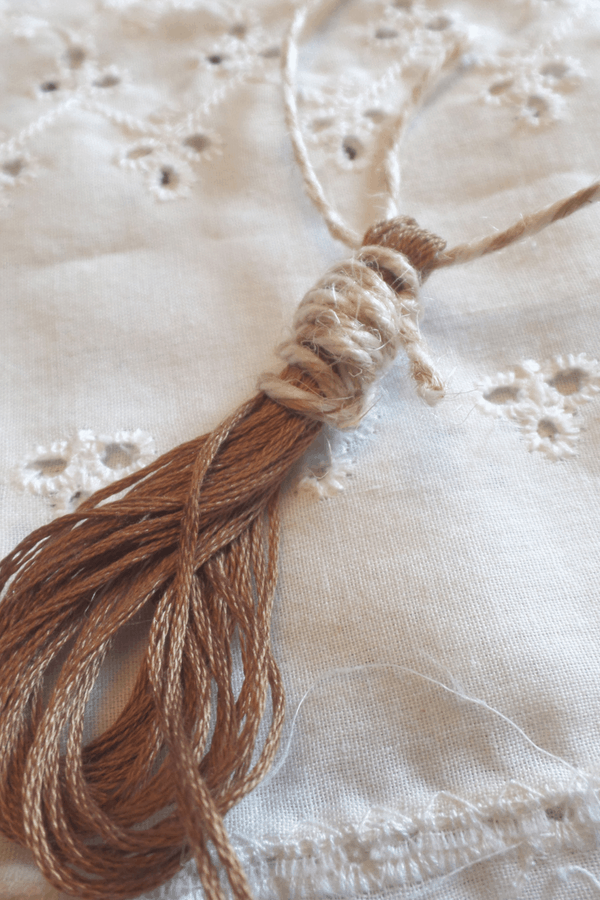
Cut some more thread or twine (whatever you like better for this part) – you will be making the loops around the top of your tassel. See below – those messy loops around the top of my embroidery thread are what I mean.

I used twine and in hindsight, I wish I would’ve used thread because it would look neater. I used about 8 inches of twine, wrapped it several times around the top of my thread and then tied it off in a double knot.
Take your scissors and cut the bottom circle of your thread/twine. This will give you a tassel. You are undoing that loop of thread/twine to make them hang down in single lines instead of a circle.
String the Beads
What you have now is a ‘U” of twine with one tassel hanging from the middle.
First, take the two long ends of the twine (each end of the 3 &1/2 feet) that has one tassel hanging from the middle. Use scotch tape and tape the very ends together. The tape helps you thread the beads.
If you don’t tape the two ends together, the twine will unravel as soon as you start threading beads.
So now you have a 3 &1/2 foot length of twine, taped off at the ends and one tassel hanging from the bottom middle. Grab your beads – I used both packs of beads for mine (68 total). Start with your taped ends and add beads.
Add beads until you have the length you want but make sure you have at least 6 inches of twine leftover with no beads on it.
Add Your Second Tassel
After you have as many beads as you want, take the tape off the two ends. Grab the second “O” from thread or twine that you made earlier. Take one side of your remaining 6 inches of twine that you just removed the tape from and thread it through the top of your second tassel.
Tie a knot with the other end of your twine. Now your second tassel is attached to your garland.

Repeat the steps above for the tassel. Cut more twine (about 8 inches) and start looping around the top of your embroidery thread “O”.
When you have about 10 or so loops around your thread, tie it off in the back to secure it. Snip the loops so they make a tassel.
And boom – you are done! Thrifty DIY wooden bead garland!
So for about $8 (or less if you only use 1 pack of beads), you have your very own wooden bead garland. This took me about 45 minutes to make.
If you are craftier than me (which you likely are!), then you can probably knock this out in less time. And now you can add it to your DIY thrifty decorating skills!
How To Make DIY Wood Bead Garland
How to make your own DIY Wood Bead Garland for around $8.
Materials
- Beads
- Twine
- Embroidery Thread
- Scissors
- Tape
Tools
- Scissors
Instructions
- Make the tassels first. Loop the embroidery thread around your hand about 15 times like you are rolling up a hose or cord. Leave two ends hanging down on either side.
 You need two of these loops.
 - Cut about 7 feet of twine and thread it through one loop you made in step one.
- Cut enough thread or twine to wrap around the tops of your tassels
- Now use your scissors and cut the bottom of the loop - this will give you your tassel instead of the circle. You should have a "U" shaped string of twine with your first tassel hanging down in the middle.
- If you are painting your beads, make sure that is done before stringing.
- String your Beads - Tape the ends of each piece of twine so it won't unravel. String as many beads as you want and leave about 6 inches with no beads.
- What you have now is one long piece (about 3 feet or so) of twine strung with beads with one tassel at the end. You are going to add the second tassel to the leftover 6 inches.
- Remove the tape from both ends of the twine. Take one end and thread it through the second loop you made in step 1. Tie it in a knot with the other end of the twine. Repeat step 3 for your second tassel and then cut the loop as you did in step 4.
Recommended Products
As an Amazon Associate and member of other affiliate programs, I earn from qualifying purchases.


Thanks to Cheyenne at Sense and Serendipity for helping me DIY my own beads! Go check her out if you haven’t already – she’s got so many gorgeous posts on her blog! I was so inspired by her helpful tutorial and I love the way it turned out.
Pin for Later!
Kim Bell
Friday 26th of January 2018
What mm of bead do you think these were? I love it!!
Melissa
Sunday 28th of January 2018
Thank you! Unfortunately I don’t have the exact packaging but they were fairly small. Less than 2 inches around I believe.
Emily Fritsch
Thursday 25th of January 2018
Ohhh I have been wanting to make one of these!! Thanks for the tutorial!
Melissa
Thursday 25th of January 2018
Thanks Emily! I've got it on my list to make a new strand for some fresh and inexpensive spring decor!
LydiaF1963
Monday 26th of June 2017
What a pretty project with so many possibilities! I love it! Thanks for sharing with us at Creatively Crafty #ccbg :)
Melissa
Monday 26th of June 2017
Thank you Lydia!
The Creative Gallery #234 -
Sunday 4th of June 2017
[…] Loooving this wood bead garland from Brown Dog Vintage. […]
Lindsey
Monday 1st of May 2017
This looks so good! Thanks for sharing at #iDIYedthat. Hope to see you there tommorrow.
Melissa
Monday 1st of May 2017
Thanks so much and I definitely will be!