
If you’ve priced new furniture lately, it can be a little overwhelming. However, if you’re willing to invest a little time and effort, you can give that old dresser or Grandma’s vintage buffet a new life. I put together a beginner’s top 10 list of furniture painting supplies to help.
It may seem like a bit of an investment in the beginning to get several of these furniture painting supplies. You’ll need a good cleaner, sanding supplies, quality brushes, and lots of old rags just to name a few.
Painting furniture is a great way to save money on decorating your house. If you’re attempting to stick to a budget or you are just looking for ways to make money flipping furniture, this list will help you with the beginner supplies you need.
Some are investments that you will use over and over again, some are free, and the others are very inexpensive. Of course, it’s not an extensive list – just basics that will come in handy if you plan on doing several furniture makeovers.
A good idea if you’re just starting out is to pick something simple. Don’t go for the dresser that needs all the drawers repaired or the buffet that has cracked and peeling veneer everywhere. Even the most experienced painters can get frustrated when the prep work takes forever.
Top 10 Furniture Painting Supplies
In no particular order, here are my 10 favorite furniture painting supplies. I use all of these and would never recommend something I don’t love.
- Zep 505 – I use this for pretty much everything I paint. You’ll be surprised at the gunk and filth that comes off when you use it. Wear gloves because it leaves kind of a slimy feeling on your hands afterward and no one likes slimy hands. You can use it on virtually any surface.
- Quality Brushes – I stick with either Purdy or Wooster brand because I’ve tried many brushes over the years and these are the ones that work the best. I find that if you don’t have a quality brush, you will see bristles coming out into your freshly painted masterpiece. No thank you. Bristles should know their role and stay outta my creations.
- Electric Sander– If you are sanding a large piece, there really is no reason not to spring for an electric sander. To me, it’s an investment that your forearms and shoulders will thank you for later. We have had the same palm sander for years and it’s still going strong. I buy packs of sanding sheets in fine, medium, and coarse. For in-between coats of paint or primer, I just cut the sheets to fit my hands and use them that way. Use fine or extra-fine when sanding between coats. Unless you are using a “no-prep” paint like chalk paint, you probably need to sand your piece first. If it’s glossy, has wax, or has another protective coating on it, you have to sand it to get a surface the paint will adhere to.
- Sanding Blocks – These are my go tos for distressing. I find that it’s easier to control the sanding blocks on corners and legs than using the electric sander. I also use these when I’m sanding a smaller piece that doesn’t require the electric sander.
- Kilz Primer – This stuff is stinky but it’s the best if you are trying to get a good surface for your paint to adhere to. If you are using a paint that requires prep like latex paint, you probably need to prime it first. Especially if you are painting over a piece that is stained. If you don’t prime and you paint a light color, it’s very likely the stain will bleed through.
- Water-Based Polyurethane or Minwax Polyurethane – If you are painting a high traffic piece such as a table, chairs, or a coffee table, it’s probably wise to add a protective coating or two. If you just painted a stunning piece in a light color, do not reach for regular polyurethane unless you want your stunning white to look like someone peed on it in a few months. Oil-based polyurethane will yellow over time. Only use water-based topcoats over light colors. For dark colors, I use the standard polyurethane and not the water-based. I also use both of these in the wipe on formula and it takes more applications but also gets the job done.
- Floetrol – This is my number one pick if you want a smooth finish without brush strokes. In my opinion, this stuff is amazing. It’s a paint conditioner that you add to any paint. It’s a white liquid but doesn’t change the color of your paint. You mix it in according to the directions and it helps transform your paint into self-leveling paint. It does increase the dry time which increases the time in between coats, but it’s totally worth it. I use this pretty much every time I paint. I can definitely tell a difference when I don’t use it.
- Dewalt Screwdriver – I just got this guy for Christmas last year and so far, he’s my new fave. I love this thing. It takes some getting used to on how to operate it, but my life would’ve been so much easier the past several years if I had owned this. Old screws can be very difficult to get out. I use a drill sometimes and it’s often not able to get into the spaces I need. Plus it’s heavy. This screwdriver works with the rotation of your hand and it rotates to get into tight spaces.
- Nitrile Gloves – These are a must. We always have these on hand. Pretty self-explanatory, but unless you want to be covered in paint/stain, wear the gloves.
- Bag of rags and/or old t-shirts. Most of my old t-shirts and my husband’s old shirts wind up in my garage stash. Most are so old that they are lint-free which makes them ideal for cleaning. You can also buy a bag of rags which comes in handy for staining.
Buy More Furniture Painting Supplies Here
Bonus Furniture Painting Item (it’s a lifesaver)
And a bonus – Do yourself a huge favor and get this paint pail and liners. Also this paintbrush cover – Life-changing my friend. Life-changing.
Of course, quality paint is also a must. You can buy all the supplies for painting furniture, but if you use the cheapest paint, you’ll be disappointed. But you don’t want to risk spending all the time and effort just to see your paint peeling off. Check out my guide below for tons of helpful tips.
Over the years, I’ve found that these things are my staples. They are my bread and milk for my garage. No matter what project I’m painting, these are the things I always end up needing.
And a bonus painting tip – Find yourself a test project. Check Craigslist, online yard sales, estate sales, thrift stores… Find something inexpensive and made of wood and just try different things.
For years, I had a small nightstand in my garage that was my “tester”. That poor thing has been painted, stripped, stained, sanded – over and over again. You name it. If I wanted to see how something would look or test a new technique, that little nightstand was my model.
The best way to learn is to just jump in and do it.
Happy Painting! And please feel free to let me know if you have any go-to favorites that I should add to my list!
And for inspiration – here are a few of my favorite painted furniture makeovers from the past.
Antique Buffet Makeover
Take an outdated buffet and make it your own with paint. It took me a few tries to get this one right, but it was worth the effort.
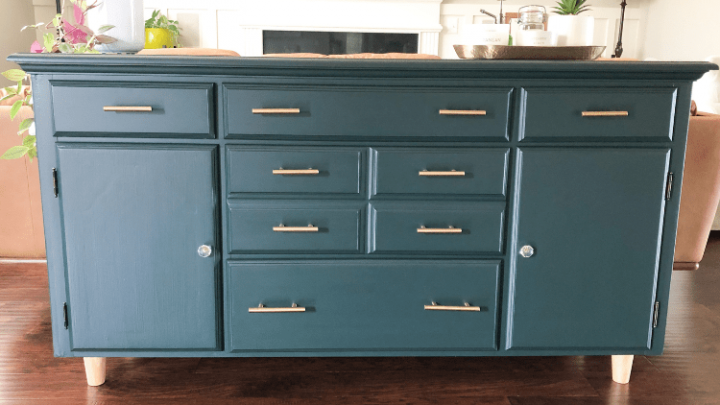
Traditional Sideboard Makeover
I took a traditional buffet and completely transformed it into a modern piece that fits with my home.
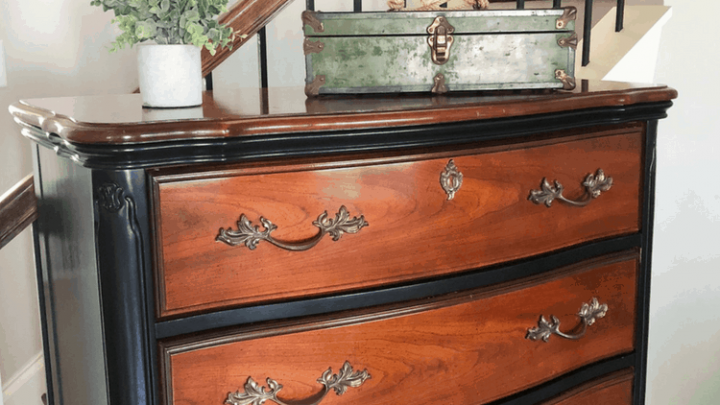
Black Dresser Makeover
This piece was in perfect shape. I just made it a smidge more sophisticated with shiny black paint.
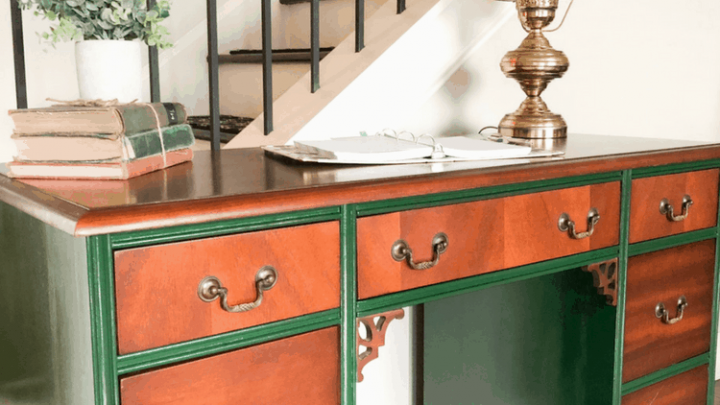
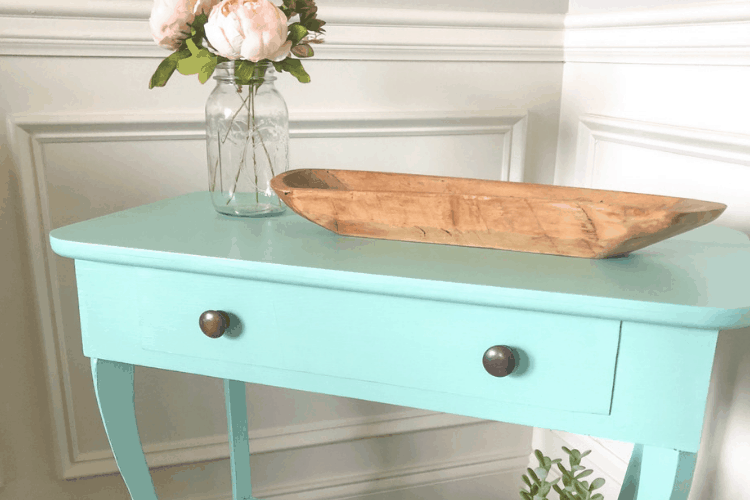
Vintage Desk Makeover
This vintage desk got a dramatic makeover with glossy green paint while still keeping some of the original wood.
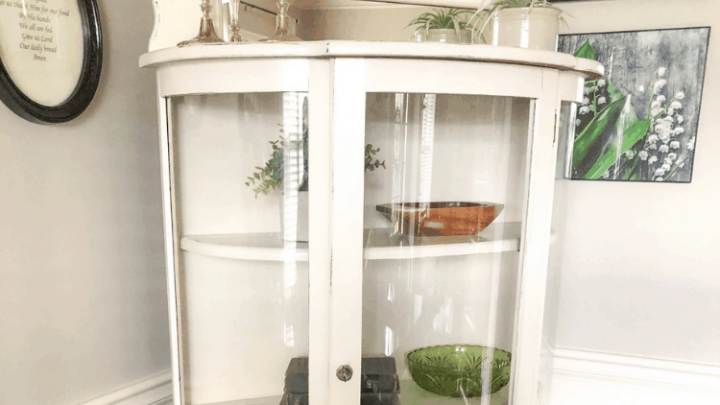
How To Update An Old Curio Cabinet
A vintage curio cabinet got a refreshing makeover with subtle white paint, slight distressing, and original feet.
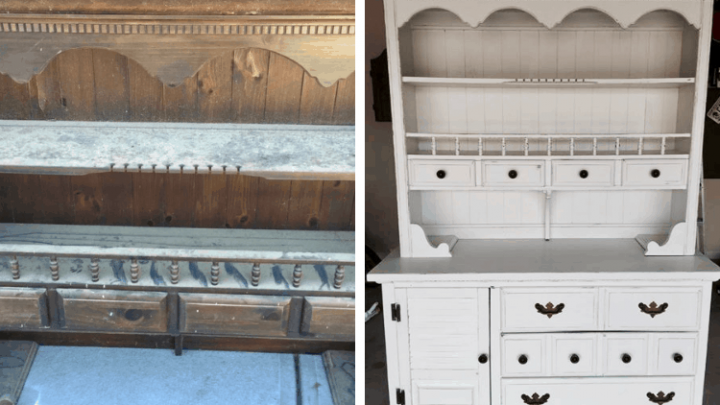
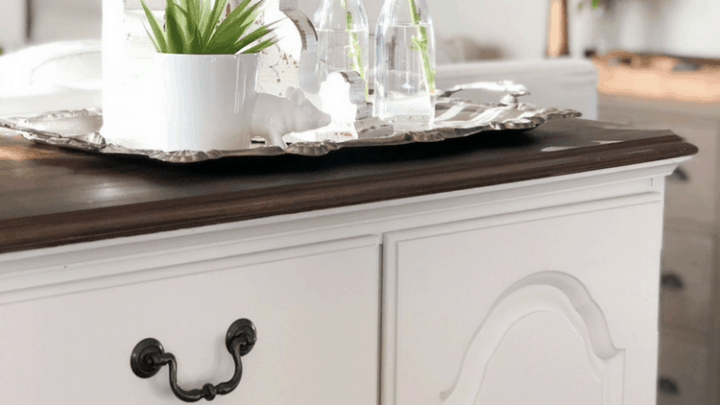
Farmhouse China Cabinet Makeover
This china cabinet makeover saved this piece from ending up in a landfill. Farmhouse style paint and distressing brought it back to life.
Pin for Later!