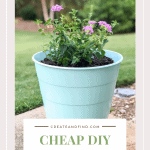
These decorative planters are easy, cheap, and quick to make. You can turn an otherwise boring old plastic trash can and a basic terra cotta pot into pretty planters for the cost of a can of spray paint. Add some inexpensive plants and you’ll be done with this project in about an hour!
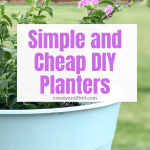
Planters can get pretty expensive, but I’ve got 2 ways to make affordable DIY decorative planters that will save you money and look amazing, plus several seasonal ideas from around the web.
I’m joining in with several other bloggers for a Garden Tour hosted by Kippi from Kippi at Home. Be sure to check out all the other fabulous ideas at the end of the post!
I’ve had these trash cans sitting in the garage for nearly a year just collecting dust so it was time to make them pretty! And I found the terra cotta pot for around $4 at a garden store. And they are perfect for these DIY planters!
DIY Decorative Planters – 2 Simple and Affordable Options
Each year I go a little nuts when it’s finally warm enough to start adding plants to the yard. There are so many beautiful flowers to choose from, but the planters can get expensive! So I made a few new ones this year for less than $20 for three new DIY planters, including the plants and soil.
Supplies for these affordable decorative planters:
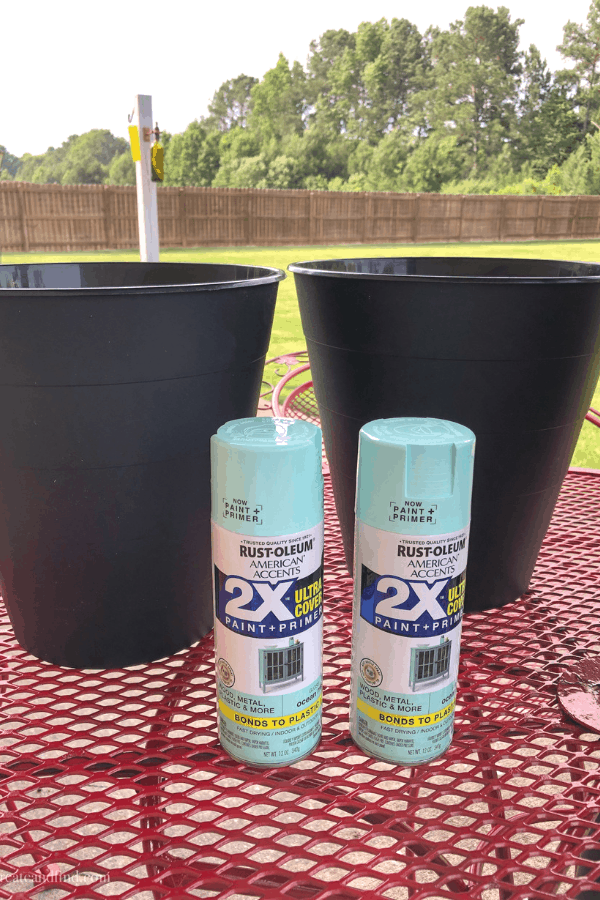
- 1 can of spray paint (this is the one I used, but I found it cheaper at Wal-Mart), I bought two but only needed one can and still have some leftover
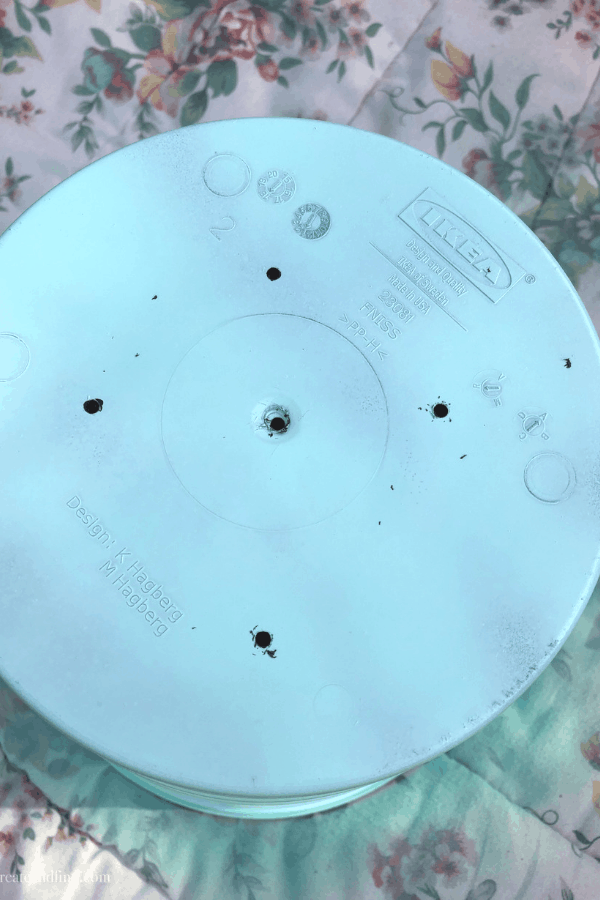
- plastic trash cans – mine are from IKEA and were $1.29 each
- terra cotta pot – I used an 8″ pot from Lowes for around $3.50
- drill – already owned
- soil and flowers ($5) – I chose a 6 pack of Impatiens for $1.98, 2 Lantana plants for $4 each, and potting soil
Trash Cans Upcycled Into Decorative Planters
First up – the trash cans. I found these cheap plastic trash cans from IKEA. They are 11″ high so they are not huge, but also not tiny. If you don’t have an IKEA close by, check out a dollar store or even a thrift store for trash cans.
Make sure your trash cans are clean and free of dust.
Use a drill to drill four or five drainage holes in the bottom – this is super easy since the cans are plastic. If you don’t have a drill, you can easily poke a hole through the cans with a nail and hammer (you can see I accidentally forgot to do this until after I painted – oops).
Lay out a drop cloth or old sheet and start with your cans upside down. Spray an even coat of paint.
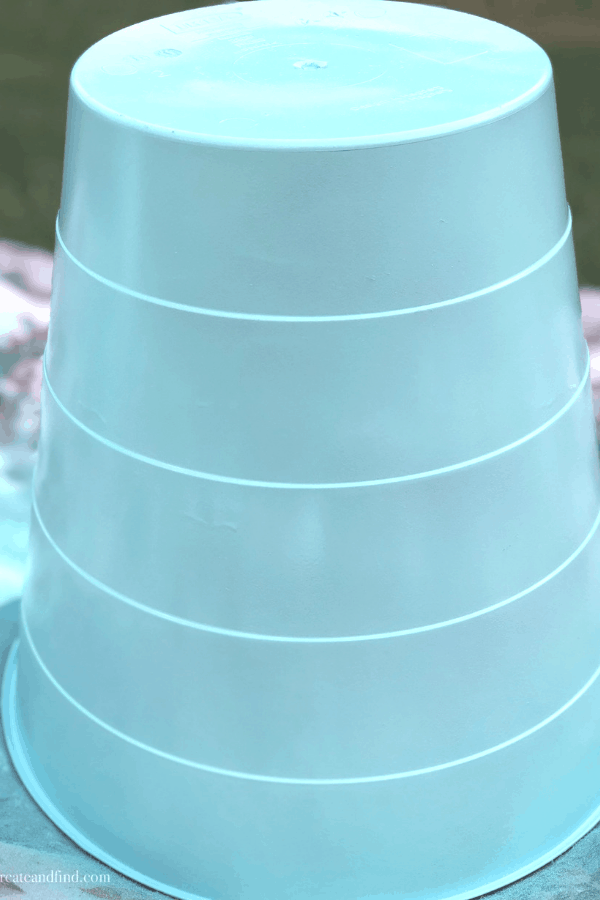
Let them dry, then flip over and cover the rims of the trash cans and a second coat all over.
If you’ve never used spray paint before, make sure to do short light strokes instead of one long spray. Stay at least 12 inches from your object to avoid runs in the paint. I sprayed one light coat of paint, let it dry, then sprayed another coat.
Gloss paint is harder to use on flat surfaces because of the overspray. If I were painting a flat surface of something other than a planter, I wouldn’t choose gloss. It’s a personal preference because it’s tricky to get an even spray.
Spray the inside rims of your cans too so you won’t see the original color.
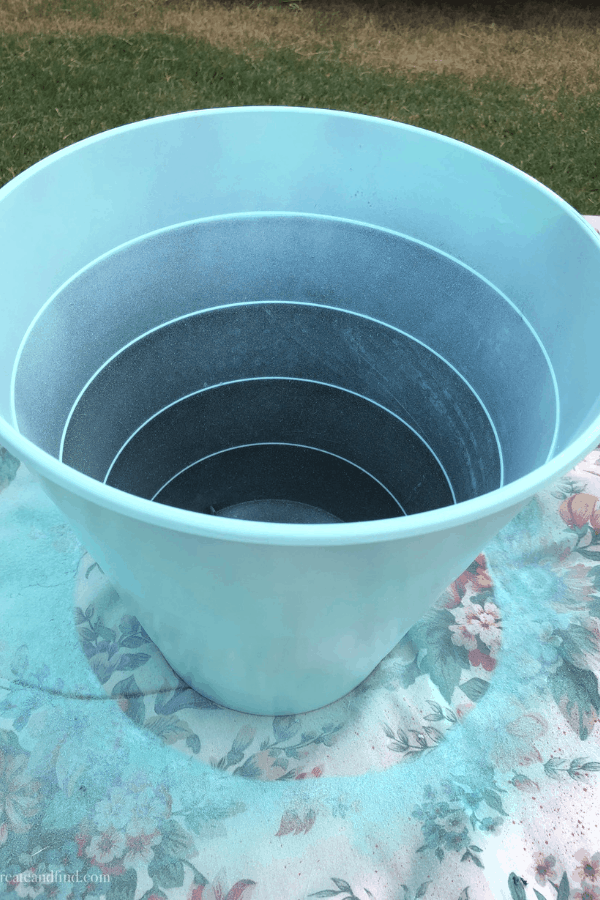
I am super impressed with the coverage of this paint even over a dark-colored surface.
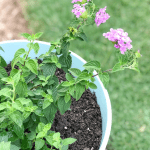
Let it dry completely, fill with soil, then add your plants.

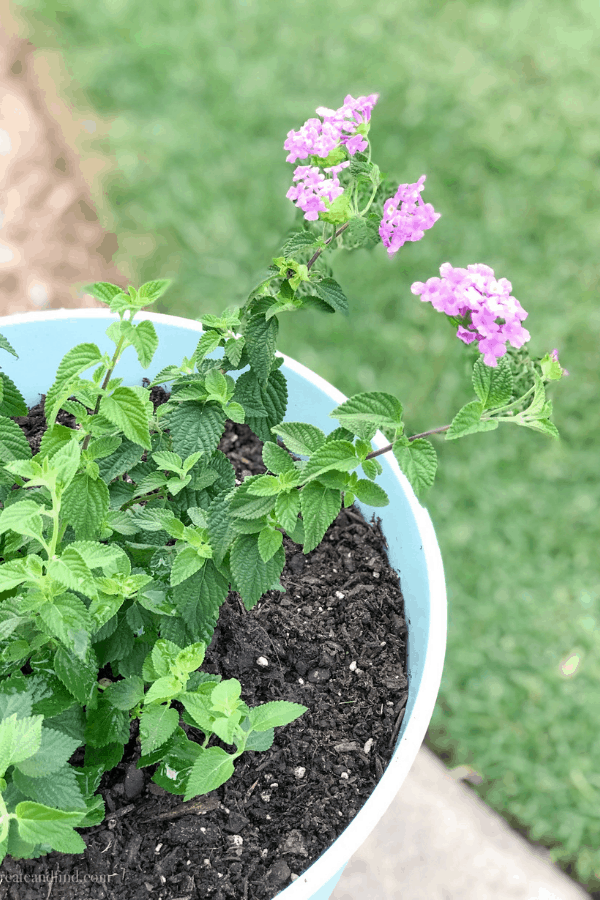
I chose Lantana in a pretty purple hue for these pots. If you’ve never planted Lantana, it’s a beautiful flower that grows as an annual or perennial depending on your planting zones. They come in a variety of colors with tiny clusters of flowers ranging from pink, purple, yellow, red, and orange. They bloom all summer and have gorgeous dark green foliage.
One plus about Lantana – they’re easy to grow. You can use them in planters, gardens, or even container gardening. Give them some room if you plant them in the ground – they can get up to 5 or 6 feet tall and 8 feet wide in ideal conditions! And butterflies and hummingbirds love these plants!
Decorative Planter #2
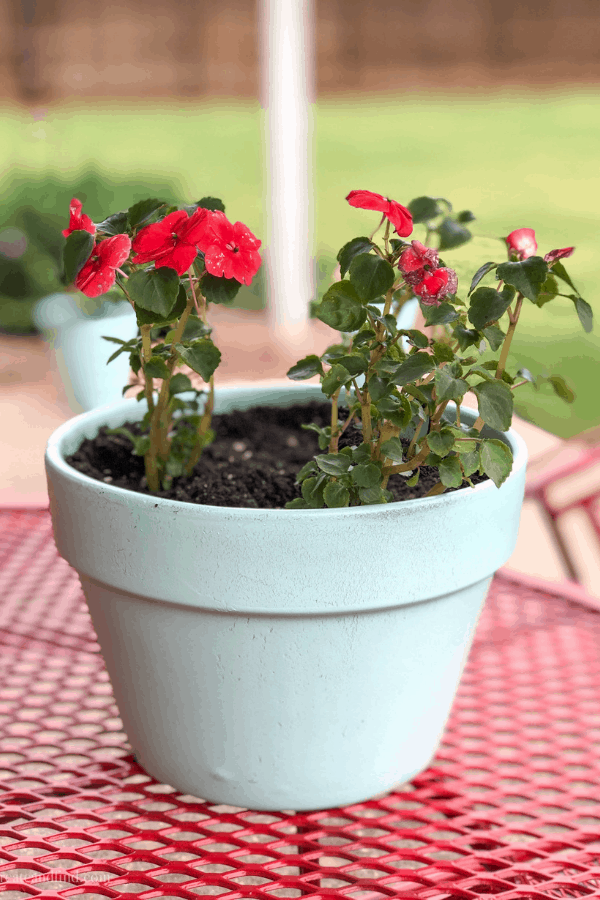
Decorative Planters – Terra Cotta Planter Makeover
My second cheap planter makeover is made from a basic terra cotta planter from the garden store. You can usually find these at any local home improvement store (these are the cheapest option in my area), thrift stores, and junk stores. If you get one that’s not new, I recommend cleaning it well with soap and water first.
Clean your pot if necessary and let dry thoroughly – terra cotta takes a while to dry
Turn upside down and paint the bottom first, let dry, then flip over. The terra cotta pots take longer to dry than the plastic.
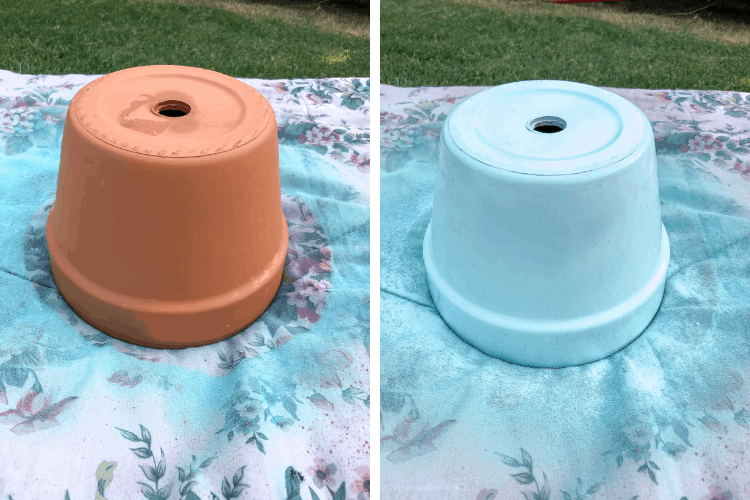
Use the same technique with the spray paint to paint two even coats
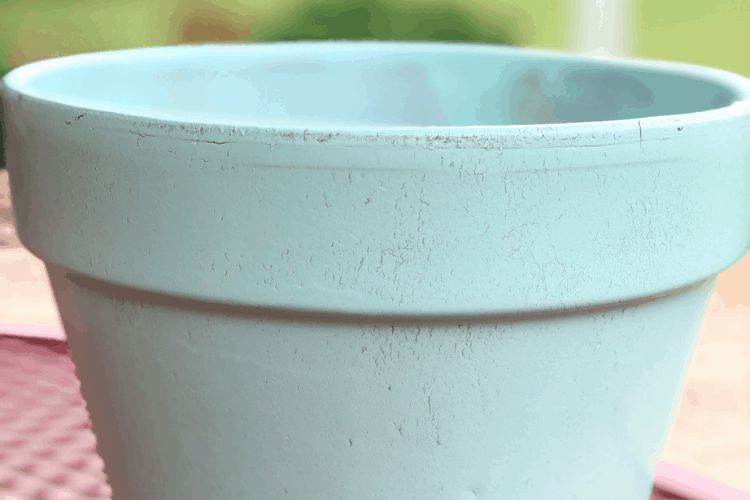
Terra cotta is a very porous material. It soaks up the paint more and I liked that it didn’t cover completely. It gave it a slightly vintage feel. However, if you don’t like that, you can continue on with the third coat of paint.
Fill with soil and add your plants!
This DIY was so easy and so quick. You can use any color paint you want or use a variety for a color-filled display on your porch or patio. It’s a super-easy way to add indoor or outdoor planters for much less money than buying new ones.
For this terra cotta planter, I chose Impatiens in red. Impatiens are some of my absolute favorite annuals to plant each year. They bloom continuously and grow quickly!
They are some of the best shade-loving plants, but they do make some varieties that can tolerate more sun. And they are so easy. Give them water, fertilize them periodically and you’ll have continuous color all summer.
You can even do these for indoor pots like this planter makeover I made using acrylic paints. Pick up a few small ones and let the kids paint their own too – it would be a perfect afternoon craft session for them!
If you’re into making your own planters, be sure to check out these air dry clay ideas for a tutorial for how to make an indoor planter from air dry clay.
Seasonal Planters
Winter


Make these easy wooden planter box and fill it with fir and pine branches for a rustic winter planter.

An easy Christmas porch decor idea to spice up your festive curb appeal this holiday season.

This outdoor Christmas planter is easy to put together and totally affordable.

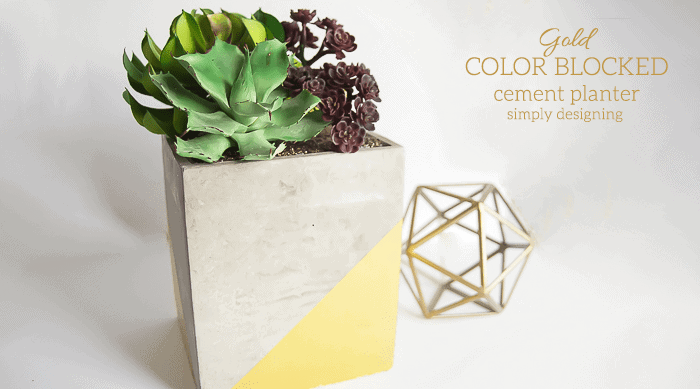
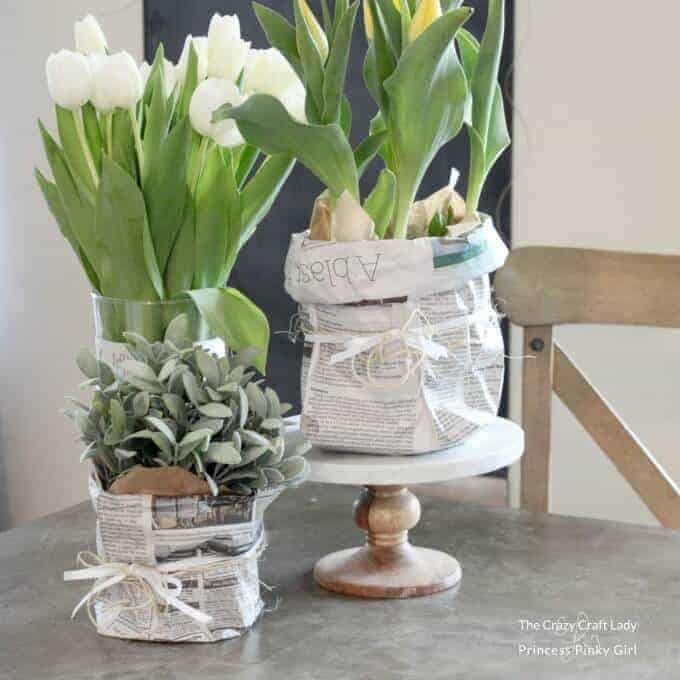
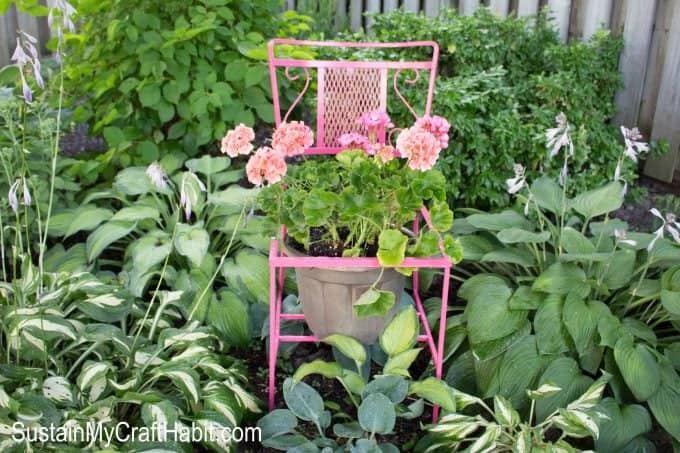
Spring and Summer


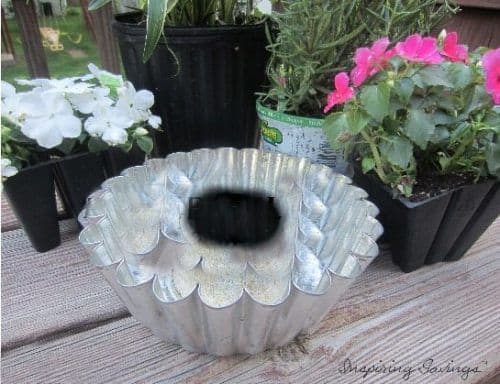


Fall


For more gardening ideas – check out these 7 Farmhouse Style Planters and the perfect Container Plants For Full Sun.
Pin For Later!
Jenn Summers
Saturday 15th of June 2019
I find this completely brilliant! I absolutely love the colour you chose for them too! I keep running out of flower pots lately I might have to snag a few of the trash bins around the house haha. It was so great to do this tour with you!
create and find
Saturday 15th of June 2019
Thanks Jenn! My daughter picked that color and I love it too! And agreed - I found so much inspiration from this tour!
Trina Welch
Friday 14th of June 2019
3 of my very favorite things: Cheap, easy & fast...DIY projects, that is, LOL! Too cute. I'll be watching for trash cans, now. FYI if you have pets, lantana berries are poisonous for pets if the are plant eaters.
create and find
Saturday 15th of June 2019
Yes - cheap, easy, fast - 3 important parts of my DIYs! And I did not know that about Lantana! Thanks so much - I'm going to include that in my post. I appreciate the tip!
Michelle James
Wednesday 12th of June 2019
I would have never guessed you used trash cans for these gorgeous pots! I'm definitely going to try this. I also love the color you used. So happy to be joining you on this tour! :)
create and find
Thursday 13th of June 2019
Thanks Michelle! I'm so happy with the color too - my daughter picked it and I was unsure at first, but now I love it!
kerri morris
Monday 10th of June 2019
I love this!!! Ive seen lots of cheap trash cans and never thought to turn them into planters! Thanks for the inspiration
create and find
Monday 10th of June 2019
Thanks Kerri! I wish I would've bought more from IKEA since they're so cheap!
Kippi
Sunday 9th of June 2019
Wow! I love how super easy this project was. I am picking up some pray paint and giving my old pots a makeover. Pinned!!! Happy weekend, Kippi #2019gardentour
create and find
Monday 10th of June 2019
Thanks Kippi! It's so quick and easy - spray paint to the rescue!