


Ah wallpaper! It’s making a comeback this year for sure, but it looks nothing like the craze from years ago. Today’s choices are gorgeous and who knows – maybe in 20 years, those will look horribly dated too. Isn’t that how trends work? But, what if you’re stuck with wallpaper that’s been on the walls for decades? Instead of ripping it off and creating a disastrous mess, why not try painting wallpaper?
Painting wallpaper is an option that most people can achieve when redoing a room. It doesn’t take a lot of money and it makes a drastic difference in the look of your home. If you want to paint over wallpaper, there are a few steps to take first, but it is a budget-friendly way to update a room.
A prime example is the house I lived in that was built in the late 1980s. If you’re old enough, take yourself back to that time and remember all the country-style kitchens with shades of hunter green, maroon, country blues, and of course, wallpaper.
In my case, my parents picked a “lovely” whitish background filled with ducks all over it. And to top it off, it had an equally lovely border in country blue with more ducks gracing those walls. My sister lives there now and those ducks needed to go!
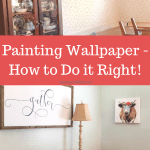
Painting Wallpaper – How to do it Right!
If you’re on the fence about this project, go for it! I was nervous to try it at first, but it turned out beautifully. Ducks be gone! But first, when is painting over wallpaper a bad idea?
When You Shouldn’t Paint Wallpaper:
- If your wallpaper is peeling or brittle. Just don’t. If it’s trying to come down, take it down first and then repair any necessary issues with the walls.
- Textured wallpaper. Unless you’re okay with textured, painted walls, I would advise against this one. Paint won’t cover texture.
- Wallpaper with uneven and very noticeable seams. Most wallpaper has seams that aren’t noticeable among all the patterns, but when you paint it a solid color, you’ll still see a hint of the seams. Unless you want to take the time to cover the seams and then sand it down even, I’d skip it.
So if none of the above categories apply to your walls, then get ready to paint over that eyesore wallpaper. And trust me – it’s easy. Time-consuming, but easy!
How to paint wallpaper and do it right:
How To Paint Wallpaper
Step by step instructions for painting wallpaper.
Materials
- PAINT
- PRIMER
- PAINTER'S TAPE
- PAINT TRAYS
- PAINTER'S PAIL AND LINERS
- SANDING BLOCKS
- ROLLER COVERS
Tools
- PAINT BRUSH
- PAINT POLE
- STEP STOOL
Instructions
- Remove all outlet covers and store in Ziploc bags
- Clean the walls and baseboards if necessary - you can use a plain rag and water in most cases. Just be sure there are no cobwebs
- Tape off if necessary
- Add one coat of primer, let dry completely, add a second thin coat of primer
- After primer is completely dry, sand any areas that are bubbly or have too much primer (if it looks lumpy or it's not smooth, quickly sand over it with a sanding block and wipe up any dust)
- Add one coat of paint, let dry completely and add a second if necessary
- Remove tape, let dry completely, add outlet covers back
- Pat yourself on the back for a budget-friendly DIY project!
Notes
Helpful Hints - Remove the tape when the paint is wet to avoid pulling off your fresh paint or primer. It takes more tape this way but avoids accidents.
Remember - if your wallpaper is in any way peeling or crumbling, do not paint over it.
Recommended Products
As an Amazon Associate and member of other affiliate programs, I earn from qualifying purchases.
-
 Wooster Brush SR090 Sherlock GT Convertible Extension Pole, 2-4 feet
 -
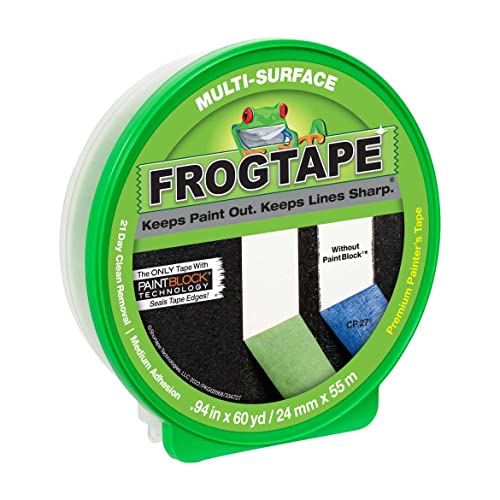 FROGTAPE 1358463 Multi-Surface Painter's Tape with PAINTBLOCK
 -
 Hard Shell Paint Tray with 10 Disposable Liners- Compatible with Most 9” Paint Rollers
 -
 Pro Grade - Paint Roller Covers - 1/2 X 9 Inch Microfiber 5 Pack
 -
 Wooster Brush R017-9 Roller Frame, 9-Inch
 -
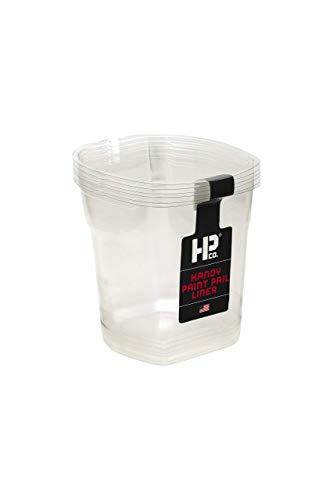 Bercom 6PK Handy 2520-CT Paint Pail Liners, 6-Count, Clear
 -
 Bercom 2500-CT Handy Paint Pail, 1 Pack, Red
 -
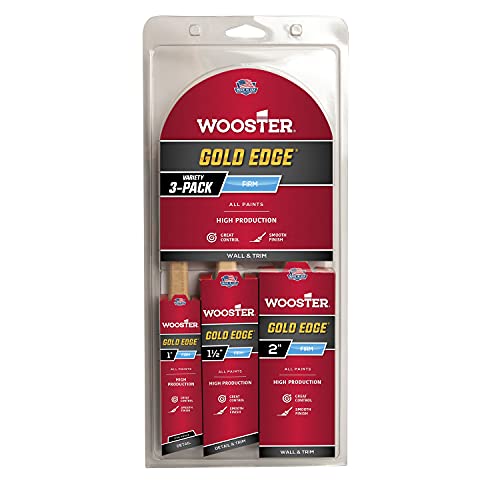 Wooster Series 5239 Gold Edge Wall Brush 3 Pack, 1 Inches
 -
 KILZ Original Multi-Surface Stain Blocking Interior Oil-Based Primer (Low VOC Formula) White, 32 Fluid Ounces
Supplies
First things first – let’s talk about the supplies you need. Some of these are basic painting supplies that are good investments to keep on hand. You don’t need fancy tools. Painting walls is tedious and you need to be careful when going around doors or ceilings, but with patience, you can do it with minimal supplies.
- Quality brushes (I use an angled brush for cutting in)
- One gallon of paint (we used Behr paint because there’s no Sherwin Williams near her, but had it color matched to Sea Salt)
- One gallon of primer
- Paint trays – helpful hint – I line my trays with foil to get a few uses out of each one. When you’re done, just toss the foil in the trash
- Paint Roller
- Roller Covers
- Paint pole (if you need it)
- Paint pail and liners (seriously – I use these for every single painting project)
- Painter’s tape
- Ladder or step stool depending on ceiling height
- Drop cloth
- Paint keeper – if you don’t have one of these, get one now! A lifesaver when working on painting projects. It keeps the brush usable for multiple coats!
- Foil
You certainly don’t have to have all of these, but there are a few that I use every project and it just makes life easier.
Steps for Painting Wallpaper
- Remove all outlet covers and store in Ziploc bags for later
- If you are unsure about your ability to not get paint on the ceiling or door frames, use painter’s tape to cover those areas. This is by far the most tedious step, but I’m not that steady of a painter when it comes to walls, so it’s necessary for me
- Cut in around the ceilings and windows/doors with a brush – I detest this part. It’s super boring, takes forever, and I have zero patience. But – necessary
- Using a roller, prime the walls with one coat of Kilz primer. I used the oil-based stuff for this project. It smells pretty bad so leave a window or door open if possible and I wouldn’t advise doing it with kiddos in the house if you can help it
- One thin coat of primer is what you’re after. You don’t want globby primer on the walls. And beware that it dries pretty quick so careful not to drag the brush or roller around the surfaces too much
- When the primer is fully dry (follow the directions on the can), add a second coat exactly like the first – You need two coats of primer to cover up all the patterns on the wallpaper. One won’t be enough
- Now for the fun part. Once your two coats of primer are dry, you can move on to paint. Repeat steps 3 through 6 with paint.
- Remove all the painters tape. The reason is, if you don’t and your paint dries, you run the risk of pulling it off when you take off the tape. If you remove it when the paint is wet, this won’t happen. It stinks because you’ll have to re-tape for the second coat, but it’s happened to me too many times to skip this step. You start pulling tape and here comes some sheetrock and/or paint with it. Not good.
- Retape – repeat a second coat of paint. Remove tape.
- Stand back and admire your handy work. And in our case – good riddance to the ducks!
What about Painting Over a Wallpaper Border?
So the short answer is yes. You can paint over a wallpaper border.
But won’t you see the lines? In my case, no. I painted right over that lovely border just like the rest of the walls with no issues. I primed and painted and it looks just perfect.
I suppose if you stand on top of a ladder and inspect the top of the wall like a pro, you might be able to notice the seams.
However – this blog is about budget friendly options to update your home. Since there was absolutely no peeling of this border or paper, it was pretty safe to assume, it’s not coming down. It’s been there for 30 years and I wasn’t worried about it trying to peel away.
That also meant I didn’t want to go through the process of removing the wallpaper so painting the walls and painting the wallpaper border is what I chose for the most budget-friendly option.
Helpful Hints – Keep a damp rag handy. If you get any drips, wipe it up quickly. Also wise to lay a drop cloth on the floor. I set the paint cans on plastic bags to protect the floor from drips.
Time it takes:
I spent about three days (spaced out) working on this DIY project. Mainly because my sis lives an hour away. You have to factor in drying time too. Don’t rush it. Make sure your primer is completely dry as well as the paint before you attempt the second coat.
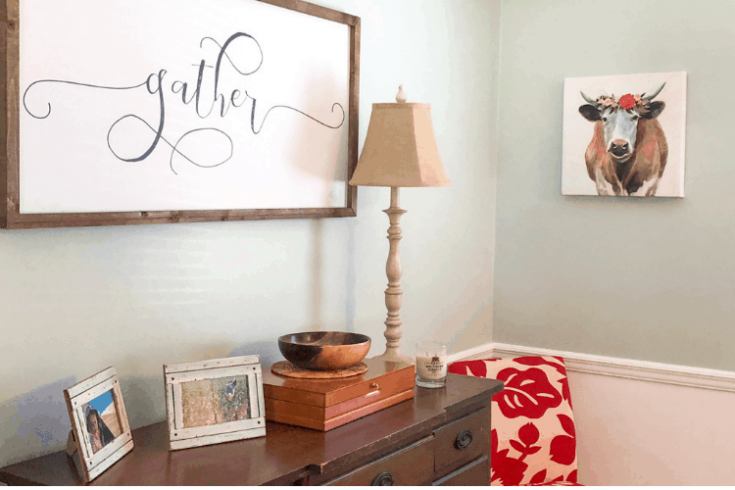
So here’s what we started with: Aren’t those ducks lovely?

And here’s the result!
Was it worth it?
Absolutely, 100% YES. The change is unreal. I can’t wait to show you the finished room because she recently got a new light fixture. That dated brown light needed to go out to pasture with the ducks! It looks like a whole new room and it’s only painted.
For the paint, she chose Sherwin Williams Sea Salt. It’s such a gorgeous blue-green color and I used an off the shelf white paint for under the chair rail. The contrast is perfect.

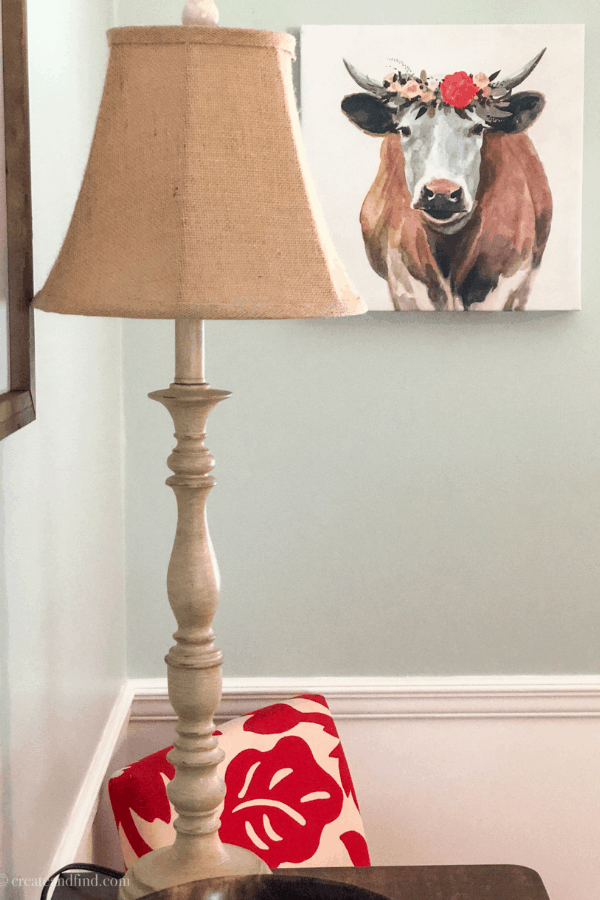
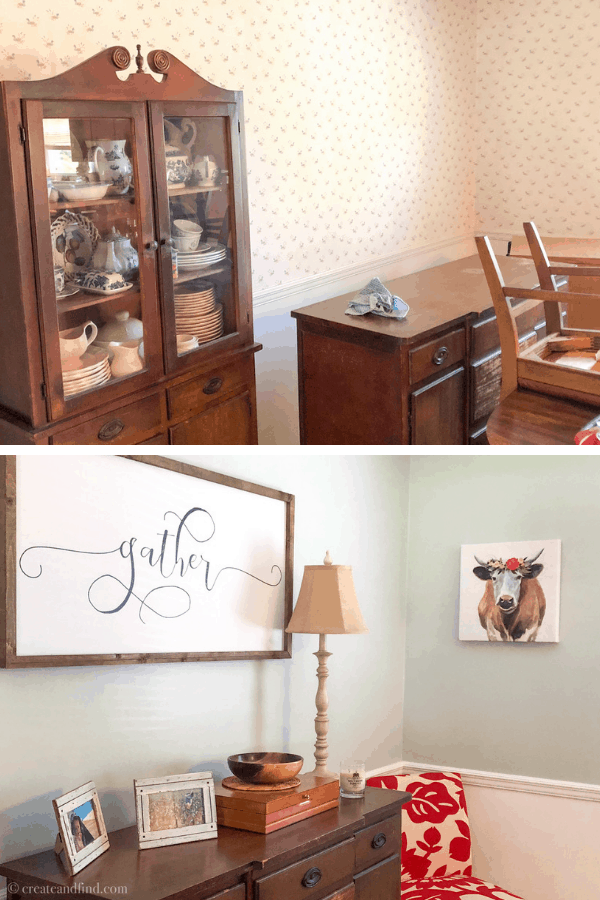
My favorite part of her new dining room other than “no ducks” is the red accent color she has from the chairs and art. An unexpected bright spot of color in an otherwise neutral room. Can you believe the difference?? And it’s just paint! You need patience and some time. If you already have some supplies, it’s not terribly expensive either.
Don’t think you need a complete gut job to transform a space. And even though takes a bit of DIY skill, it’s possible for most people. Does it have to be perfect? No. But when you think of the money you’ll save by doing it yourself, it’s worth the time and effort. Painting wallpaper is an upgrade that makes a huge difference!
Update – It’s been a year and a half since I painted the wallpaper and there are absolutely no issues at all. No peeling, no mess, and it still looks amazing.
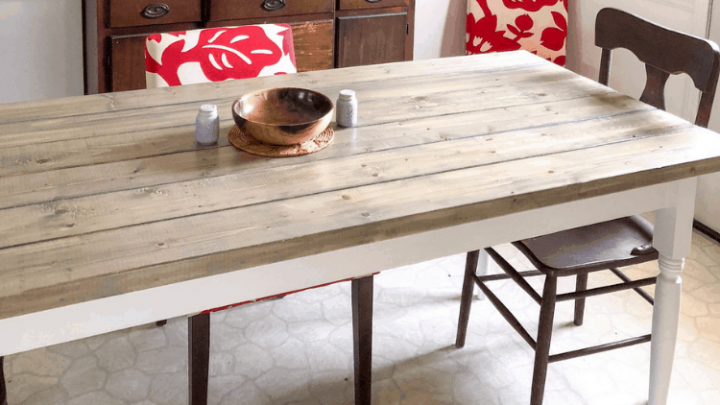
I also built my sis a farmhouse dining room table – check out how easy it was here!
Pin for later!
For more DIY Projects, check out these posts!
Popular DIY Projects
Most Popular DIY Projects from Create and Find
Easy DIY Farmhouse Table - How to Build Your Own
Build your own Farmhouse table with these easy to follow instructions.
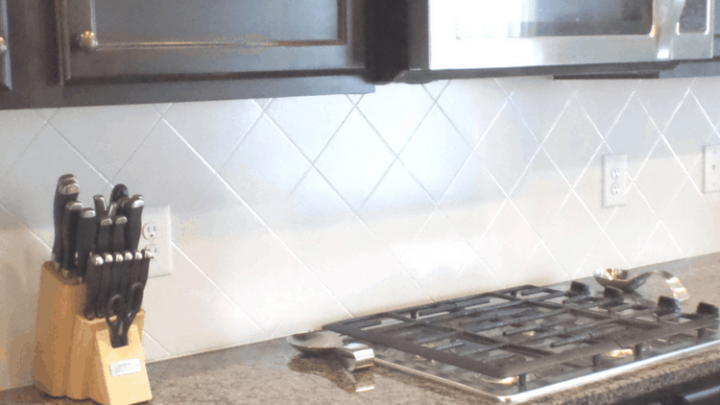
Painting Tiled Kitchen Backsplash - A Complete How To Guide
Change your kitchen tile backsplash with paint! A super thrifty and drastic change.
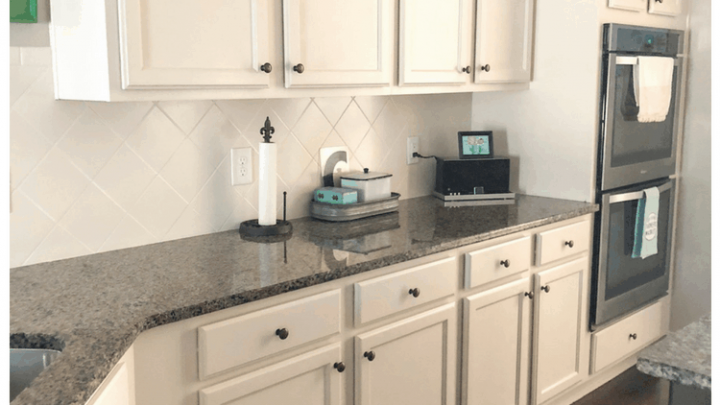
$100 DIY Kitchen Cabinet Makeover
$100 Kitchen Makeover - a complete transformation for very little money.
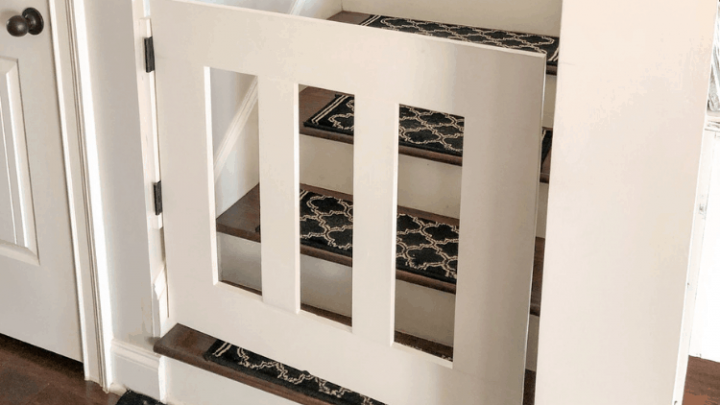
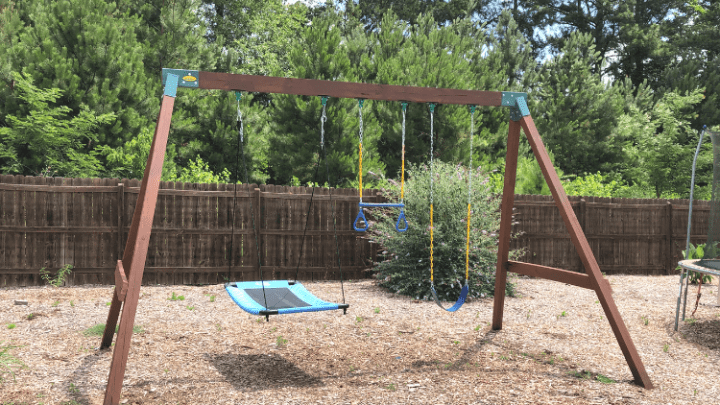
How To Easily Build Your Own DIY Baby Gate
Build your own DIY Gate with these step by step instructions.

Marly @ A Brick Home
Sunday 28th of October 2018
What a transformation! I didn't realize you could paint wallpaper. What a great idea. I am thinking of applying wallpaper to make some accent walls in my home, and now I'm wondering if it will look dated in five years. I guess I can always paint it in five years if it does go out of style. HA. Great tutorial, friend! :)
Melissa
Monday 29th of October 2018
Thanks Marly! I was surprised how good it worked! It would've been a nightmare to pull off that old wallpaper. I can't wait to see yours if you do it.
Wendy
Thursday 18th of October 2018
It looks amazing! I can’t wait to see the new light fixture! And sea salt is probably my favorite paint color.
Melissa
Sunday 21st of October 2018
Thank you Wendy! It definitely made me want to use that color somewhere in my house!