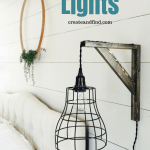
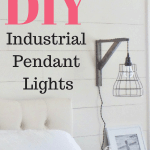
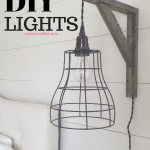

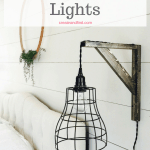
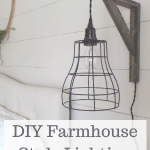
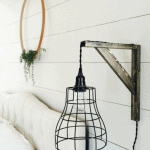
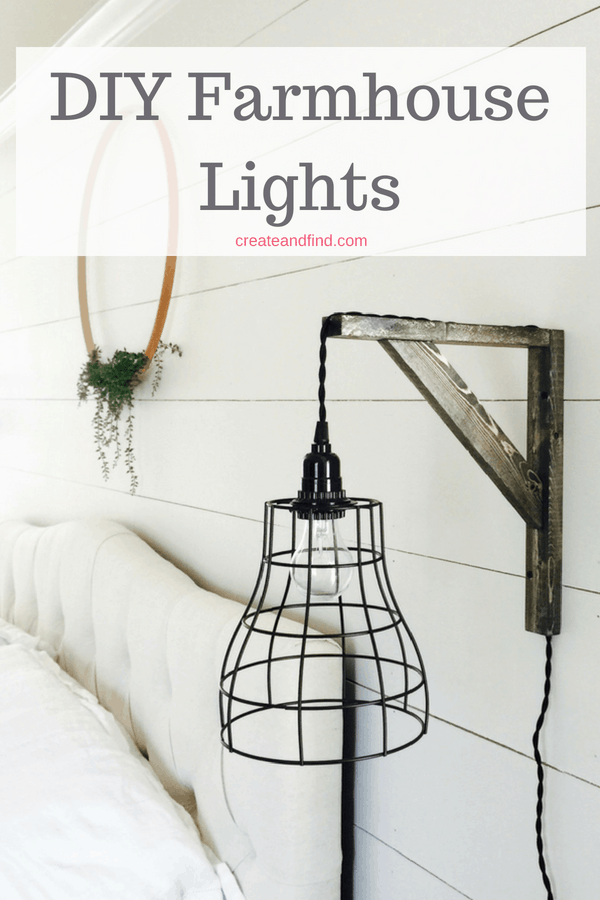
Welcome to part 3 of our Master Bedroom Update on a Budget! So far we made our plan for this room, made a DIY shiplap wall, and now for some new lighting! This is a simple DIY project I made that changed the whole look in our bedroom. And it was easy and cheap! Check out how I made two DIY industrial farmhouse pendant lights and brackets for $40 total!
DIY Industrial Farmhouse Pendant Lights
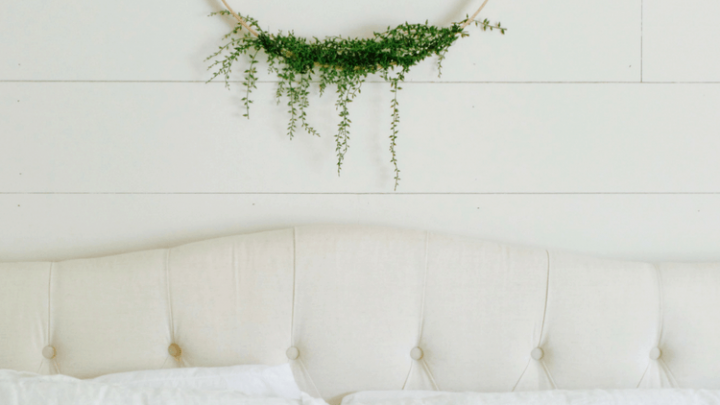
You can see our original plans for the room and what we are starting with – Click here and one of my favorite projects to date is our DIY Shiplap Wall. When I started this project, I didn’t plan to redo the lighting in here. We have two lamps that are from Goodwill – I spray-painted them white and bought some decent shades. However, the shades are always crooked!
No matter what – every time I walk in our room, I have to look at wonky shades. I like the look of pendant lights and saw several easy tutorials on Pinterest. This one from mylittlehousehappyheart caught my eye in particular and her directions were clear so I figured, why not? Thanks, Holly for the inspiration!
Supplies for DIY Industrial Pendants
- cord light kits – these have also gone up in price since my original project
- wire cage pendants – $8.99 (2017 price) each at Michaels (the ones I have are no longer available so I also found these on Amazon)
- 2 bulbs – I had 2 60-watt bulbs already
- Wood Glue – already had on hand but if not you can get a small bottle for about $3
- 1×2 board that is at least 4 feet long (4 feet will give you room for error) – $3.66
- Wood screws/sheetrock screws – we just used 4 sheetrock screws that we already had on hand
- Stain – I used leftover Minwax stain in Ebony – you will only need a small amount.
- Miter saw – I had this on hand – if you don’t have one, find a neighbor or someone that can do a few quick cuts for you. Definitely don’t want to run out and buy a miter saw for a simple project like this!
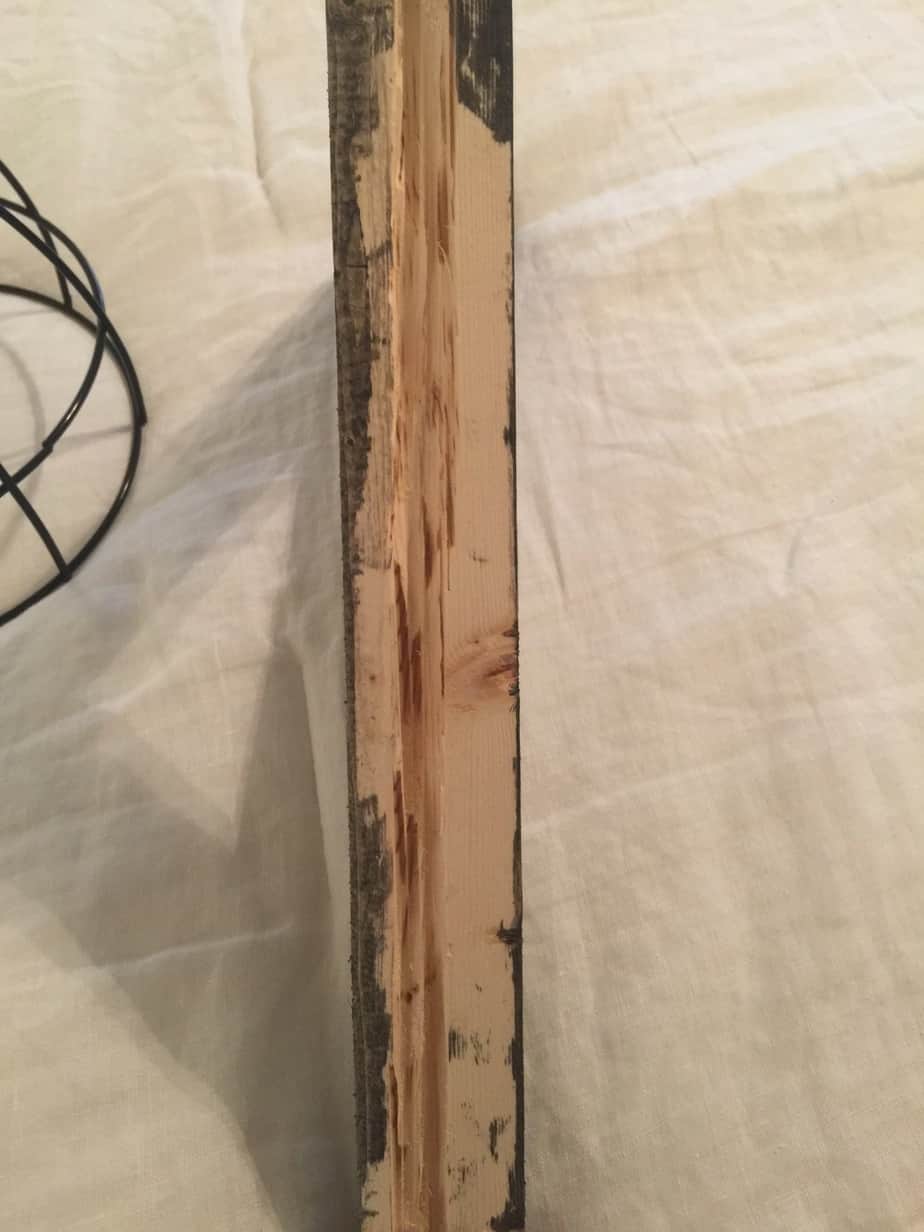
Make Your Cuts
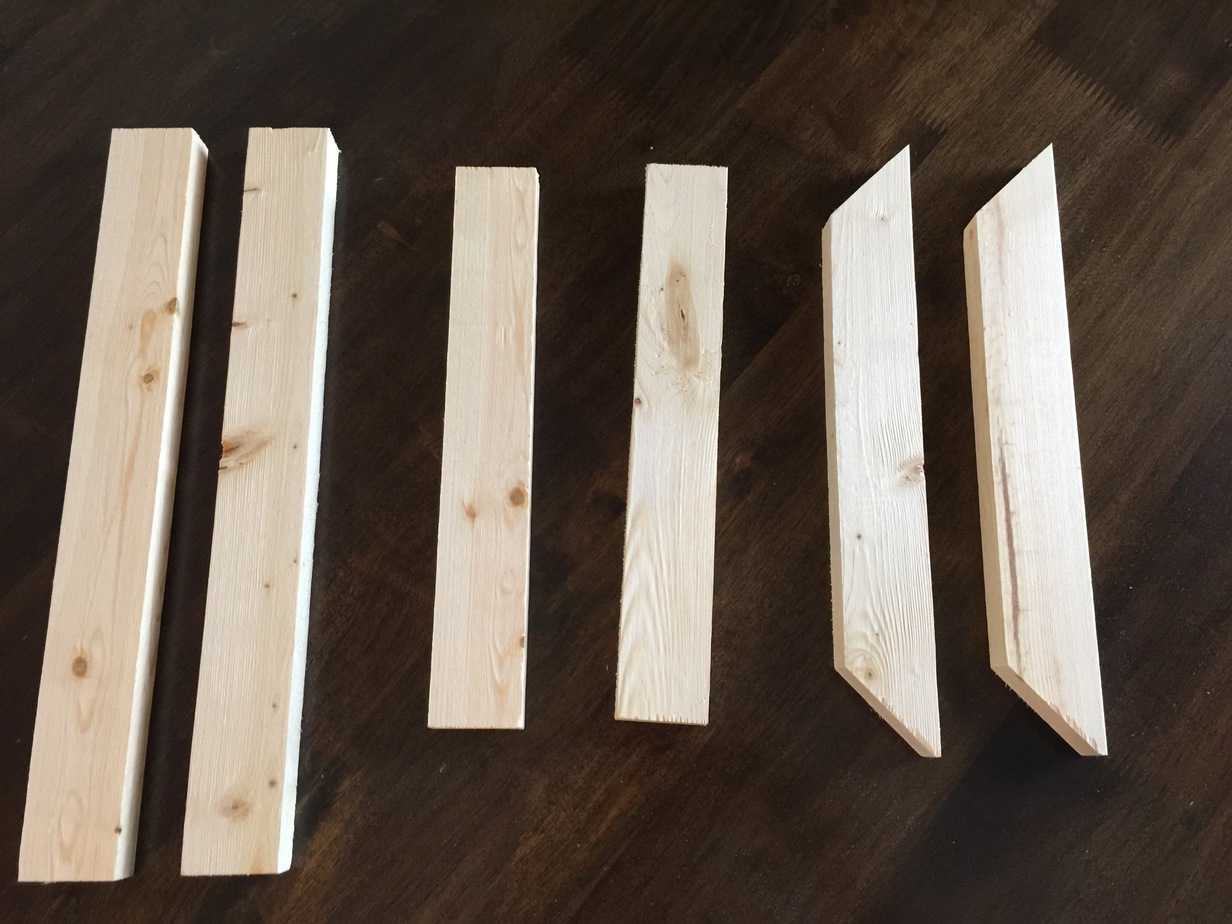
I cut two 13″ pieces of wood, then 2 10″ pieces and then used the miter saw to cut 2 11″ pieces at 45-degree angles. They are 11 inches from the longest points.
Sand down any rough edges and that’s all the cuts you need!
Stain and Put them Together!
I use Minwax stains for most of my projects and for this one I used “ebony”. It only takes a small amount and I didn’t want to buy a whole new can of another color. I was worried it may be too dark, but one thin coat with an old lint-free shirt and it was perfect.

I tend to use very little stain at first – you can always add more. Swipe on some stain and then use a different rag or cloth to wipe it. You don’t want to glob it on or you’ll end up with a sticky mess that takes forever to dry.
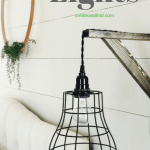
Initially, my plan was to drill a hole large enough for the cord to feed through. However, these light kits come with a switch that’s close to the bottom of the cord. It’s about 2.5 inches long and 2 inches wide so there is no feeding that through a small hole.
This was a problem because these are going on the wall and I need the back of the bracket to lay flat against the wall. The Mr is kind of particular, so I know wrapping the cord along the bracket would not work for him.
My solution is to notch out a groove on the top of the bracket and the back for the cord to lay in. Kind of like a little ditch that hides the cord. I used the miter saw and made a groove in each piece and then we finished it out by clamping it to sawhorses and cutting the rest of the ditch with a jigsaw. You don’t want to go through the wood.
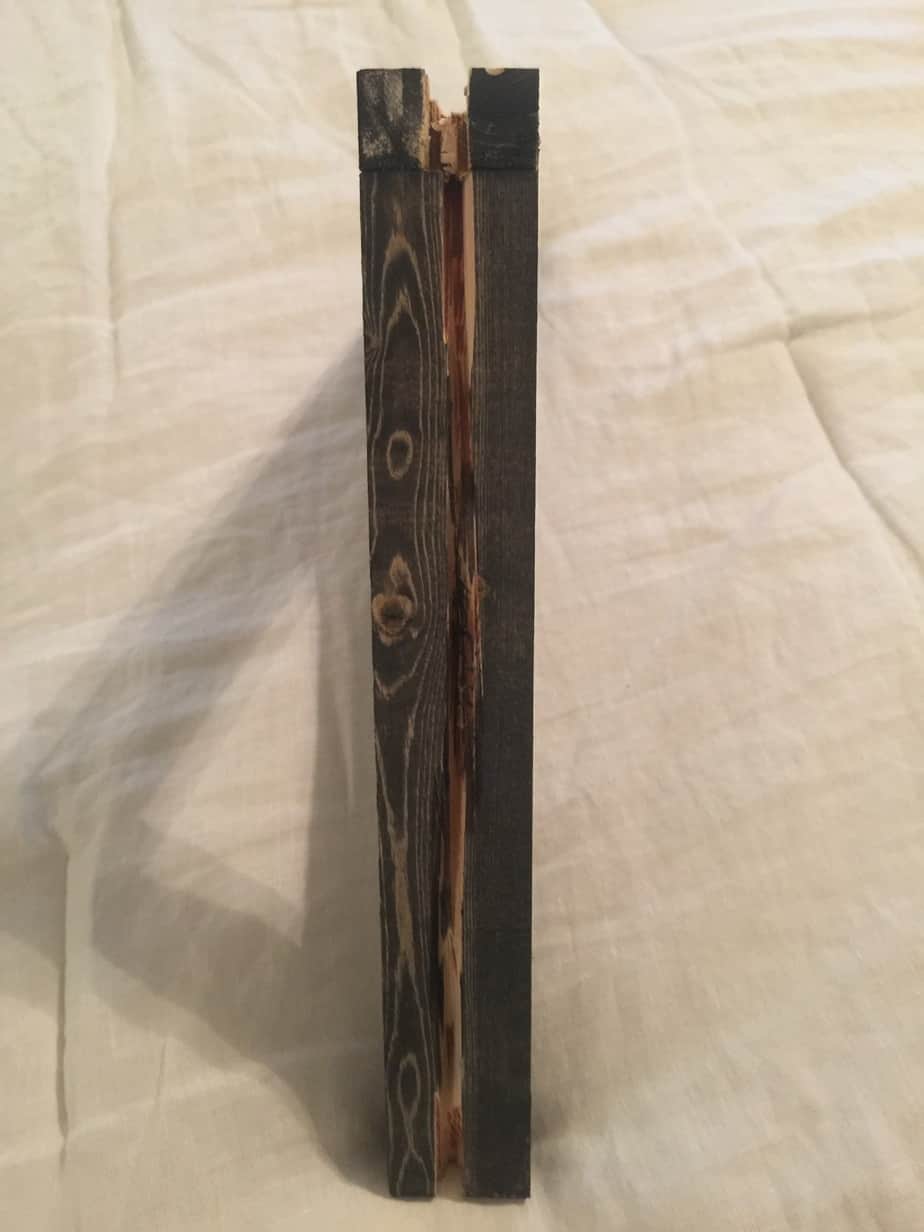
They aren’t neat and clean (I don’t own the right tools to make it neat and clean), but you don’t see it. Unless you are peering over the top of my light fixtures and in that case, I’m not sure I want you in my room!
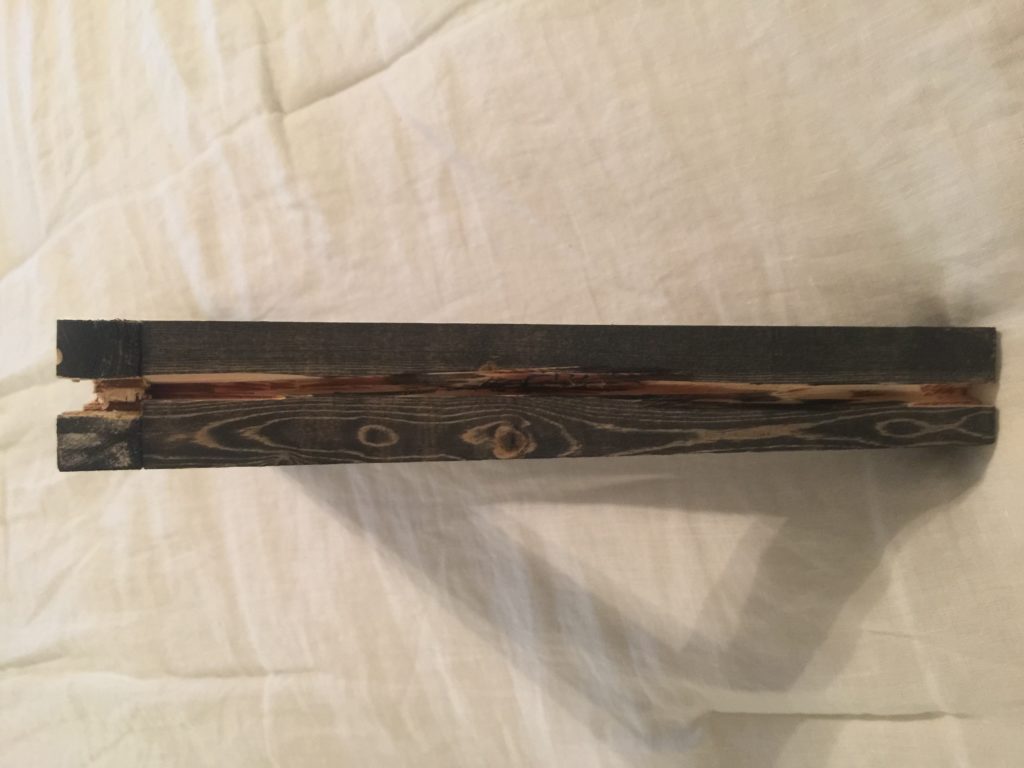
Glue them Together
I used wood glue to attach the pieces together. If I didn’t have grooves in the back and top, I would screw them together too, but no room for screws so here’s hoping the wood glue is good enough! –
UPDATE two years later – the glue is holding strong! No issues whatsoever.
Attach them to the Wall
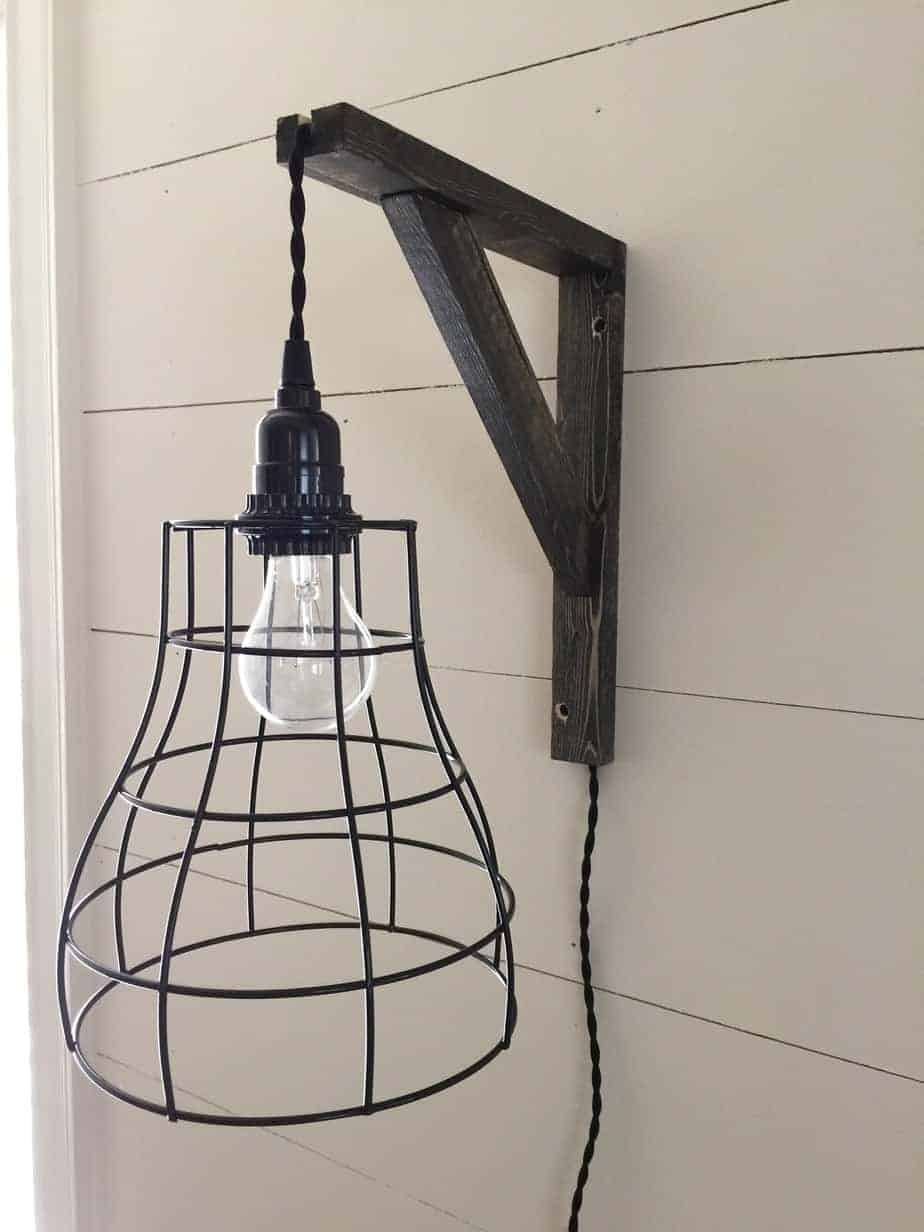
It’s a good idea to drill a few pilot holes before attaching to the wall. This wood is pretty thin and you don’t want to risk splitting it while you’re drilling into the wall. We drilled one pilot hole on each end before putting them up. We made sure the pendant lights are hanging at the same length and wallah! Two lights and brackets for $40!
I love these DIY industrial farmhouse pendant lights! And $40 for both! Not too bad and I still had a few bucks left over for the rest of the makeover. Stay tuned for the final post of our Master Bedroom update on a budget! And be sure to check out the shiplap we added!
And if you’re not into DIY, but like the industrial farmhouse pendant lighting, I found some plugin as well as hardwired choices!

Pin for later!
Update – You can see the final makeover by clicking here!
Sometimes building something is intimidating at first, but you’ll be surprised at what you can learn! Check out these other DIY projects for more ideas!
Popular DIY Projects
Most Popular DIY Projects from Create and Find
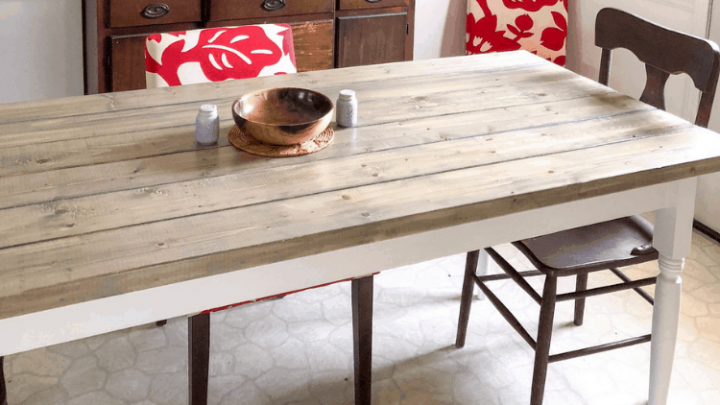
Easy DIY Farmhouse Table - How to Build Your Own
Build your own Farmhouse table with these easy to follow instructions.
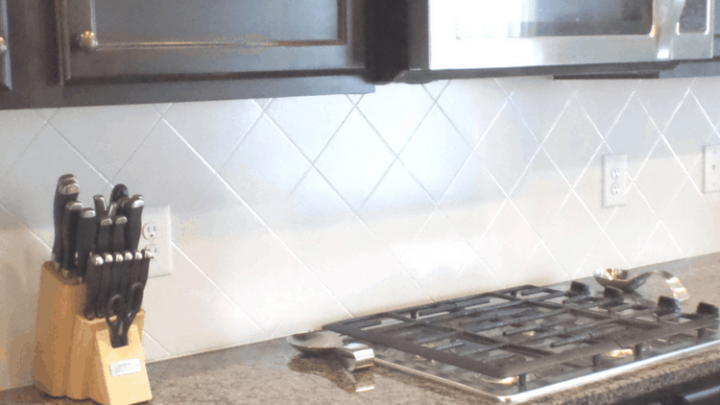
Painting Tiled Kitchen Backsplash - A Complete How To Guide
Change your kitchen tile backsplash with paint! A super thrifty and drastic change.
$100 DIY Kitchen Cabinet Makeover
$100 Kitchen Makeover - a complete transformation for very little money.
How To Easily Build Your Own DIY Baby Gate
Build your own DIY Gate with these step by step instructions.
Painting Wallpaper - How To Do It Right!
Change the look of your wallpaper completely by painting it!


Home Matters Linky Party #139 - Domestic Deadline
Friday 12th of January 2018
[…] DIY Pendant Lights brought to us by Melissa […]
Hanging Lights
Tuesday 14th of November 2017
Amazing! You really inspired me with your work. I just finished to making this light. It was very easy and fun for me. It is looking awesome in my bedroom. Thanks for sharing.
Melissa
Tuesday 14th of November 2017
Glad you loved them! Thanks!
DIY YOUR WAY TO A FARMHOUSE STYLE BEDROOM - A Fresh-Squeezed Life
Thursday 21st of September 2017
[…] Brown Dog Vintage (DIY Pendant Light} […]
mythriftyhouse
Wednesday 26th of July 2017
I love, love, love these lights. Thanks for sharing them with us at the Waste Not Wednesday Link Party. Keep coming back.
Melissa
Friday 28th of July 2017
Thanks so much! They were a fun DIY!
Sam
Tuesday 25th of July 2017
These turned out so fabulous! They fit right in with your beautiful bedroom.
Thank you so much for sharing your project with us over at Waste Not Wednesday!
Melissa
Wednesday 26th of July 2017
Thank you Sam! I appreciate the feature!